Xcode
##The vivaVideo framework in Xcode.
If you haven't installed OpenCV already, we recommend to use HomeBrew (The missing package manager for OS X).
Open a terminal and run the following command
ruby -e "$(curl -fsSL https://raw.githubusercontent.com/Homebrew/install/master/install)"
Run the following command in the Terminal prompt to install OpenCV
brew install homebrew/science/opencv
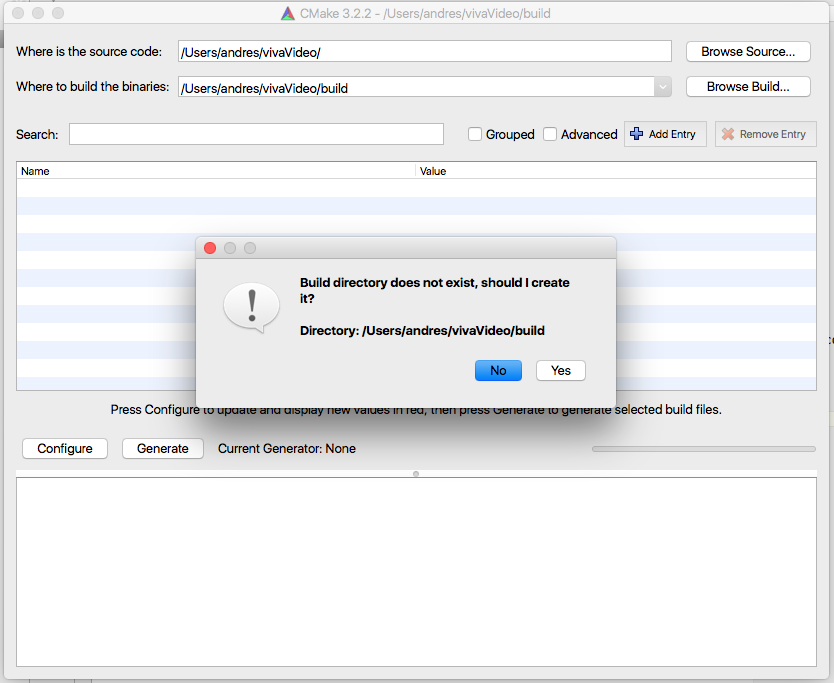
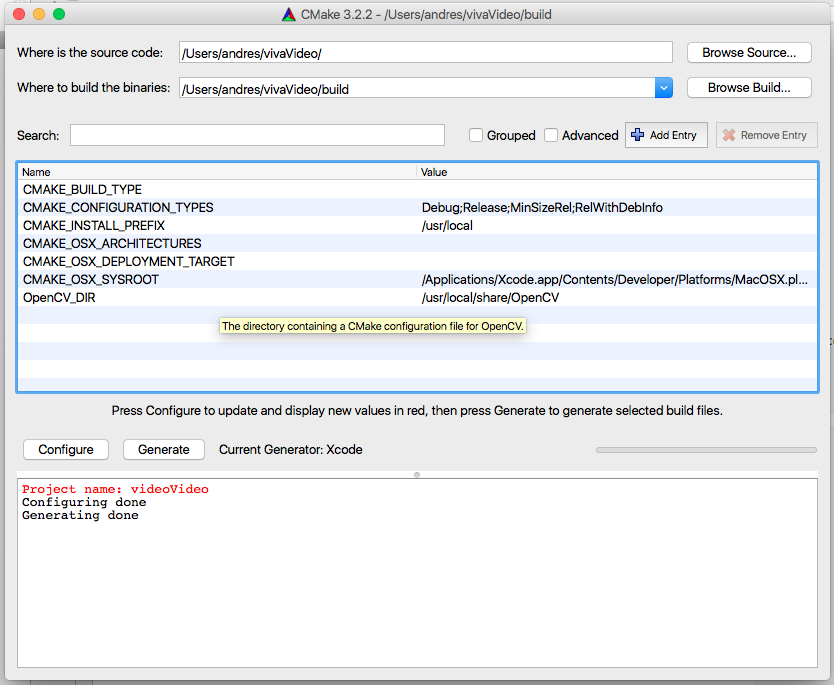
Open CMake and point your source folder to your working copy repository (e.g. /Users/andres/vivaVideo) and set your build folder inside your working copy (i.e. /Users/andres/vivaVideo/build). Click the Configure button. CMake will ask to create the folder for you if it does not exist. Click Yes.
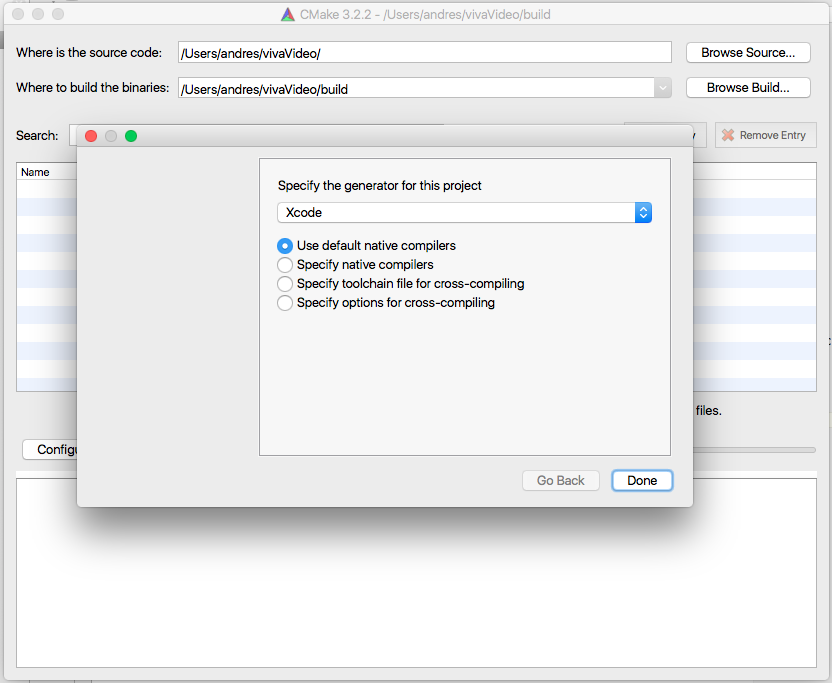
Specify Xcode as the generator
Set the OpenCV_DIR variable to point to your OpenCV installation folder containing the OpenCV's "*.cmake" files, by default /usr/local/share/OpenCV/. Click Configure again.
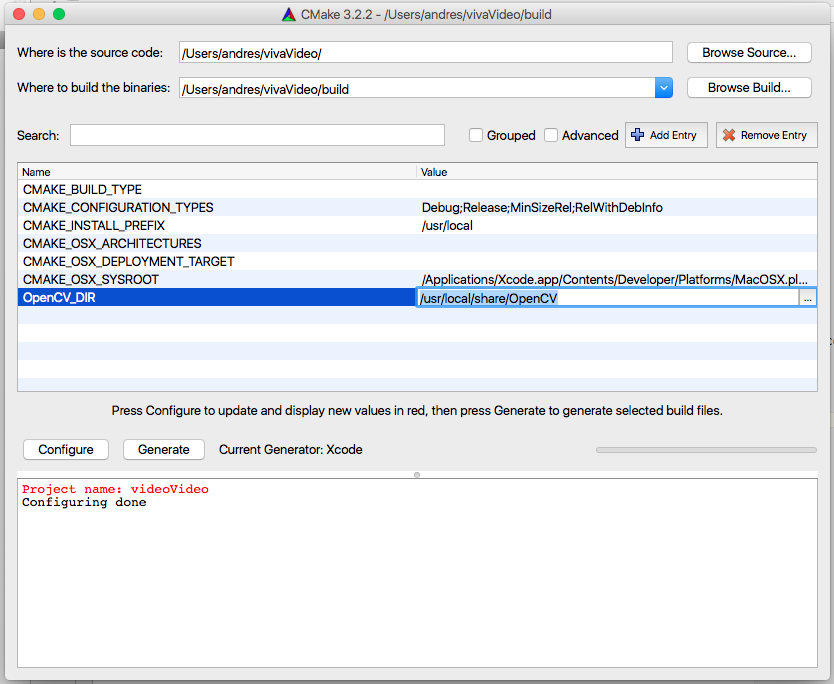
Click the Generate button
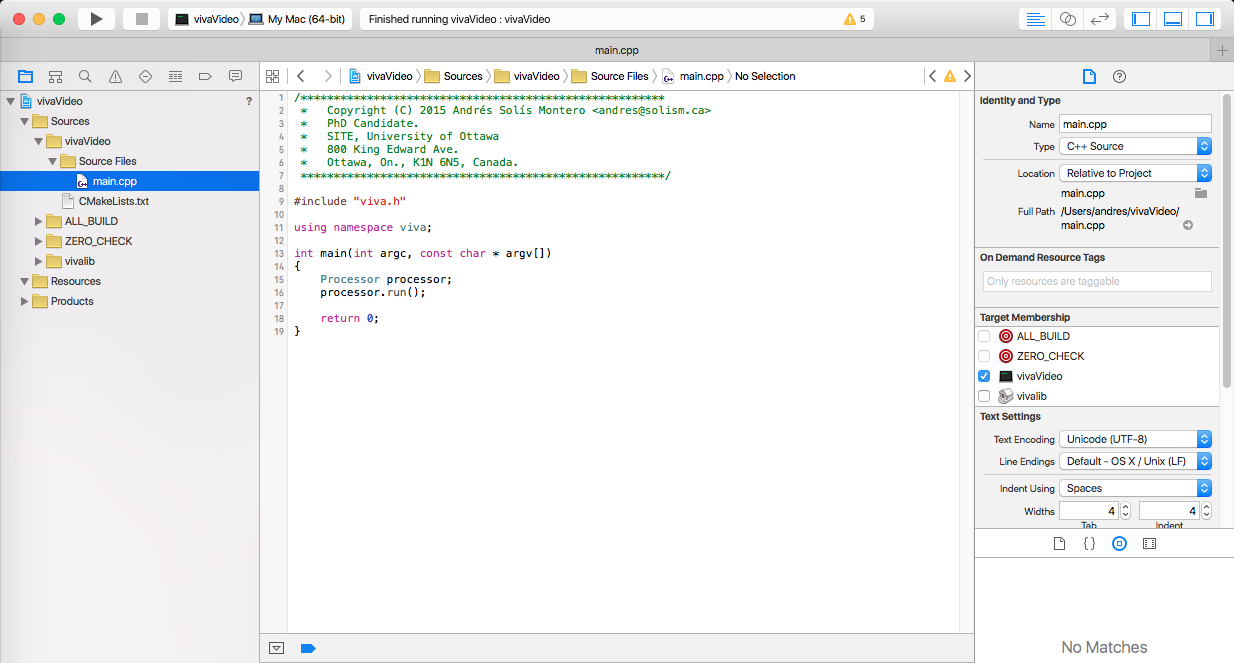
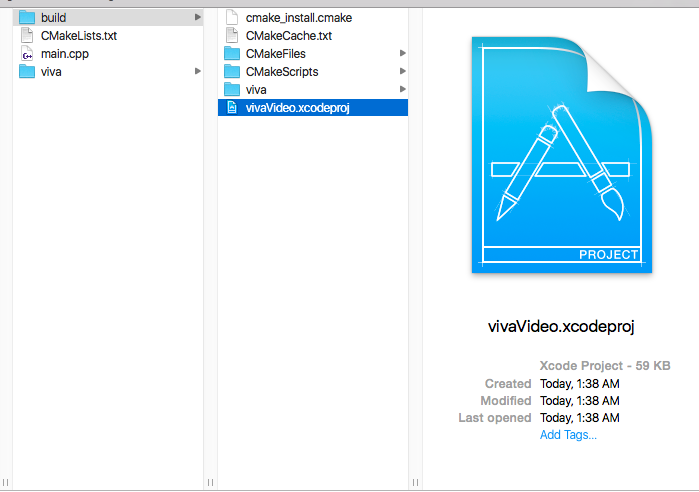
I everything is OK you will find your vivaVideo.xcodeproj inside your build folder.
Open the project and select vivaVideo as your target
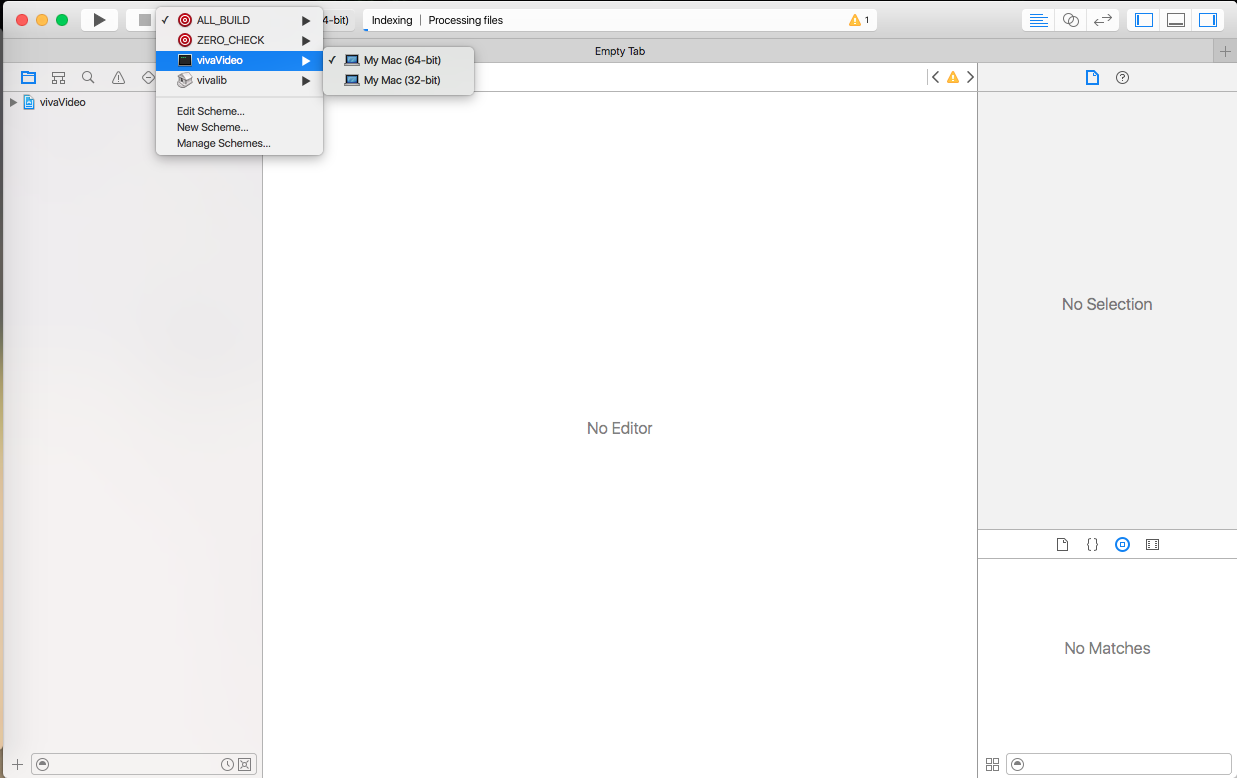
Your project is already in place and configured to use the vivalib framework and OpenCV libraries.