Making Smart-home IoT devices which can be controlled by both Alexa as well as Google home Assistant. IoT device in this case will be made using NodeMCU

Our Device will Communicate using MQTT Protocol , which is light message transfer protocol used for communication of various IoT devices we see is Market.
Those who don't know much about Mqtt Protocol can refer the PDF uploaded above to get basic insight of ,how the Protocol works.
We will use Adafruit io as our Broker in Mqtt system ,which provides free Mqtt cloud based Broker Service and NodeMCU based IoT device as client.
Further we will build Applets using IFTTT to Make Alexa & Google Assistant to control our IoT device
Initially Arduino IDE dosen't have Addon by default ,so we have to install the Addons for Esp8266 based Boards using Arduino Board Manager.To begin, we’ll need to update the board manager with a custom URL. Open up Arduino, then go to the Preferences (File > Preferences). Then, towards the bottom of the window, copy this URL into the “Additional Board Manager URLs” text box:
http://arduino.esp8266.com/stable/package_esp8266com_index.json

Hit OK. Then navigate to the Board Manager by going to Tools > Boards > Boards Manager.There should be a couple new entries in addition to the standard Arduino boards. Look for esp8266. Click on that entry, then select Install.

The board definitions and tools for the ESP8266 Thing include a whole new set of gcc, g++, and other reasonably large, compiled binaries, so it may take a few minutes to download and install (the archived file is ~110MB). Once the installation has completed, an Arduino-blue “INSTALLED” will appear next to the entry.
Now go on Tools > Boards and Scroll down and select NodeMCU 1.0 (ESP 12-E Module) .
First of all you need to make Account on Adafruit io .

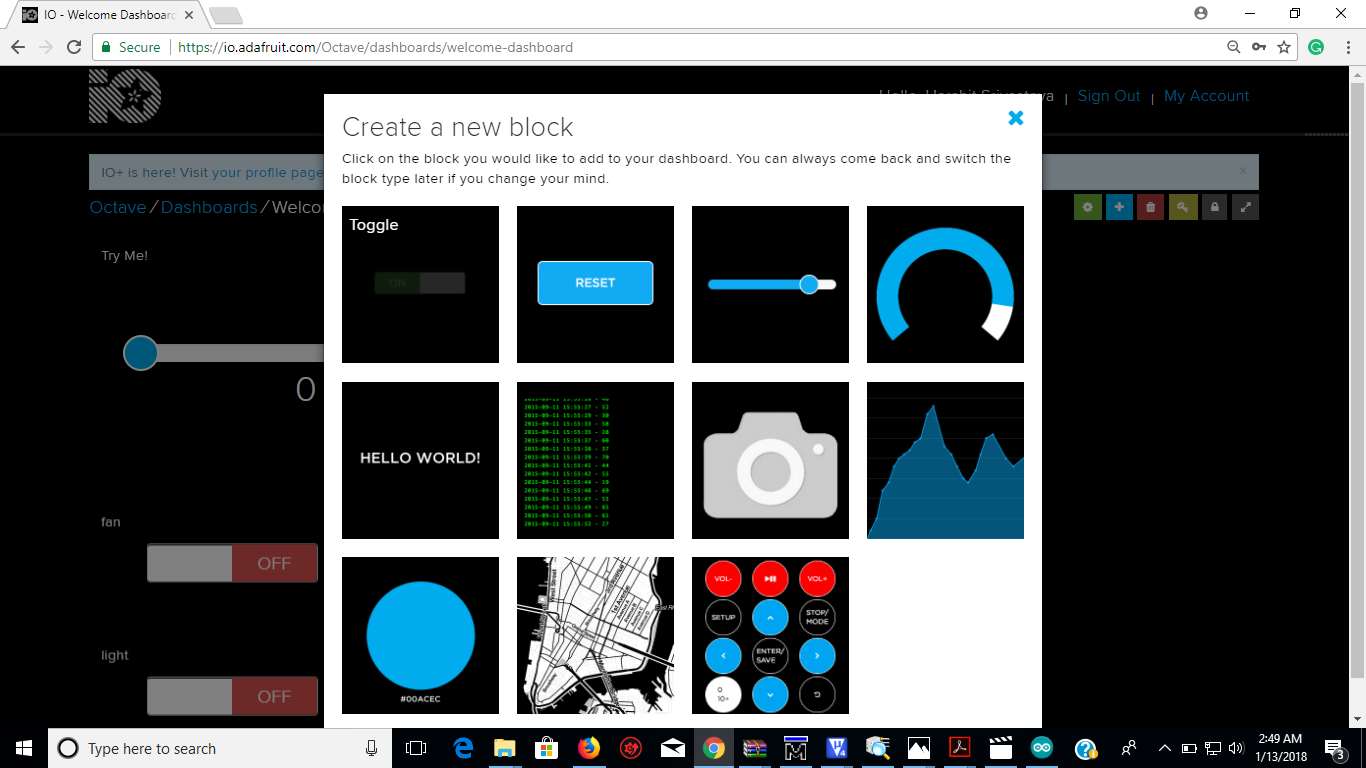
login to your Adafruit io Account and go on dashboard and Click on create new option and from various type select toggle feed and the enter feed name
now your Broker is established copy username and key and put them into the code mqtt.ino
First take above two libraries file provided by vendors itself which are Arduino & Adafruit and put them in the Libraries folder inside your Arduino folder.
Open mqtt.ino & put your Router SSID & Password , also put your AIO username & Key into it. Connect your NodeMCU to your computer and go to tools > Port and select COM port and compile & load the code to your dev. board
Set Baud Rate of Serial Monitor 115200 for syncing Serial Communication.

Pin diagram given above will Assist you to map GPIO pin number to your on Board Pin names.
Sign up on IFTTT and Make your account on IFTTT.

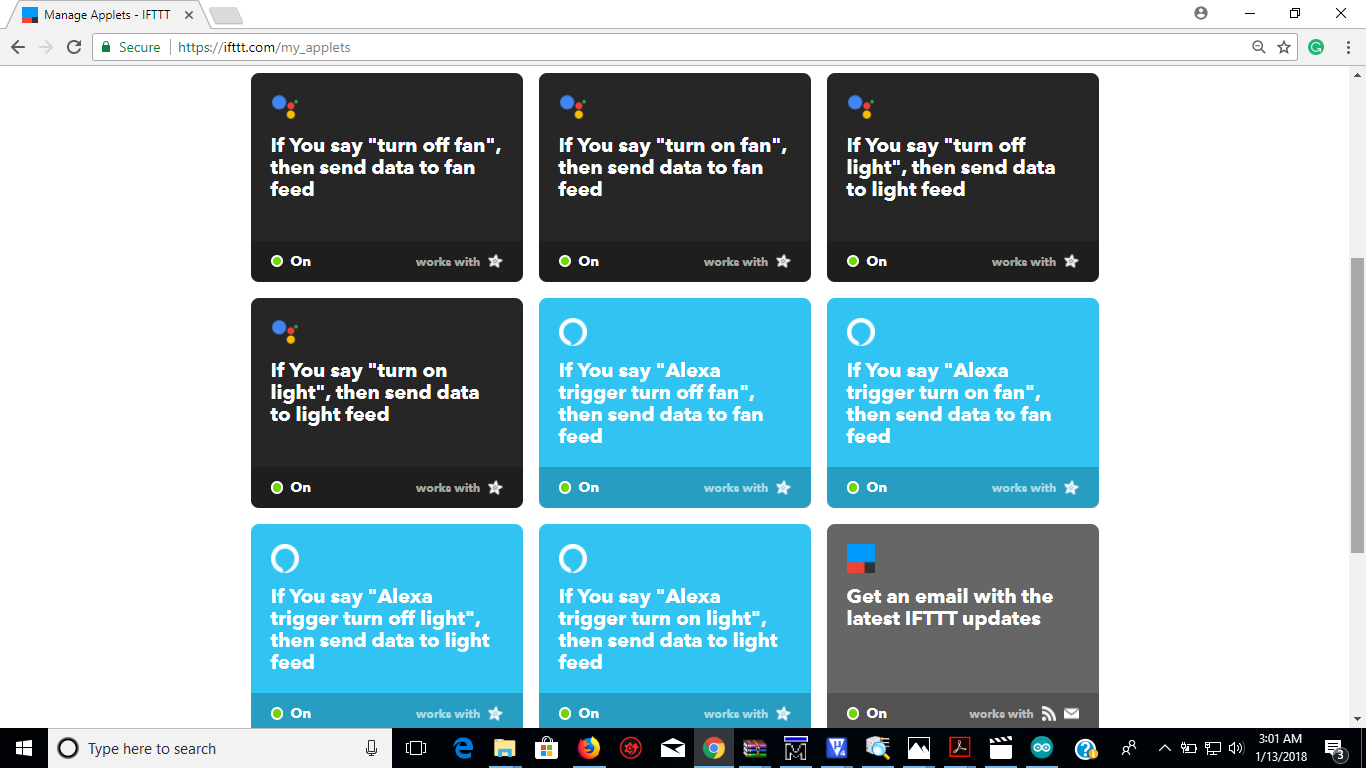
Login to your Account go on Applets Create Applets Accordingly Choosing triggers as Alexa & Google Assistant respectively and response as Adafruit IO and select Appropriate feeds. Finally Switch on your Applets & you are done
Now your device is ready to work so connect your device to your Router