A comprehensive example application showcasing the Go Okapi API Framework's core features and best practices.
Okapi is a modern, minimalist HTTP web framework for Go, inspired by FastAPI's elegance. Built for simplicity, performance, and developer happiness, it enables you to build fast, scalable, and well-documented APIs with minimal boilerplate.
- Framework: Okapi on GitHub
- Source Code: okapi-example
- Docker: jkaninda/okapi-example
This example demonstrates:
- Core Framework Usage - Basic Okapi implementation patterns
- Middleware Integration - Custom and built-in middleware examples
- Route Organization - Structured route definitions and grouping
- Real-time Communication - Server-Sent Events (SSE) and WebSocket implementations
- Template Rendering - HTML template integration
- API Documentation - Automatic Swagger/OpenAPI generation
- Production-Ready Structure - Clean, maintainable code organization
- Go 1.21 or higher
- Git
# Clone the repository
git clone https://github.com/jkaninda/okapi-example
cd okapi-example

# Install dependencies
go mod tidy

# Run the application
go run .
The server will start at http://localhost:8080
docker run --rm --name okapi-example \
  -p 8080:8080 \
  -e JWT_SIGNING_SECRET=your-secret-key \
jkaninda/okapi-exampledocker run --rm --name okapi-example \
-p 8080:8080 \
-p 8443:8443 \
-e JWT_SECRET=your-secret-key \
-e TLS_CERT_PATH=/certs/server.crt \
-e TLS_KEY_PATH=/certs/server.key \
-v /path/to/certs:/certs:ro \
jkaninda/okapi-exampleConfigure the application using environment variables:
| Variable | Description | Default |
|---|---|---|
JWT_SECRET |
JWT token signing secret | default-secret-key |
| Variable | Description | Default |
|---|---|---|
TLS_CERT_PATH |
Path to TLS certificate file | (empty - TLS disabled) |
TLS_KEY_PATH |
Path to TLS private key file | (empty - TLS disabled) |
TLS_CA_PATH |
Path to CA certificate for mutual TLS | (empty - no client auth) |
TLS_REQUIRE_AUTH |
Require client certificate authentication | false |
| Variable | Description | Default |
|---|---|---|
PORT |
HTTP server port | 8080 |
TLS_PORT |
HTTPS server port | 8443 |
ENABLE_DOCS |
Enable Swagger UI documentation | true |
Create a .env file in the project root:
# Security
JWT_SECRET=your-secret-key

# TLS Configuration (optional)
#TLS_CERT_PATH=/path/to/cert.pem
#TLS_KEY_PATH=/path/to/key.pem
#TLS_CA_PATH=/path/to/ca.pem
#TLS_REQUIRE_AUTH=false

# Server Configuration
ENABLE_DOCS=true
PORT=8080
TLS_PORT=8443Once running, visit:
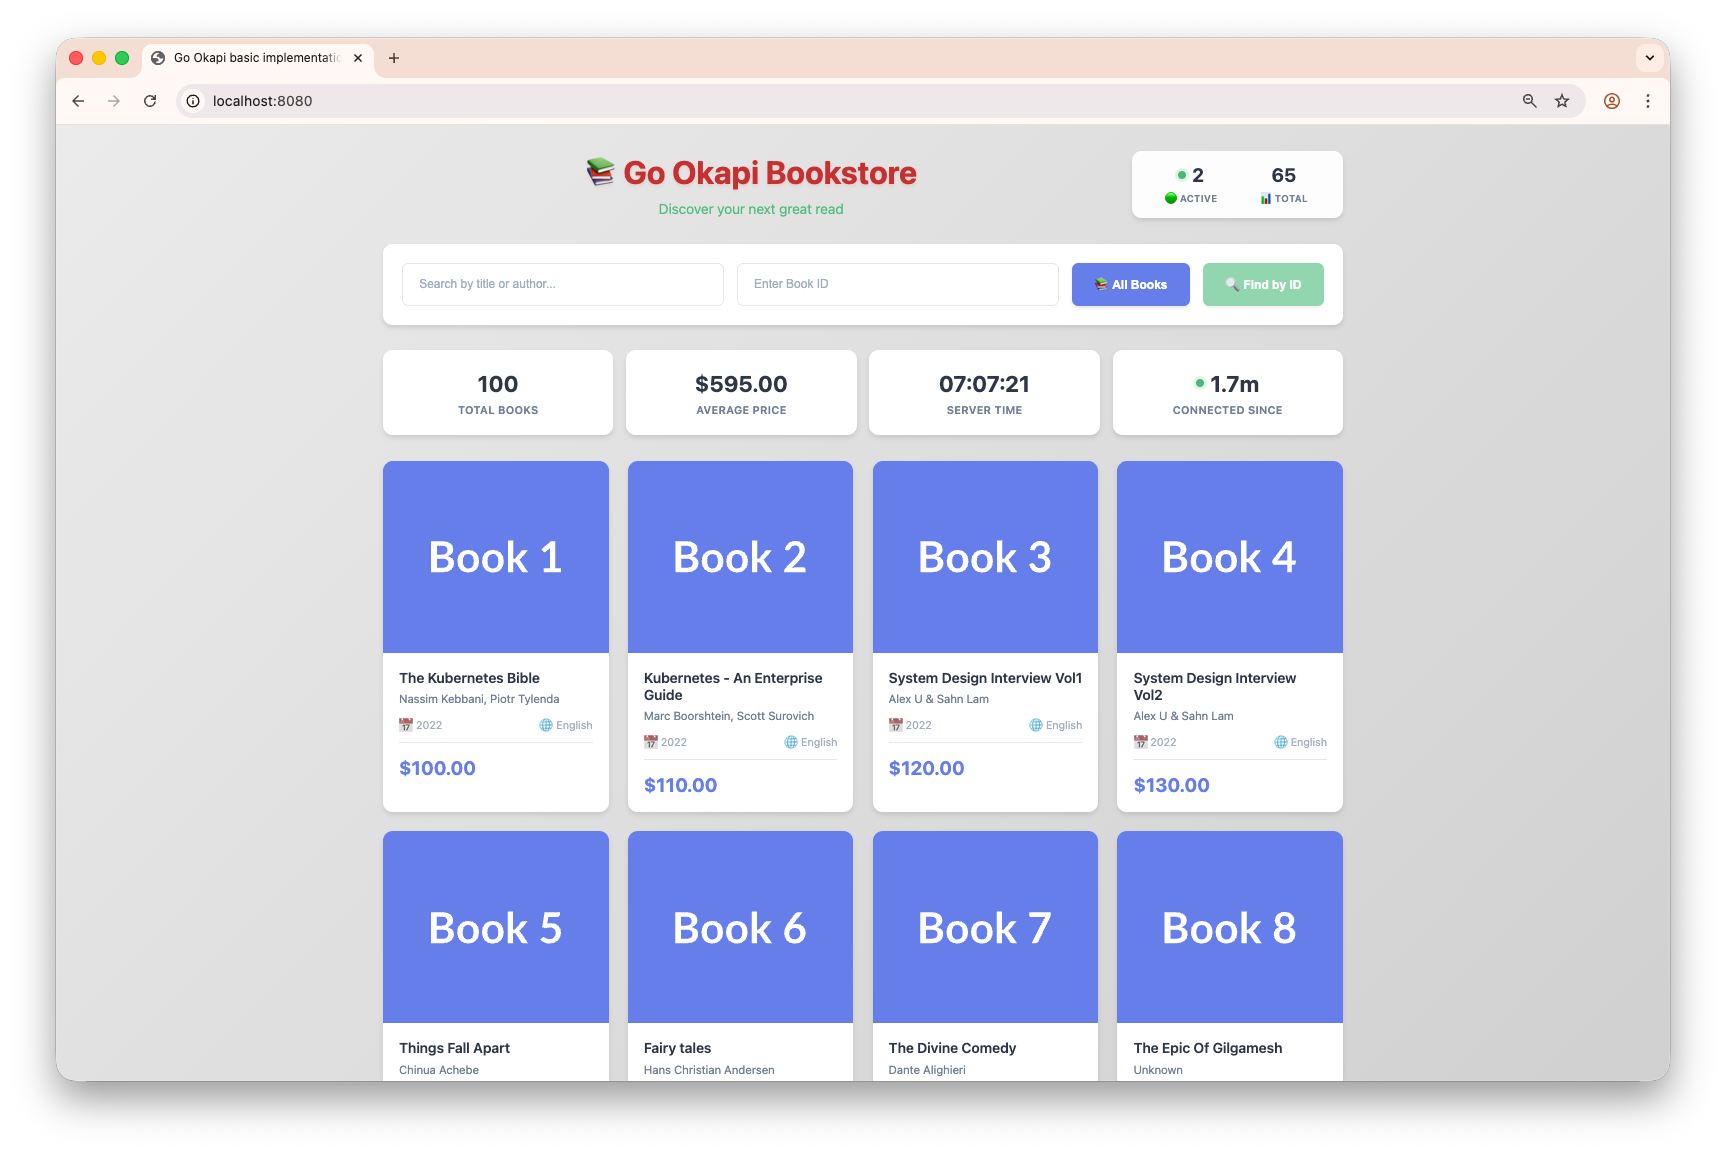
- Home Page: http://localhost:8080 - Welcome page with example overview
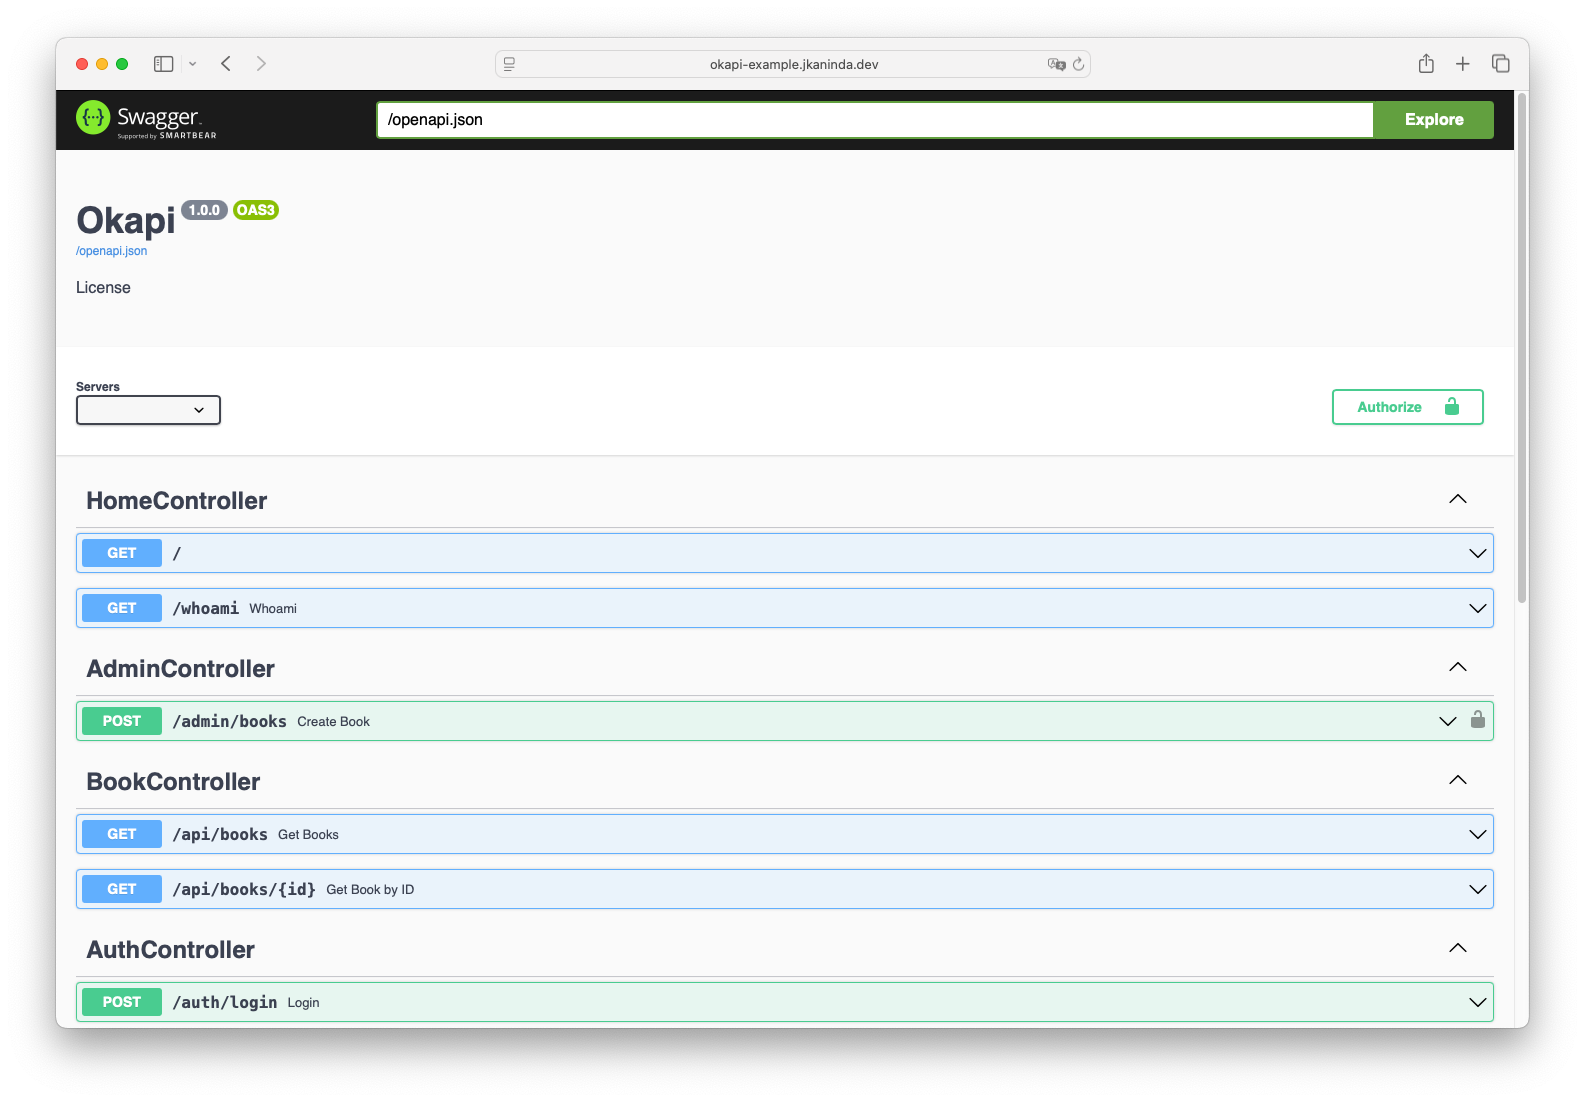
- API Documentation: http://localhost:8080/docs/ - Interactive Swagger UI
okapi-example/
├── main.go              # Application entry point and server setup
├── routes/              # API route definitions and handlers
├── middlewares/         # Custom middleware implementations
├── services/            # Business logic and service layer
├── models/              # Data models and structures
├── session/             # Session management utilities
└── README.md
- Layered Design: Clear separation between routes, services, and models
- Middleware Pipeline: Reusable middleware for authentication, logging, and CORS
- Service Layer: Business logic and service layer
- Session Management: Built-in session handling utilities
Okapi automatically generates comprehensive Swagger UI documentation for all your routes, making API exploration and testing effortless.
After exploring this example:
- Read the Documentation: Visit the Okapi docs for detailed guides
- Customize Routes: Modify the routes in the
routes/directory to fit your needs - Add Features: Extend the example with database integration, authentication, etc.
- Deploy: Use the included Docker setup for production deployments
MIT - Feel free to use, modify, and distribute this example for any purpose.