

Niimbot Label Printer Home Assistant Integration
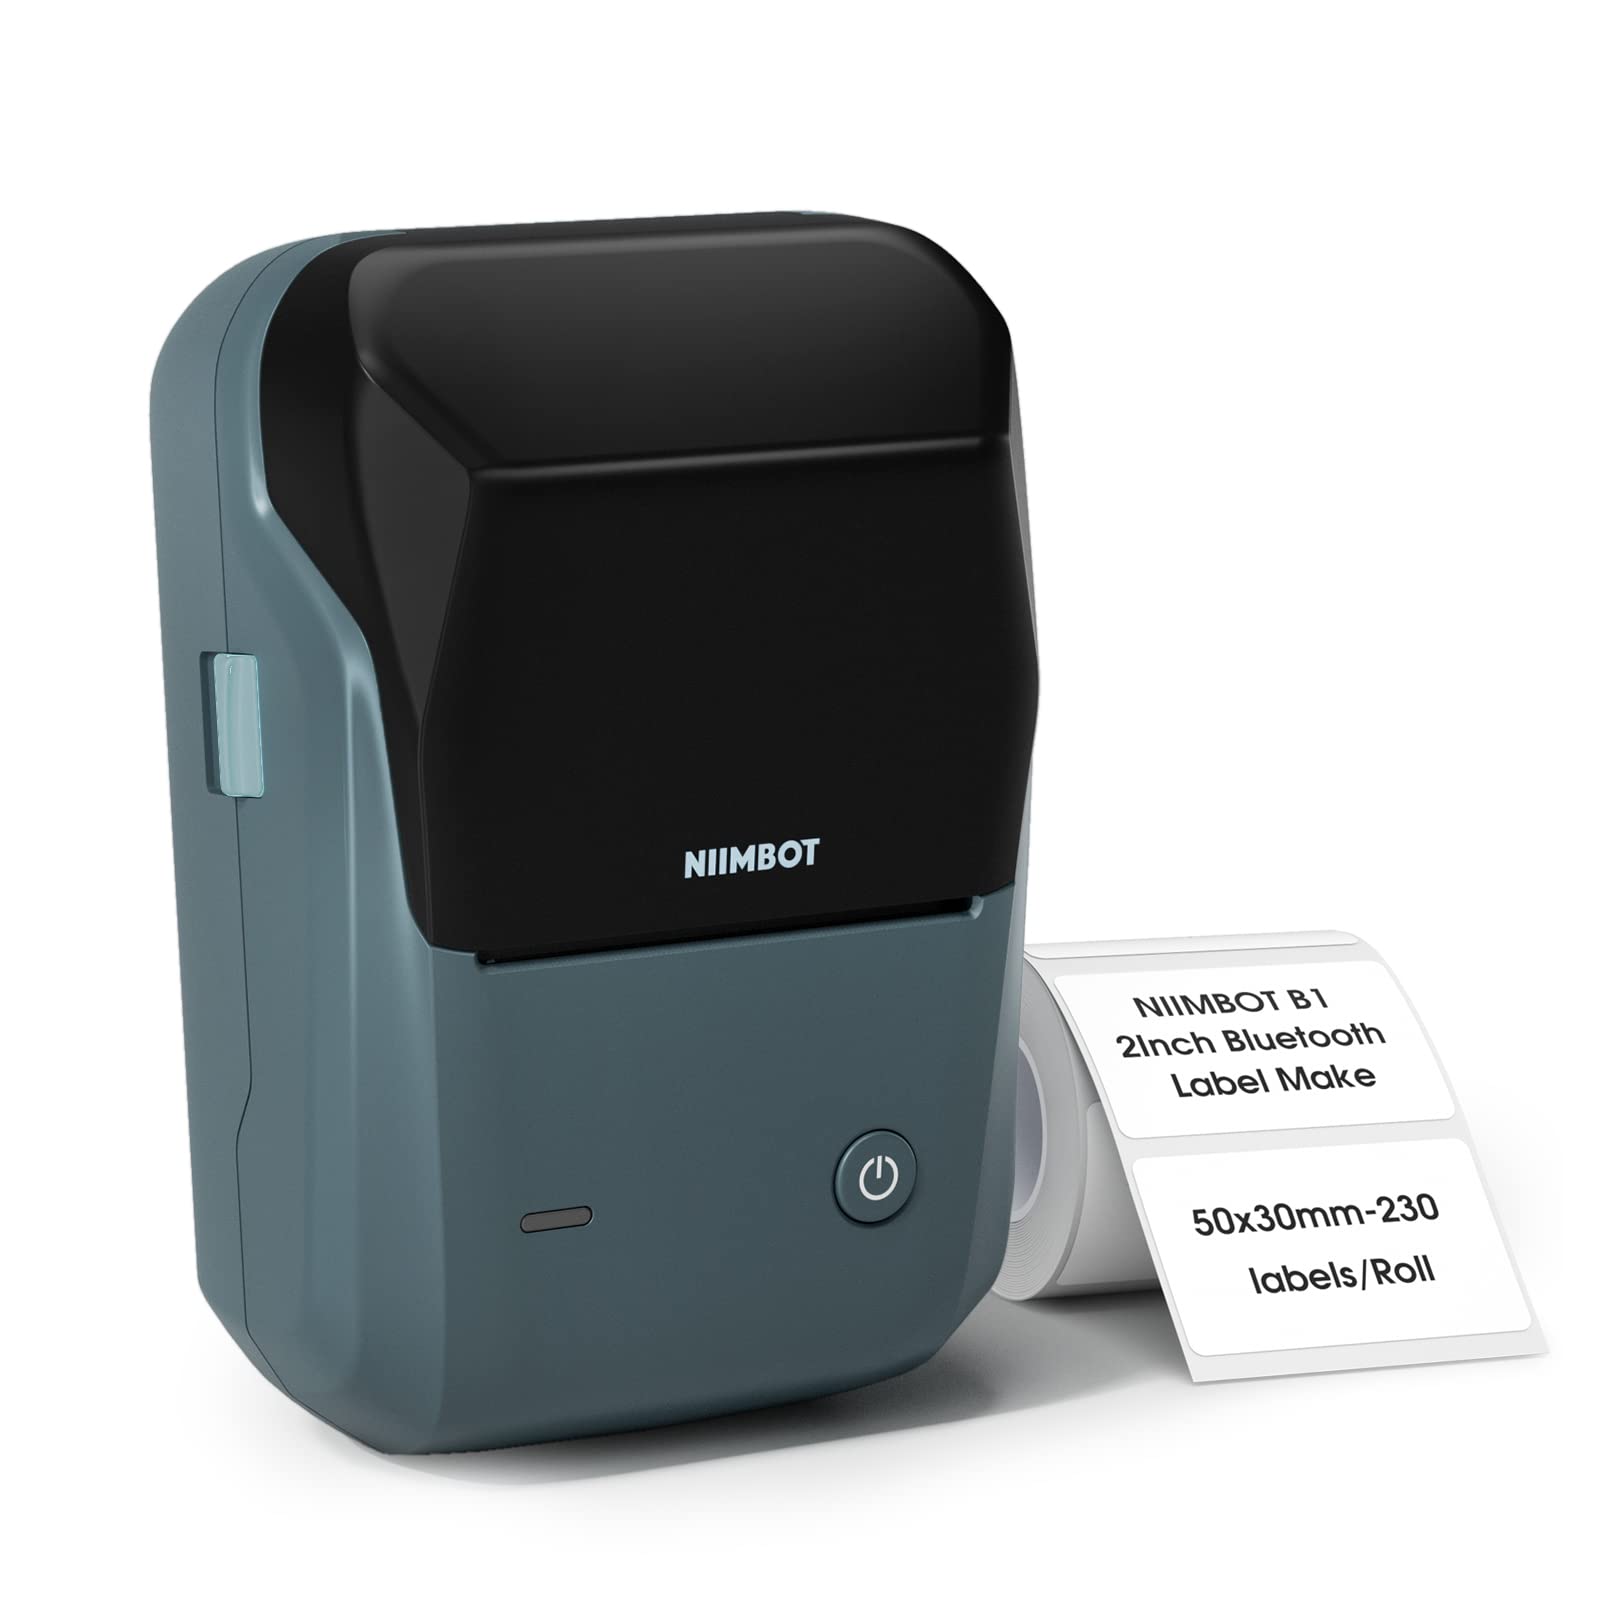
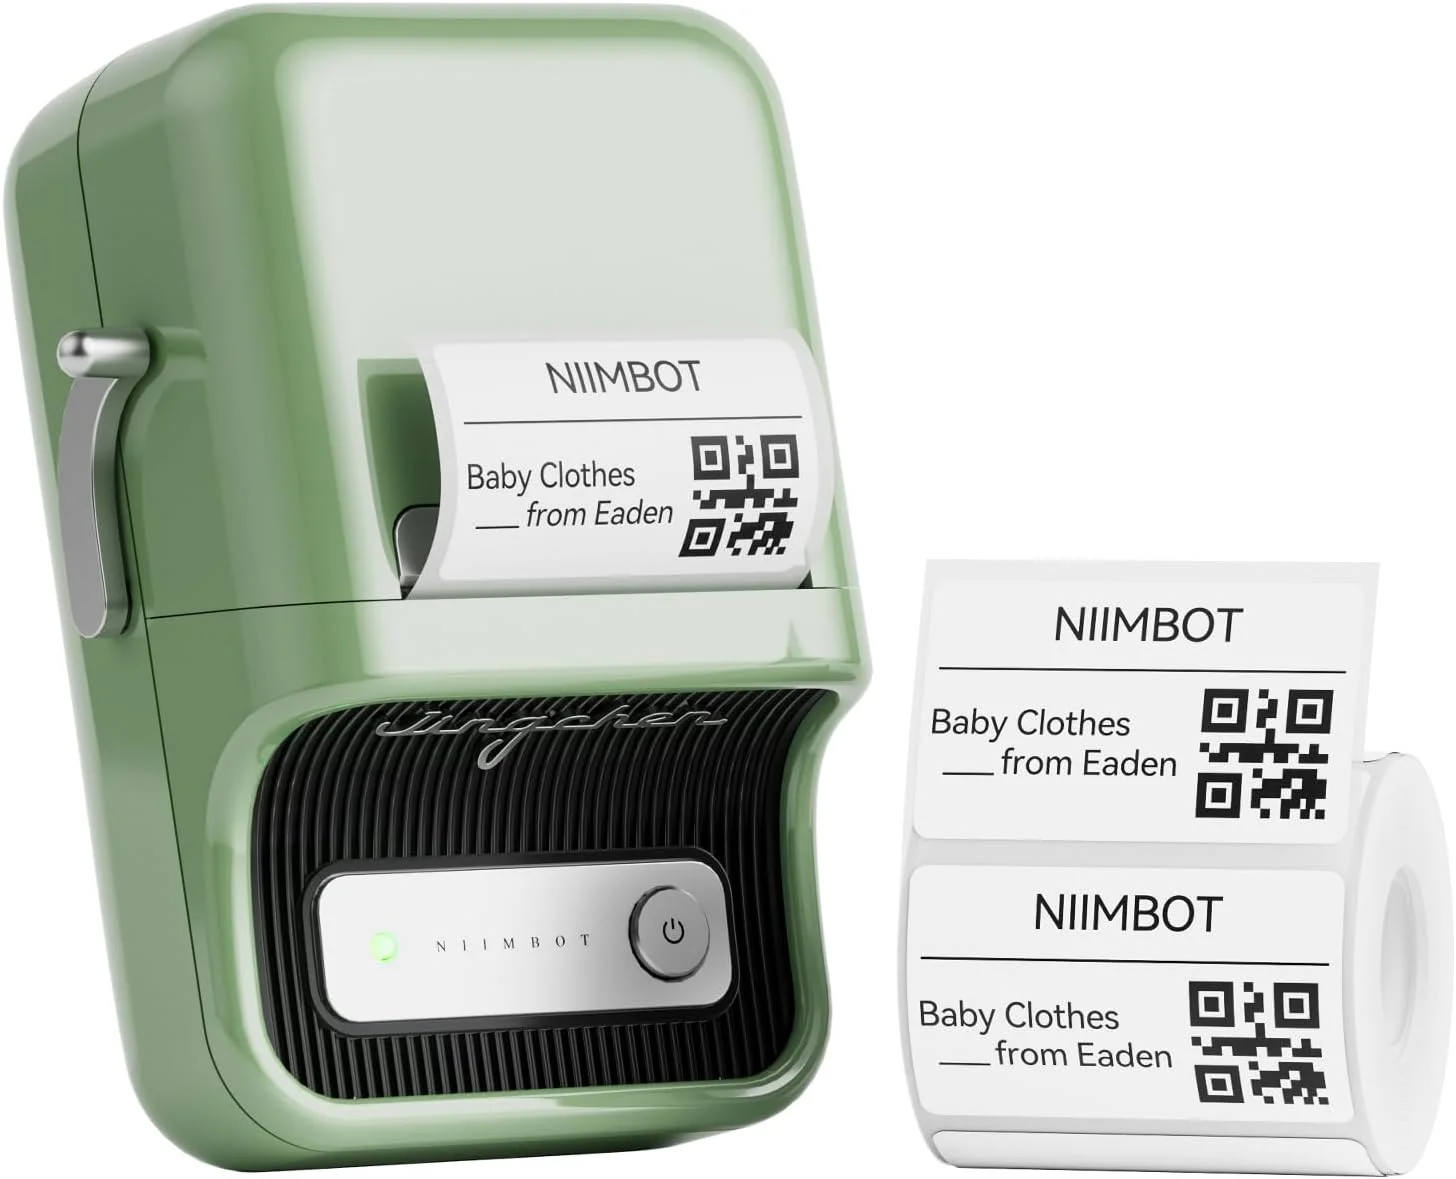
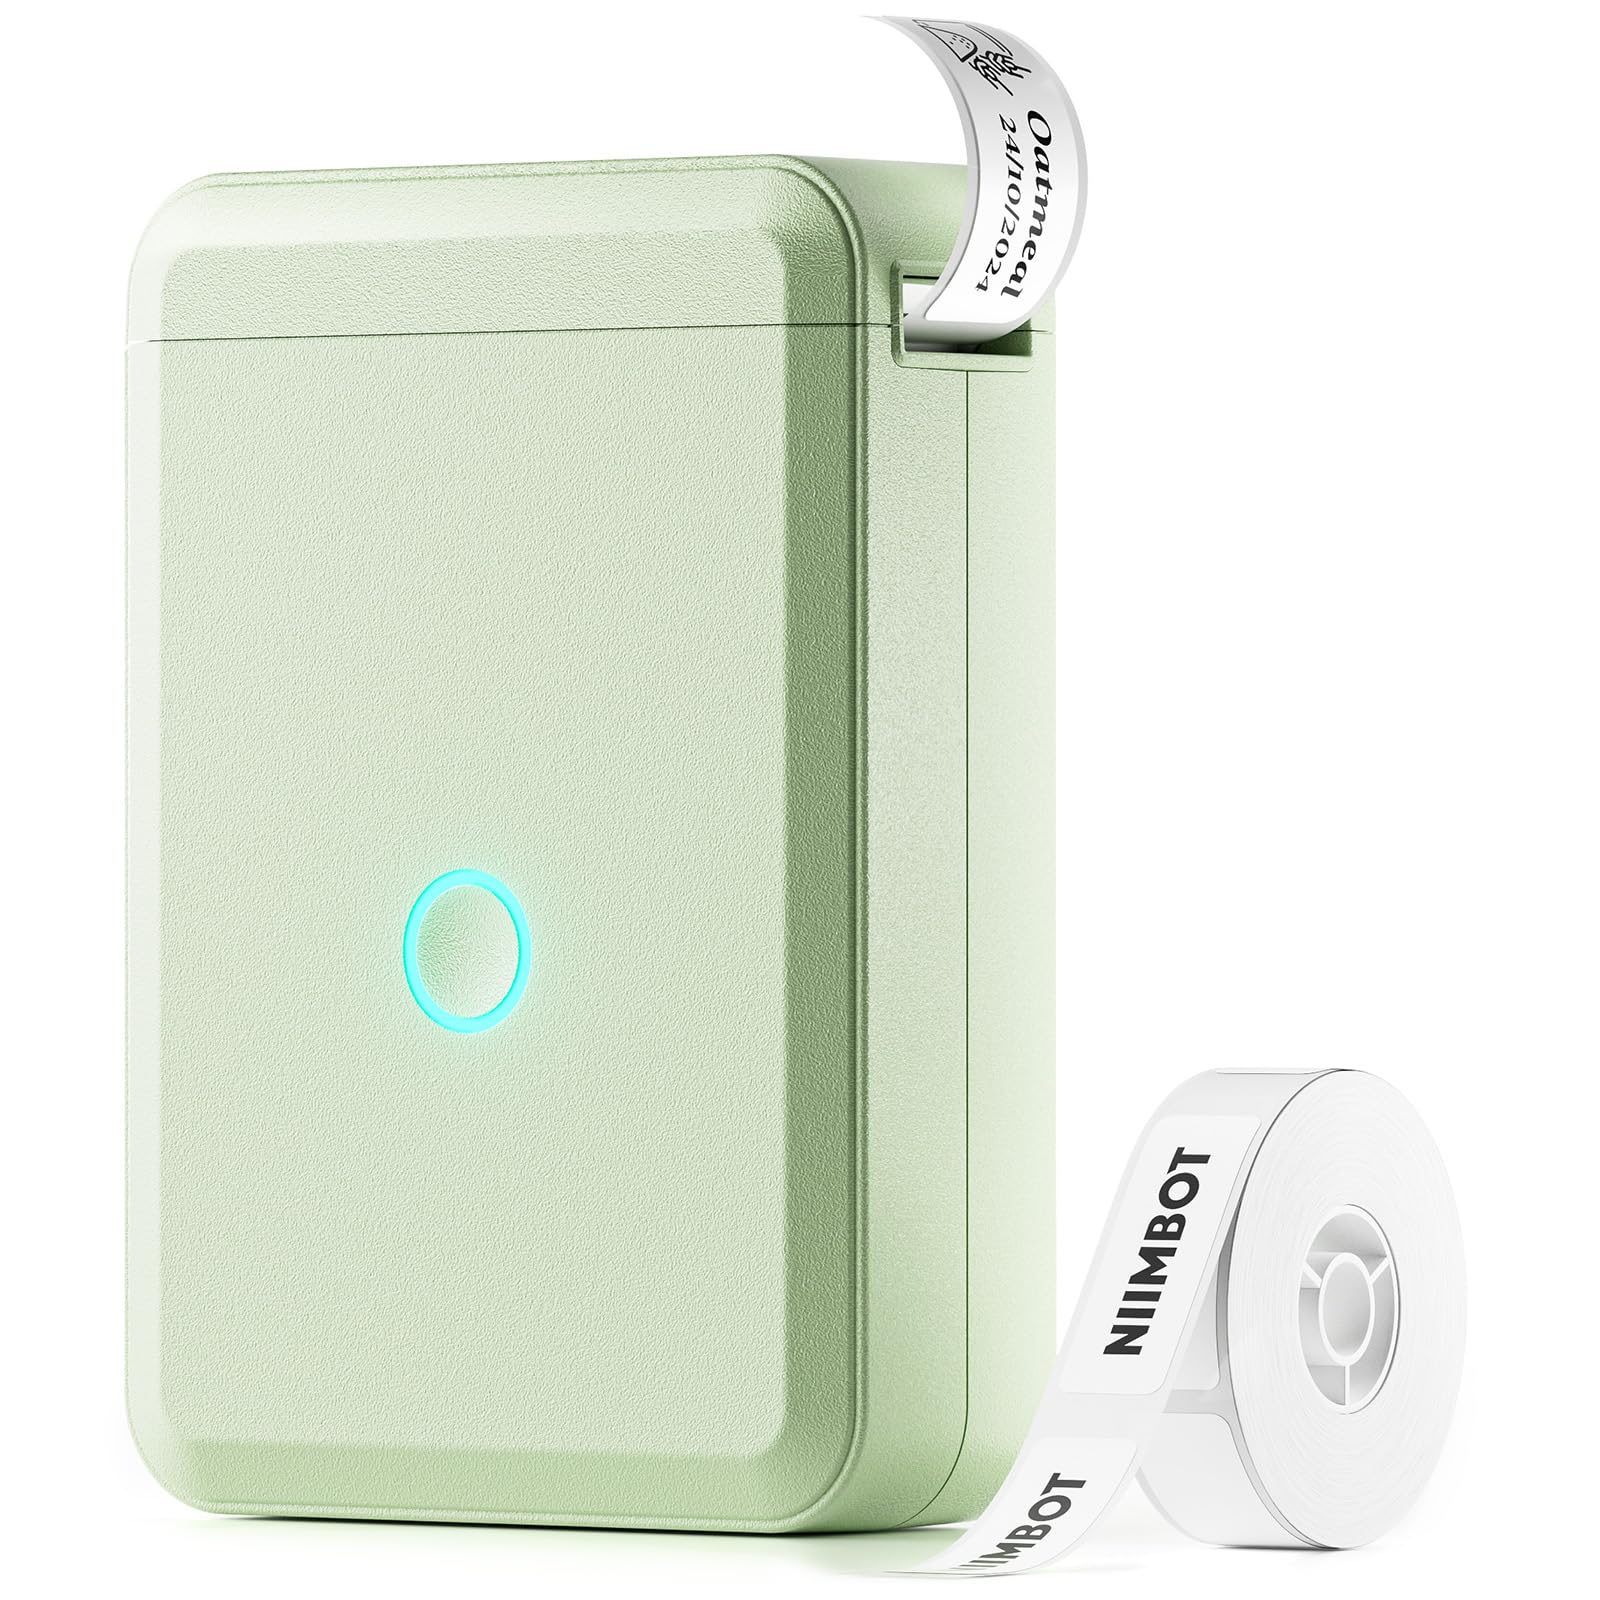
| B1 | B21 Pro | D110 |
|---|---|---|
 |
 |
 |
Important
For all NIIMBOT users using Bluetooth proxies: Please update your proxy devices to ESPHome 2025.11.2 or later.
Benefits of updating:
- Much faster printing (almost instant)
- Greatly improved reliability
- Reduced delays thanks to improved internal GATT handling
🐞 Found a bug? Let us know via an Issue.
💡 Have a question or suggestion? Join the Discussion!
| Model | Status |
|---|---|
| B1 | confirmed |
| B21 Pro | confirmed |
| D110 | confirmed |
| Other models with Bluetooth | may work |
- Install this integration with HACS (adding repository required), or copy the contents of this
repository into the
custom_components/niimbotdirectory. - Restart Home Assistant.
- Go to Settings → Integrations and add integration Niimbot.
- Select a discovered Niimbot device from the list.
- It is strongly recommended to use a Bluetooth proxy instead of a built-in Bluetooth adapter. Bluetooth proxies generally offer more stable connections and better range.
Tip
For hardware recommendations, refer to Great ESP32 Board for an ESPHome Bluetooth Proxy.
-
When using a Bluetooth proxy, keep the scan interval at a reasonable value. Changing these values may affect Bluetooth data transmission.
Example (ESPHome with Bluetooth proxy):
esp32_ble_tracker:
  scan_parameters:
    active: true

bluetooth_proxy:
  active: true
After adding a device, you can configure the following options via Settings → Devices & Services → Niimbot → Configure (gear icon on your printer):
| Option | Default | Range | Description |
|---|---|---|---|
| Use Sound | On | On/Off | Play sound when printer connects via Bluetooth |
| Scan Interval | 600 | 10–9999 s | How often to scan for the device |
| Wait Between Each Print Line | 50 | 0–1000 ms | Delay in milliseconds between each line sent to the printer |
| Confirm Every Nth Print Line | 1 | 1–512 lines | Send confirmation every N lines (higher = faster, but may be less reliable) |
Tip
If printing is slow, try increasing Confirm Every Nth Print Line (e.g. 16) and/or reducing Wait Between Each Print Line (e.g. 10 ms). If you see failed or corrupted prints, use more conservative values.
| Parameter | Required | Default | Description |
|---|---|---|---|
payload |
✅ | — | List of drawing elements (see Payload Element Types) |
rotate |
❌ | 0 |
Label rotation: 0, 90, 180, 270 |
width |
❌ | 400 |
Label width in pixels (10–1600) |
height |
❌ | 240 |
Label height in pixels (10–1600) |
density |
❌ | 3 |
Print density 1–5 (higher = better resolution; some printers support only up to 3) |
wait_between_print_lines |
❌ | 0.05 |
Seconds to wait between each line sent (override device option for this call) |
print_line_batch_size |
❌ | 1 |
Batch size of lines between confirmations (override device option for this call) |
preview |
❌ | false |
Generate image without printing; use with response_variable to get image data |
action: niimbot.print
data:
  payload:
    - type: text
      value: Hello World!
      font: ppb.ttf
      x: 100
      y: 100
      size: 40
  width: 400
  height: 240
  rotate: 0
target:
device_id: <your device>action: niimbot.print
data:
payload:
- type: text
value: Hello World!
font: ppb.ttf
x: 100
y: 100
size: 40
- type: barcode
data: "12345"
code: "code128"
x: 100
y: 100
- type: icon
value: account-cowboy-hat
x: 60
y: 120
size: 120
- type: dlimg
url: "https://example.com/image.png"
x: 10
y: 10
xsize: 120
ysize: 120
rotate: 0
- type: qrcode
data: "qr data"
eclevel: h # l, m, q, h - more info in docs https://pypi.org/project/qrcode/
x: 140
y: 50
boxsize: 2
border: 2
color: "black"
bgcolor: "white"
width: 400
height: 240
rotate: 0
target:
device_id: <your device>action: niimbot.print
data:
payload:
- type: text
value: "Hello World!"
font: ppb.ttf
x: 10
y: 10
size: 30
rotate: 90
width: 240
height: 96
target:
device_id: <your device>action: niimbot.print
data:
payload:
- type: rectangle
x_start: 0
x_end: 600
y_start: 0
y_end: 600
fill: black
width: 584 # maximum label width
height: 354 # maximum label height
density: 5 # use this density to get full use of the printer's resolution
target:
area_id: kitchenGenerate the label image without sending to the printer. Use with
response_variablein a script to get the image data (e.g. for a dashboard camera).
Tip
When testing, use preview: true so the label is not actually printed. You can use the Niimbot Payload Layout Editor to design a layout via drag-and-drop in your browser and automatically generate YAML. Use the generated YAML with preview: true to preview it without sending data to the physical printer.
action: niimbot.print
data:
  preview: true
  payload:
    - type: text
      value: Preview Test
      x: 10
      y: 10
      size: 30
  width: 400
  height: 240
target:
device_id: <your device>Tip
All elements support the visible field (true/false) to conditionally show or hide them.
- type: text
  value: "Hello World!"
  x: 10
  y: 10
  size: 40
  font: ppb.ttf
  color: black
  anchor: lt
  align: left
  spacing: 5
  stroke_width: 1
  stroke_fill: white
  max_width: 200
If y is omitted, the element stacks below the previous element (y_padding controls the gap, default 10).
- type: multiline
  value: "Line1;Line2;Line3"
  delimiter: ";"
  x: 10
  start_y: 10
  offset_y: 25
  size: 20
  font: ppb.ttf
  color: black
  anchor: lm
  stroke_width: 0
stroke_fill: whiteMultiline text with optional auto-fit to width/height (see Script example for multiline text with auto-fit).
- type: new_multiline
  x: 0
  y: 20
  size: 100
  width: 520
  height: 300
  fit: true
  font: rbm.ttf
  value: |
    Line 1
    Line 2
Line 3- type: line
x_start: 0
x_end: 250
y_start: 64
y_end: 64
fill: black
width: 2- type: rectangle
x_start: 5
y_start: 5
x_end: 100
y_end: 60
fill: black
outline: black
width: 2
radius: 10
corners: "top_left,top_right"- type: rectangle_pattern
x_start: 10
y_start: 10
x_size: 20
y_size: 20
x_repeat: 5
y_repeat: 3
x_offset: 5
y_offset: 5
fill: black
outline: black
width: 1
radius: 5
corners: "all"- type: circle
x: 125
y: 64
radius: 30
fill: red
outline: black
width: 2- type: ellipse
x_start: 50
y_start: 20
x_end: 200
y_end: 100
fill: red
outline: black
width: 1Uses Material Design Icons. Icon name with or without mdi: prefix.
- type: icon
  value: "account-cowboy-hat"
  x: 60
  y: 120
  size: 120
  color: black
  anchor: la
  stroke_width: 0
stroke_fill: whiteSupports HTTP/HTTPS URLs and Base64 data URIs (data:image/...;base64,...). Local file paths are not supported.
- type: dlimg
  url: "https://example.com/image.png"
  x: 10
  y: 10
  xsize: 100
  ysize: 100
  rotate: 0
- type: dlimg
url: "data:image/png;base64,iVBORw0KGgo..."
x: 10
y: 10
xsize: 50
ysize: 50- type: qrcode
data: "https://www.home-assistant.io"
x: 140
y: 10
boxsize: 2
border: 1
color: black
bgcolor: white
eclevel: heclevel: l, m, q, h (see qrcode).
- type: datamatrix
  data: "datamatrix data"
  x: 10
  y: 10
  boxsize: 2
  color: "black"
bgcolor: "white"- type: barcode
data: "123456789012"
x: 10
y: 80
code: code128
color: black
bgcolor: white
module_width: 0.2
module_height: 7
quiet_zone: 6.5
font_size: 5
text_distance: 5.0
write_text: true- type: diagram
x: 0
y: 0
width: 250
height: 128
margin: 20
font: ppb.ttf
bars:
values: "Mon,10;Tue,25;Wed,15;Thu,30;Fri,20"
color: black
margin: 10
legend_size: 10
legend_color: blackReads entity history from Home Assistant Recorder.
- type: plot
  data:
    - entity: sensor.temperature
      color: black
      width: 2
  duration: 86400
  x_start: 30
  y_start: 10
  x_end: 290
  y_end: 120
  size: 10
  font: ppb.ttf
  low: 15
  high: 35
  ylegend:
    width: -1
    color: black
    position: left
  yaxis:
    width: 1
    color: black
    tick_width: 2
    tick_every: 5
    grid: 5
    grid_color: black
debug: false- type: progress_bar
x_start: 10
y_start: 100
x_end: 240
y_end: 120
progress: 75
direction: right
background: white
fill: red
outline: black
width: 1
show_percentage: trueTip
All elements support the visible field (true/false, default: true) to conditionally show or hide them.
| Type | Required Fields | Optional Fields | Description |
|---|---|---|---|
| text | x, value |
y, size(20), font(ppb.ttf), color(black), anchor(lt), align(left), spacing(5), stroke_width(0), stroke_fill(white), max_width, y_padding(10) |
Text. Auto-stacks if y omitted. |
| multiline | x, value, offset_y |
start_y, delimiter, size(20), font, color(black), anchor(lm), stroke_width, stroke_fill, y_padding(10) |
Lines split by delimiter. |
| new_multiline | x, y, value |
size(20), spacing, width, height, fit / fit_width / fit_height, font, color, anchor(la), align, stroke_width, stroke_fill |
Multiline with optional auto-fit. |
| line | x_start, x_end |
y_start, y_end, fill(black), width(1), y_padding(0) |
Straight line. |
| rectangle | x_start, x_end, y_start, y_end |
fill, outline(black), width(1), radius(0), corners(all) |
Rectangle, optional rounded corners. |
| rectangle_pattern | x_start, y_start, x_size, y_size, x_repeat, y_repeat, x_offset, y_offset |
fill, outline, width, radius, corners |
Grid of rectangles. |
| circle | x, y, radius |
fill, outline(black), width(1) |
Circle. |
| ellipse | x_start, x_end, y_start, y_end |
fill, outline, width(1) |
Ellipse. |
| icon | x, y, value, size |
color/fill(black), anchor(la), stroke_width, stroke_fill |
Material Design Icons. |
| dlimg | x, y, url, xsize, ysize |
rotate(0) |
Image from URL or Base64 data URI. |
| qrcode | x, y, data |
color(black), bgcolor(white), border(1), boxsize(2), eclevel(h) |
QR code. |
| datamatrix | x, y, data |
color(black), bgcolor(white), boxsize(2) |
DataMatrix code. |
| barcode | x, y, data |
code(code128), color, bgcolor, module_width, module_height, quiet_zone, font_size, text_distance, write_text |
Barcode. |
| diagram | x, y, height |
width, margin(20), font, bars |
Bar chart. |
| plot | data([{entity}]) |
duration(86400), x_start, y_start, x_end, y_end, size, font, low, high, ylegend, yaxis, debug |
Time-series from Recorder. |
| progress_bar | x_start, x_end, y_start, y_end, progress |
direction(right), background, fill, outline, width, show_percentage |
Progress bar. |
alias: Print label with multiple lines of text
description: >-
  Use this tool to quick-print any label, for example a recipient label for
  mailing a letter.  Give the contents of the label, in multiple lines, in the
  `content` field, for the print to be successful.  The text will resize to fit
  the width, and the height will fit a maximum of five lines.
fields:
  contents:
    selector:
      text:
        multiline: true
    name: Contents
    required: true
    description: >-
      Contents of the label (e.g. the full address of a letter's recipient) each
      part in a separate line.
sequence:
  - action: niimbot.print
    data:
      payload:
        - type: new_multiline
          x: 0
          y: 20
          size: 100  # start with a large font size
          width: 520
          height: 300
          fit: true
          font: rbm.ttf
          value: "{{ contents }}"
          # e.g.
          # value: |-
          #   Max Mustermann
          #   Strassenstraße 33
          #   49418 Mallorca
          #   Spain
      width: 584
      height: 350
      density: 5
    target:
      area_id: kitchen
In type: new_multiline, the font size starts by default at 20, and
the spacing between lines defaults to the font size. You can, of
course, set your own custom font size and spacing.
If you specify fit_width: True or fit: width and add the required
specific width in pixels, the font size and spacing will be
iteratively reduced until the longest line in the text value you
specified fits the required width.
If you specify fit_height: True or fit: height and add the required
specific height in pixels, the font size and spacing will be
iteratively reduced until the whole text fits vertically in the supplied
height.
To combine both modes, you can specify fit: True.
Of course, if font size is left to its default, which is quite small
for 300x500mm labels, chances are, only very large amounts of text will
cause shrinkage of the font size to fit. In that case, pass a large font
size and it will be shrunk to a fitting size.
Note that the top part of letters in italicized text tends to spill outside the specified width -- try to make your width slightly narrower in that case.
The printer receives data from Home Assistant line by line. When this data is sent via a Bluetooth proxy, the latency involved in communicating each packet and awaiting for a response can cause significant delays that add up. This is particularly notorious for complex labels with little to no empty horizontal space. This is so because that way of sending data is the maximally conservative way that ensures maximum reliability. That reliability comes at a cost of speed.
Despair not, as there are workarounds to accelerate printouts substantially. In the developer console, you can try the following workarounds documented below:
action: niimbot.print
data:
  payload:
    # Complex figure you can test with.
    - type: rectangle
      x_start: 0
      x_end: 10
      y_start: 0
      y_end: 600
      fill: black
  width: 584
  height: 350
  density: 5
  # The following value reduces the time HA waits between
  # lines sent to the printer, from its default 0.05 (50 ms).
  # Sufficiently small values may cause your printer to fail
  # to print at all, or print corrupted labels.
  wait_between_print_lines: 0.01
  # The following value changes the way that lines are sent
  # to the printer, from a write-with-response to a plain
  # fire-and-forget write, for the number of lines you set
  # minus one (in this example, the value says 16, so HA
  # would send 15 lines without confirmation, and send each
  # 16th line waiting for a response).  The default is 1,
  # which means every line gets sent using write-with-response,
  # which itself costs about 0.1 seconds per line.
  # Sufficiently large values will flood your ESPHome Bluetooth
  # proxies, causing no or partial printout of labels.
  print_line_batch_size: 16
target:
  device_id: <your device>
Once you have experimented with these configuration values, you can set them permanently for every print. Go to the Devices & Services settings, then find Niimbot under the list of integrations, and open it. Use the gear icon for your printer's config entry to change the settings to the values that worked for you:
- Wait time between print lines: set it to the value that worked for you, multiplied by 1000 (as the configuration value is in milliseconds).
- How often to confirm reception of print lines: set it to the value
of
print_line_batch_size.
Thus, the values that worked for you will now be permanent and used in every print.
You are encouraged to open reports with the values that worked for you, in order to help us come up with better, less conservative defaults. Anecdotally, in a congested network, the B21 Pro printer is reliable down to 10 milliseconds (0.01 seconds) of waiting between print lines, and up to 16 lines in a batch prior to confirmation, which speeds up complex labels more than fourfold.
The niimbot.print service supports not printing, if the data parameter
preview is present when you call it.
You might think "but what is the point of just running a preview that prints nothing?"
Think again. An entity with ID image.<your device>_last_label_made
is updated every time you print or preview a label. Stick it to a
dashboard of yours, and now you can always recall what label you last made.
(Note that the label is not preserved between Home Assistant restarts.)
You can use this image entity to save consumables -- iterate on a label design to perfect it (perhaps using the developer tools Actions tab), without actually printing the label.
You could also have an automation that uses the image snapshot services to take a snapshot of your label every time it changes.
If you don't want this entity, simply disable it from the entity settings.
Never waste a single sticker or label ever again!
If you call the niimbot.print service with the response_variable
set to some variable name, a data: string containing the generated
image (encoded as a URL) is returned to the calling script.
Here is a trivial example of how you could use this data:
- Ensure your Home Assistant instance has a
wwwfolder under its/configdirectory. - Add the following code to your
configuration.yaml(adjust the path towwwto your setup).
shell_command:
  update_label: >-
    bash -c 'set -o pipefail; echo "$0" | cut -d, -f2 | base64 -d >/config/www/label.png' {{ image_data }}
Now, every time you call the service shell_command.update_label,
with data parameter image_data set to the data: URL returned by
niimbot.print, the file label.png will be updated on disk inside
www.
-
Add a Local file camera (via Devices and Services → Add Integration) and when it asks you for the path, point it to
/config/www/label.png. This "camera" entity will update automatically every timelabel.pngis updated by anything. Very neat! -
Create a script that will call
niimbot.printand thenshell_command.update_labelin sequence. Here is a sample that will prompt you for a payload (list of elements) and will then promptly preview such a payload intolabel.png:
alias: Iterate on a label
description: ""
fields:
  payload:
    selector:
      object: {}
    default: []
    name: Payload
sequence:
  - action: niimbot.print
    target:
      device_id: <your device id>
    data:
      payload: "{{ payload }}"
      width: 584
      height: 350
      density: 5
      preview: true
    response_variable: previewed
    alias: "\"Print\" a label to a data: image"
  - action: shell_command.update_label
    metadata: {}
    data:
      image_data: "{{ previewed.image }}"
    alias: Update label.png on disk
The grand finale? Add a camera card to your dashboard:
show_state: true
show_name: true
camera_view: auto
fit_mode: cover
type: picture-entity
# The following line contains the entity ID of my local file "camera".
entity: camera.local_fileDesign label layouts in your browser with drag-and-drop, then copy the generated YAML. Use with preview: true to test without printing.
| Example | Description | YAML |
|---|---|---|
| Grocy label | Print Grocy product label via webhook | examples/grocy/README.md |
Place .ttf files in the integration folder or in www/fonts and reference by name (e.g. ppb.ttf, rbm.ttf).