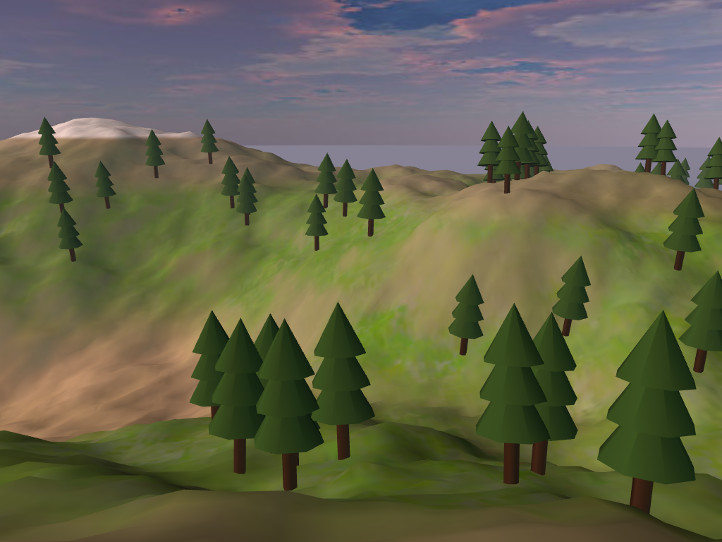
THREE.Terrain is a procedural terrain generation engine for use with the
Three.js 3D graphics library for the web.
Install with npm (npm install three.terrain.js) and import as an ES module.
You also need a compatible version of three.js
(r160 or later) in your project.
This library includes a
SKILL.md file
to help AI agents use it. Or you can do it yourself:
import * as THREE from 'three';
import Terrain, { TerrainNS, createGrass, createSeededRandom, generateBlendedMaterial, grassMeshWeight, updateGrass, updateGrassLOD } from 'three.terrain.js';
// Or from a local checkout: import Terrain, { TerrainNS, generateBlendedMaterial } from './src/index.js';Terrain(default export) builds a terrain mesh.TerrainNSholds generators, filters, and other helpers (for exampleTerrainNS.DiamondSquare,TerrainNS.Smooth,TerrainNS.ScatterMeshes).generateBlendedMaterial(also available asTerrainNS.generateBlendedMaterial) helps texture the terrain.createGrasscreates grass blades for terrain cover. Various options and helpers support tints, clustering, density, swaying in the wind, etc.createSeededRandomtakes a seed and returns a function similar toMath.random()which returns a deterministic sequence of random values based on the seed. This can be passed as an option to other methods.
In your own script, generate a terrain and add it to your scene:
// Generate a terrain
var xS = 63, yS = 63;
var terrainScene = Terrain({
    easing: TerrainNS.Linear,
    frequency: 2.5,
    heightmap: TerrainNS.DiamondSquare,
    material: new THREE.MeshBasicMaterial({color: 0x5566aa}),
    maxHeight: 100,
    minHeight: -100,
    steps: 1,
    xSegments: xS,
    xSize: 1024,
    ySegments: yS,
    ySize: 1024,
});
// Assuming you already have your global scene, add the terrain to it
scene.add(terrainScene);

// Optional:
// Get the geometry of the terrain across which you want to scatter meshes
var geo = terrainScene.children[0].geometry;
// Add randomly distributed foliage
var decoScene = TerrainNS.ScatterMeshes(geo, {
    mesh: new THREE.Mesh(new THREE.CylinderGeometry(2, 2, 12, 6)),
    w: xS,
    h: yS,
    spread: 0.02,
    randomness: Math.random,
});
terrainScene.add(decoScene);

// Optional:
// Add dense, instanced grass
var grass = createGrass({
    bladeCount: 20,
    height: 9,
    minimumLight: 0.58,
    width: 7,
});
var grassScene = TerrainNS.ScatterGrass(geo, {
    instanced: true,
    mesh: grass,
    // Keep mesh placement inside the fully grass-covered part of the
    // generateBlendedMaterial layer (described below).
    spread: function(vertex, faceIndex, faceNormal) {
        return grassMeshWeight(vertex.z, faceNormal.angleTo(new THREE.Vector3(0, 0, 1))) > 0;
    },
    maxTilt: 0,
    randomRotationAxis: 'y',
    positionJitter: 2.5,
    tintRange: { min: 0x496b34, max: 0x78934a },
});
terrainScene.add(grassScene);

// In the render loop, update wind and compact distant instances before draw.
updateGrass(grass, elapsedSeconds);
updateGrassLOD(grassScene, camera, 1200);
For repeatable terrain and decoration, pass a seeded random function through
the random option.:
var terrainScene = Terrain({
    heightmap: TerrainNS.PerlinDiamond,
    random: createSeededRandom(12345),
    // ...other terrain options
});
var decoScene = TerrainNS.ScatterMeshes(terrainScene.children[0].geometry, {
    mesh: new THREE.Mesh(new THREE.CylinderGeometry(2, 2, 12, 6)),
    random: createSeededRandom(67890),
});
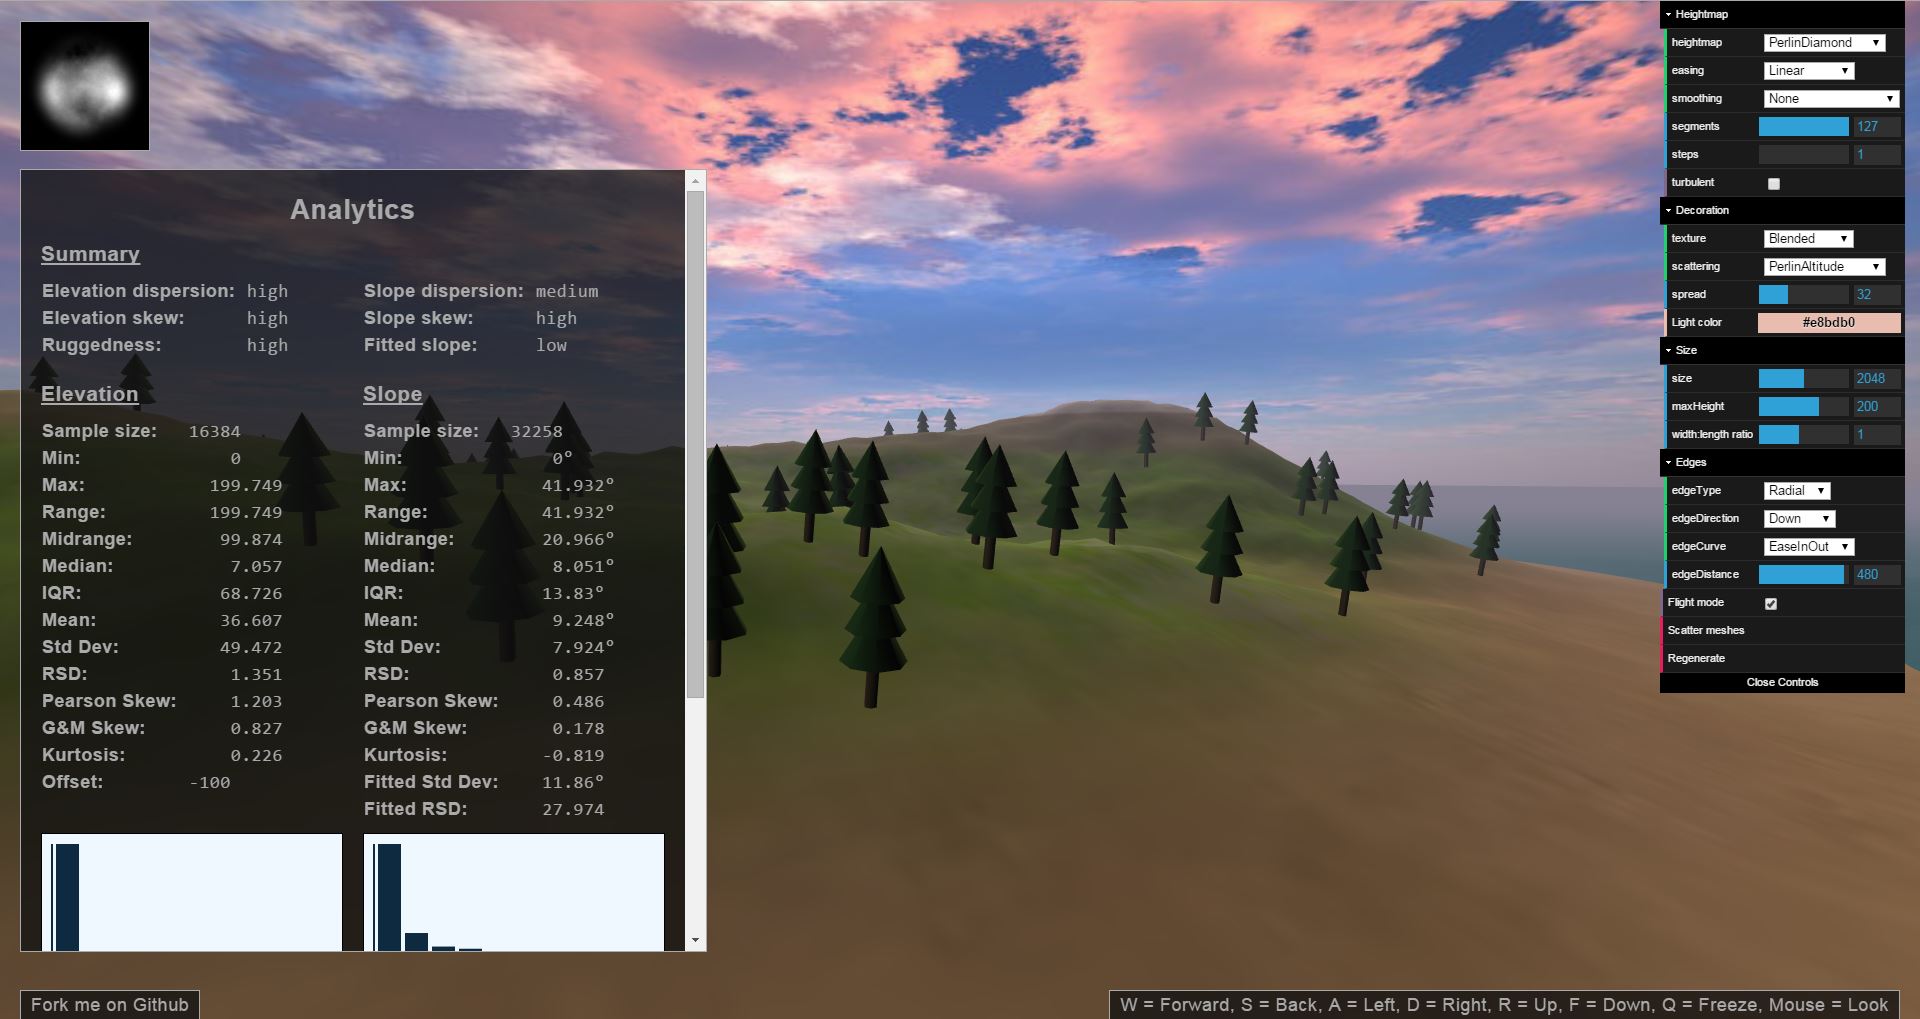
All parameters are optional and thoroughly documented in the source code. You can play around with some of the parameters and see what happens in the demo.
Methods for generating terrain procedurally that are available by default include Cosine, Diamond-Square (a better version of Midpoint Displacement), Fault lines, Feature picking, Particle deposition, Perlin and Simplex noise, Value noise, Weierstrass functions, Worley noise (aka Cell or Voronoi noise), Brownian motion, arbitrary curves, and various combinations of those.
Export a terrain to a heightmap image:
// Returns a canvas with the heightmap drawn on it.
// Append to your document body to view; right click to save as a PNG image.
var canvas = TerrainNS.toHeightmap(
    // terrainScene.children[0] is the most detailed version of the terrain mesh
    terrainScene.children[0].geometry.attributes.position.array,
    { xSegments: 63, ySegments: 63 }
);
The result will look something like this:

If all you need is a static terrain, the easiest way to generate a heightmap is to use the demo and save the generated heightmap that appears in the upper-left corner. The demo even has a "sculpt" tool to make manual modifications to the terrain. However, if you want to perform more custom manipulations on the terrain first, you will need to export the heightmap yourself.
To import a heightmap, create a terrain as explained above, but pass the loaded
heightmap image (or a canvas containing a heightmap) to the heightmap option
for the Terrain() function (instead of passing a procedural generation
function).
Note that since the library supports seeded randomness, you may not need to export and import the whole terrain; instead, you might just need the seed you used to generate the terrain of interest.
When generating terrains procedurally, it's useful to automatically texture
terrains based on elevation/biome, slope, and location. A utility function is
provided that generates such a material (other than blending textures together,
it is the same as a MeshLambertMaterial).
// t1, t2, t3, and t4 must be textures, e.g. loaded using `THREE.TextureLoader.load()`.
// The function takes an array specifying textures to blend together and how to do so.
// The `levels` property indicates at what height to blend the texture in and out.
// The `glsl` property allows specifying a GLSL expression for texture blending.
var material = generateBlendedMaterial([
    // The first texture is the base; other textures are blended in on top.
    { texture: t1 },
    // Start blending in at height -80; opaque between -35 and 20; blend out by 50
    { texture: t2, levels: [-80, -35, 20, 50] },
    { texture: t3, levels: [20, 50, 60, 85] },
    // How quickly this texture is blended in depends on its x-position.
    { texture: t4, glsl: '1.0 - smoothstep(65.0 + smoothstep(-256.0, 256.0, vPosition.x) * 10.0, 80.0, vPosition.z)' },
    // Use this texture if the slope is between 27 and 45 degrees
    { texture: t3, glsl: 'slope > 0.7853981633974483 ? 0.2 : 1.0 - smoothstep(0.47123889803846897, 0.7853981633974483, slope) + 0.2' },
]);Many other utilities are provided, for example for compositing different terrain generation methods; creating islands, cliffs, canyons, and plateaus; manually influencing the terrain's shape at different locations; different kinds of smoothing; and more. These features are all fully documented in the source code. Additionally, you can create custom methods for generating terrain or affecting other processes.
The demo uses @dgreenheck/ez-tree
(MIT licensed) for trees and bushes.
To run the demo locally:
npm install
npm start
This starts a Vite development server, which resolves three and other demo
dependencies from node_modules.
To rebuild the library bundles in dist/:
npm run buildTo run the regression suite:
npm testThe suite uses Node's built-in test runner and the existing Playwright dependency. It covers seeded terrain construction, normalization callbacks, analysis, blended materials, instanced grass, and browser-only heightmap conversion.
There is also a statistics simulation that compares procedural
generation methods. Run it with npm start and open /statistics/, or see
statistics/README.md.
The published npm package does not include demo assets. For this repository’s
demo and statistics pages without Vite (for example GitHub Pages), copy runtime
dependencies from node_modules into vendor/ and commit the result:
npm install
npm run vendor
The HTML pages use inline import maps to load three and dat.gui
from those local copies. Re-run npm run vendor after bumping those
devDependencies.