Detailed Windows Instructions
Epictope installation requires installation of BLAST, MUSCLE, DSSP, and R, as well as several subpackages. To install on Windows, these steps can be broken down into several substeps.
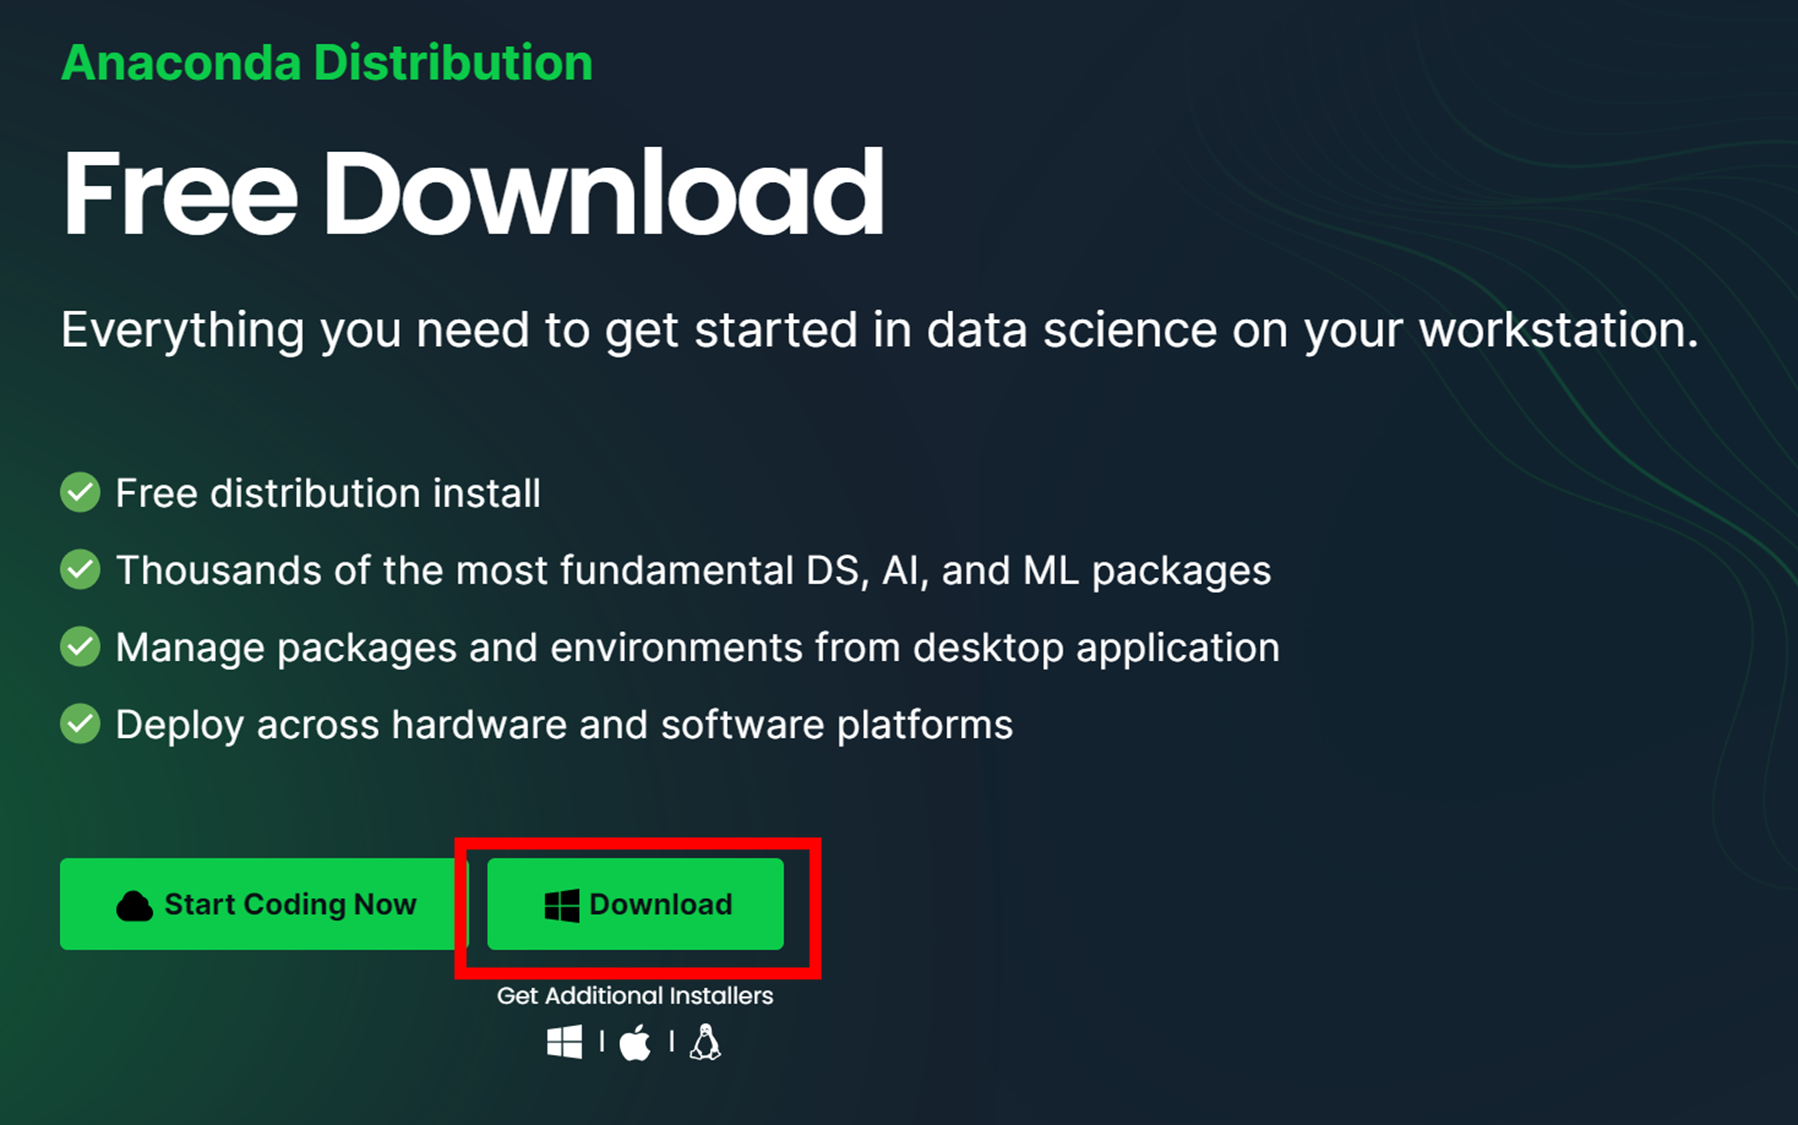
1: Download the anaconda installer
- Go to the Anaconda website and download the Anaconda installer for Windows.
2: Run the installer
- Go to your Downloads folder and double-click the installer to launch.
3: Follow the installation wizard
- Click Next in the Installation Wizard on the "Welcome to Anaconda" page.
- Read the licensing terms and click I Agree.
- Select an install for Just Me (recommended) or All Users and click Next.
- Choose a destination folder to install Anaconda and click Next.
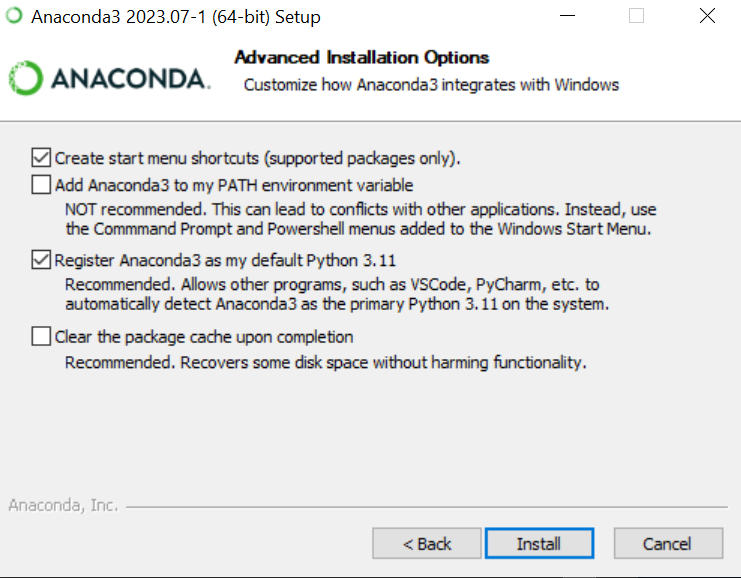
- Choose whether to add Anaconda to your PATH environment variable or register Anaconda as your default Python. We don’t recommend adding Anaconda to your PATH environment variable, since this can interfere with other software. Instead, use Anaconda software by opening Anaconda Navigator or the Anaconda Prompt from the Start Menu.
- Click Install.
4: Complete the installation
- Click Next.
- After a successful installation you will see the “Thanks for installing Anaconda” dialog box. If you wish to read more about Anaconda.org and how to get started with Anaconda, check the boxes “Anaconda Distribution Tutorial” and “Learn more about Anaconda”. Click Finish.
5: Verify your Anaconda installation
- Open the Anaconda Prompt from the Start Menu.
- In your terminal window or Anaconda Prompt, run the command
conda list. A list of installed packages appears if it has been installed correctly.
Below are detailed instructions for opening conda and setting up your project directory on Windows..
Before you begin, make sure you have Anaconda installed on your Windows system. If not, download and install it from the Anaconda website.
-
Opening Anaconda Prompt
- Click on the Windows Start Menu in the bottom-left corner of your screen.
- Scroll through the installed applications list until you find the Anaconda3 folder.
- Click to expand the folder and locate the application named "Anaconda Prompt". Click on it to open.
-
Creating a New Project Folder
-
Once the Anaconda Prompt is open, you'll see a command line interface. You'll typically start at your home directory.
-
To create a new folder (let's call it "Epictope"), you can use the command
mkdir. Here is an example where we're creating a new folder on the desktop:mkdir C:\Users\YourUsername\Desktop\EpictopeMake sure to replace "YourUsername" with your actual username on your computer.
-
-
Changing Directory into Your New Project Folder
-
After creating your new project folder, you can navigate into it using the
cdcommand, like this:cd C:\Users\YourUsername\Desktop\Epictope -
Again, make sure to replace "YourUsername" with your actual username.
-
Now you should be inside your new project directory. The prompt should display something like
C:\Users\YourUsername\Desktop\Epictopeto indicate your current location in the system.
-
Remember, the Command Prompt and the Anaconda Prompt are case sensitive. Be sure to enter the folder and file names exactly as they appear in your system.
-
Downloading the Batch Script
-
In the Anaconda Prompt, you will see a command line interface.
-
Use the
curlcommand to download theepictope_install.batfile from the provided URL. The-ooption is used to specify the output file name. Enter the following command and press Enter:curl -o epictope_install.bat https://raw.githubusercontent.com/FriedbergLab/EpicTope/main/install/windows/epictope_install.bat
-
Wait for the download to complete. Once it's done, the file
epictope_install.batshould be saved in your project directory.
-
-
Running the Batch Script
-
Now it's time to run the downloaded batch script. In the Anaconda Prompt, type the following command and hit Enter:
epictope_install.bat
-
As the script runs, it may make changes to your system and prompt you to confirm these changes. Remember to type "Y" when prompted by Conda to agree to the changes. Press Enter after typing "Y".
-
In some cases, a Windows Security Alert or an unknown application popup may appear, asking you to confirm that you trust the application and want to allow it to make changes to your device. Make sure to click on "Yes" to proceed.
-
Wait for the script to complete. It will install necessary components and set up your environment for the Epictope application.
-
If "epictope_install.bat" does not work. Epictope dependencies can be installed separately.
-
Downloading the YAML File
- Begin by downloading the
epictope_environment_windows.ymlfile. You can use the following link to download it: epictope_environment_windows.yml. - Click on the link, which will take you to the file's content on the GitHub page. Right-click on the download icon on the upper right hand corner and save the file to
C:\Users\YourUsername\Desktop\Epictope
- Begin by downloading the
-
Creating the Conda Environment and Installing Packages
-
In the Anaconda Prompt, type the following command and press Enter:
conda env create -f epictope_environment_windows.yml -n epictope
-
This command tells Conda to create a new environment named "epictope" and install the packages listed in the
epictope_environment_windows.ymlfile. -
Conda will begin the installation process. During this process, it might prompt you to confirm the installation of certain packages. If prompted, type "Y" and press Enter to proceed.
-
After the command completes execution, the "epictope" environment will be ready for use with all the necessary dependencies installed.
-
MUSCLE and BLAST are not available through conda on windows. They both must be installed separately. If the instructions provided here do not work, additional details can be found at the pages for MUSCLE and BLAST respectively.
-
Downloading the BLAST Installer
- Open your preferred web browser and visit the NCBI BLAST FTP website.
- Look for the file named 'ncbi-blast-2.7.1+-win64.exe'. This is the BLAST installer for Windows. Click on it to start the download. You may need to scroll down to find this file.
- When prompted, choose to save the file in your project directory. If the file automatically downloads without prompting you for a location, it will likely be in your "Downloads" folder.
-
Running the BLAST Installer
- Once the download is complete, open File Explorer. You can do this by clicking the folder icon located in your taskbar, or by searching for "File Explorer" in the Start Menu.
- Navigate to the location where you saved the 'ncbi-blast-2.7.1+-win64.exe' file. If it's not in your project directory, check your "Downloads" folder.
- Double-click on the file to start the installation process.
-
Completing Installation Process
- An installer window will open. To continue, you'll need to accept the License agreement. Do this by clicking the "I Agree" button.
- Next, you'll need to choose where to install BLAST on your computer. It's generally recommended to use the default file location suggested by the installer.
- After you've selected the desired folder, click the "Install" button to begin the installation process.
- Once the installation is complete, you can close the installer by clicking the "Finish" or "Close" button.
-
Verifying the Installation
-
Open the Anaconda Prompt from the Start Menu.
-
In the Anaconda Prompt, type the following command to check if you have successfully installed BLAST and your computer recognizes the program:
blastp -h
-
If the command runs successfully and you see a help message from BLAST, then the setup was successful.
-
Please be patient during the installation process. Some steps may take a few minutes to complete.
-
Downloading MUSCLE Executable
- Begin by opening your preferred web browser. Visit the MUSCLE releases page on GitHub using this link.
- On this page, you will see a list of downloadable files. Find the file named 'muscle5.1.win64.exe' and click on it to start the download.
- When asked where to save the file, choose your Epictope project directory. If you're not prompted for a location and the file automatically downloads, it will most likely go to your "Downloads" folder.
-
Locating the Downloaded File
- Once the download is complete, open File Explorer by clicking on the folder icon located in your taskbar, or search for "File Explorer" in the Start Menu.
- Navigate to the location where you saved the 'muscle5.1.win64.exe' file. If you didn't choose a specific location when downloading, it will be in your "Downloads" folder.
-
Moving and Renaming the File
- Now, move the 'muscle5.1.win64.exe' file into the Epictope project folder. You can do this by clicking and dragging the file into the "bin" folder, or by right-clicking the file, selecting "Cut", then navigating into the "Epictope" folder, right-clicking again, and selecting "Paste".
- Inside the "Epictope" folder, find the 'muscle5.1.win64.exe' file. Right-click on the file and select "Rename". Change the name to "muscle.exe". Press Enter to save the new name.
-
Checking the Installation
-
Open the Anaconda Prompt from the Start Menu.
-
Change the directory to the project folder inside your project directory using the
cdcommand.cd C:\Users\YourUsername\Desktop\Epictope
-
Once you're in the correct directory, type the following command to check if you have successfully installed muscle and your computer recognizes the file:
muscle.exe -h
-
If the command runs successfully and you see a help message from MUSCLE, then the setup was successful.
-
-
Starting R Inside the Conda Environment
-
Open the Anaconda Prompt from the Start Menu. In the Anaconda Prompt, activate your 'epictope' environment by typing the following command and pressing Enter:
conda activate epictope
-
Your prompt should now show
(epictope)at the beginning of the line, indicating you're inside the 'epictope' environment.
-
-
Installing the Epictope R Package
-
To install the Epictope R package using the "remotes" package, you can run R commands directly from the Anaconda Prompt using the
R -eoption. -
Type the following commands into the Anaconda Prompt and press Enter:
R -e "if (!requireNamespace('remotes', quietly = TRUE)) install.packages('remotes'); remotes::install_github('FriedbergLab/EpicTope')" -
The
R -ecommand allows you to execute R commands directly from the command line. The command above first checks if the "remotes" package is installed. If it's not, it will install it. Then it uses the "remotes" package to install the Epictope R package from GitHub. -
Installation might take a few moments. If prompted to update any packages, type "Y" and press Enter to say "yes".
-
-
Verifying the Installation
-
Once the Epictope R package is installed, you should verify the installation by trying to load the package from the Anaconda Prompt.
-
Type the following command into the Anaconda Prompt and press Enter:
R -e "library(epictope)" -
If the command runs without displaying any error messages, that means the Epictope package was successfully installed and loaded.
-
Remember, you can deactivate your Conda environment when you're done by typing conda deactivate into the Anaconda Prompt and pressing Enter.
- Downloading scripts
Now you are ready to execute the curl commands to download the Epictope workflow scripts. Copy each command one by one and paste it into Anaconda Prompt. Press Enter to run each command. The curl command is used to download files from the internet and save them to your current directory.
Download "single_score.R":
curl -o "single_score.R" "https://raw.githubusercontent.com/FriedbergLab/EpicTope/main/scripts/single_score.R"Download "plot_scores.R":
curl -o "plot_scores.R" "https://raw.githubusercontent.com/FriedbergLab/Epictope/main/scripts/plot_scores.R"Download "install.R":
curl -o "install.R" "https://raw.githubusercontent.com/FriedbergLab/EpicTope/main/scripts/install.R"Download "config_defaults.R":
curl -o "config_defaults.R" "https://raw.githubusercontent.com/FriedbergLab/EpicTope/main/scripts/config_defaults.R"