Finally, an admin panel that Serverpod deserves!
You've built an amazing Serverpod app with powerful endpoints, robust models, and a beautiful frontend. But when it comes to managing your data, you're stuck writing custom endpoints, building one-off admin pages, or worse—directly accessing the database.
That's where Serverpod Admin comes in. This is the missing piece that transforms your Serverpod backend into a fully manageable system.
Secure login screen for admin users. Only users with the serverpod.admin scope can access the dashboard.
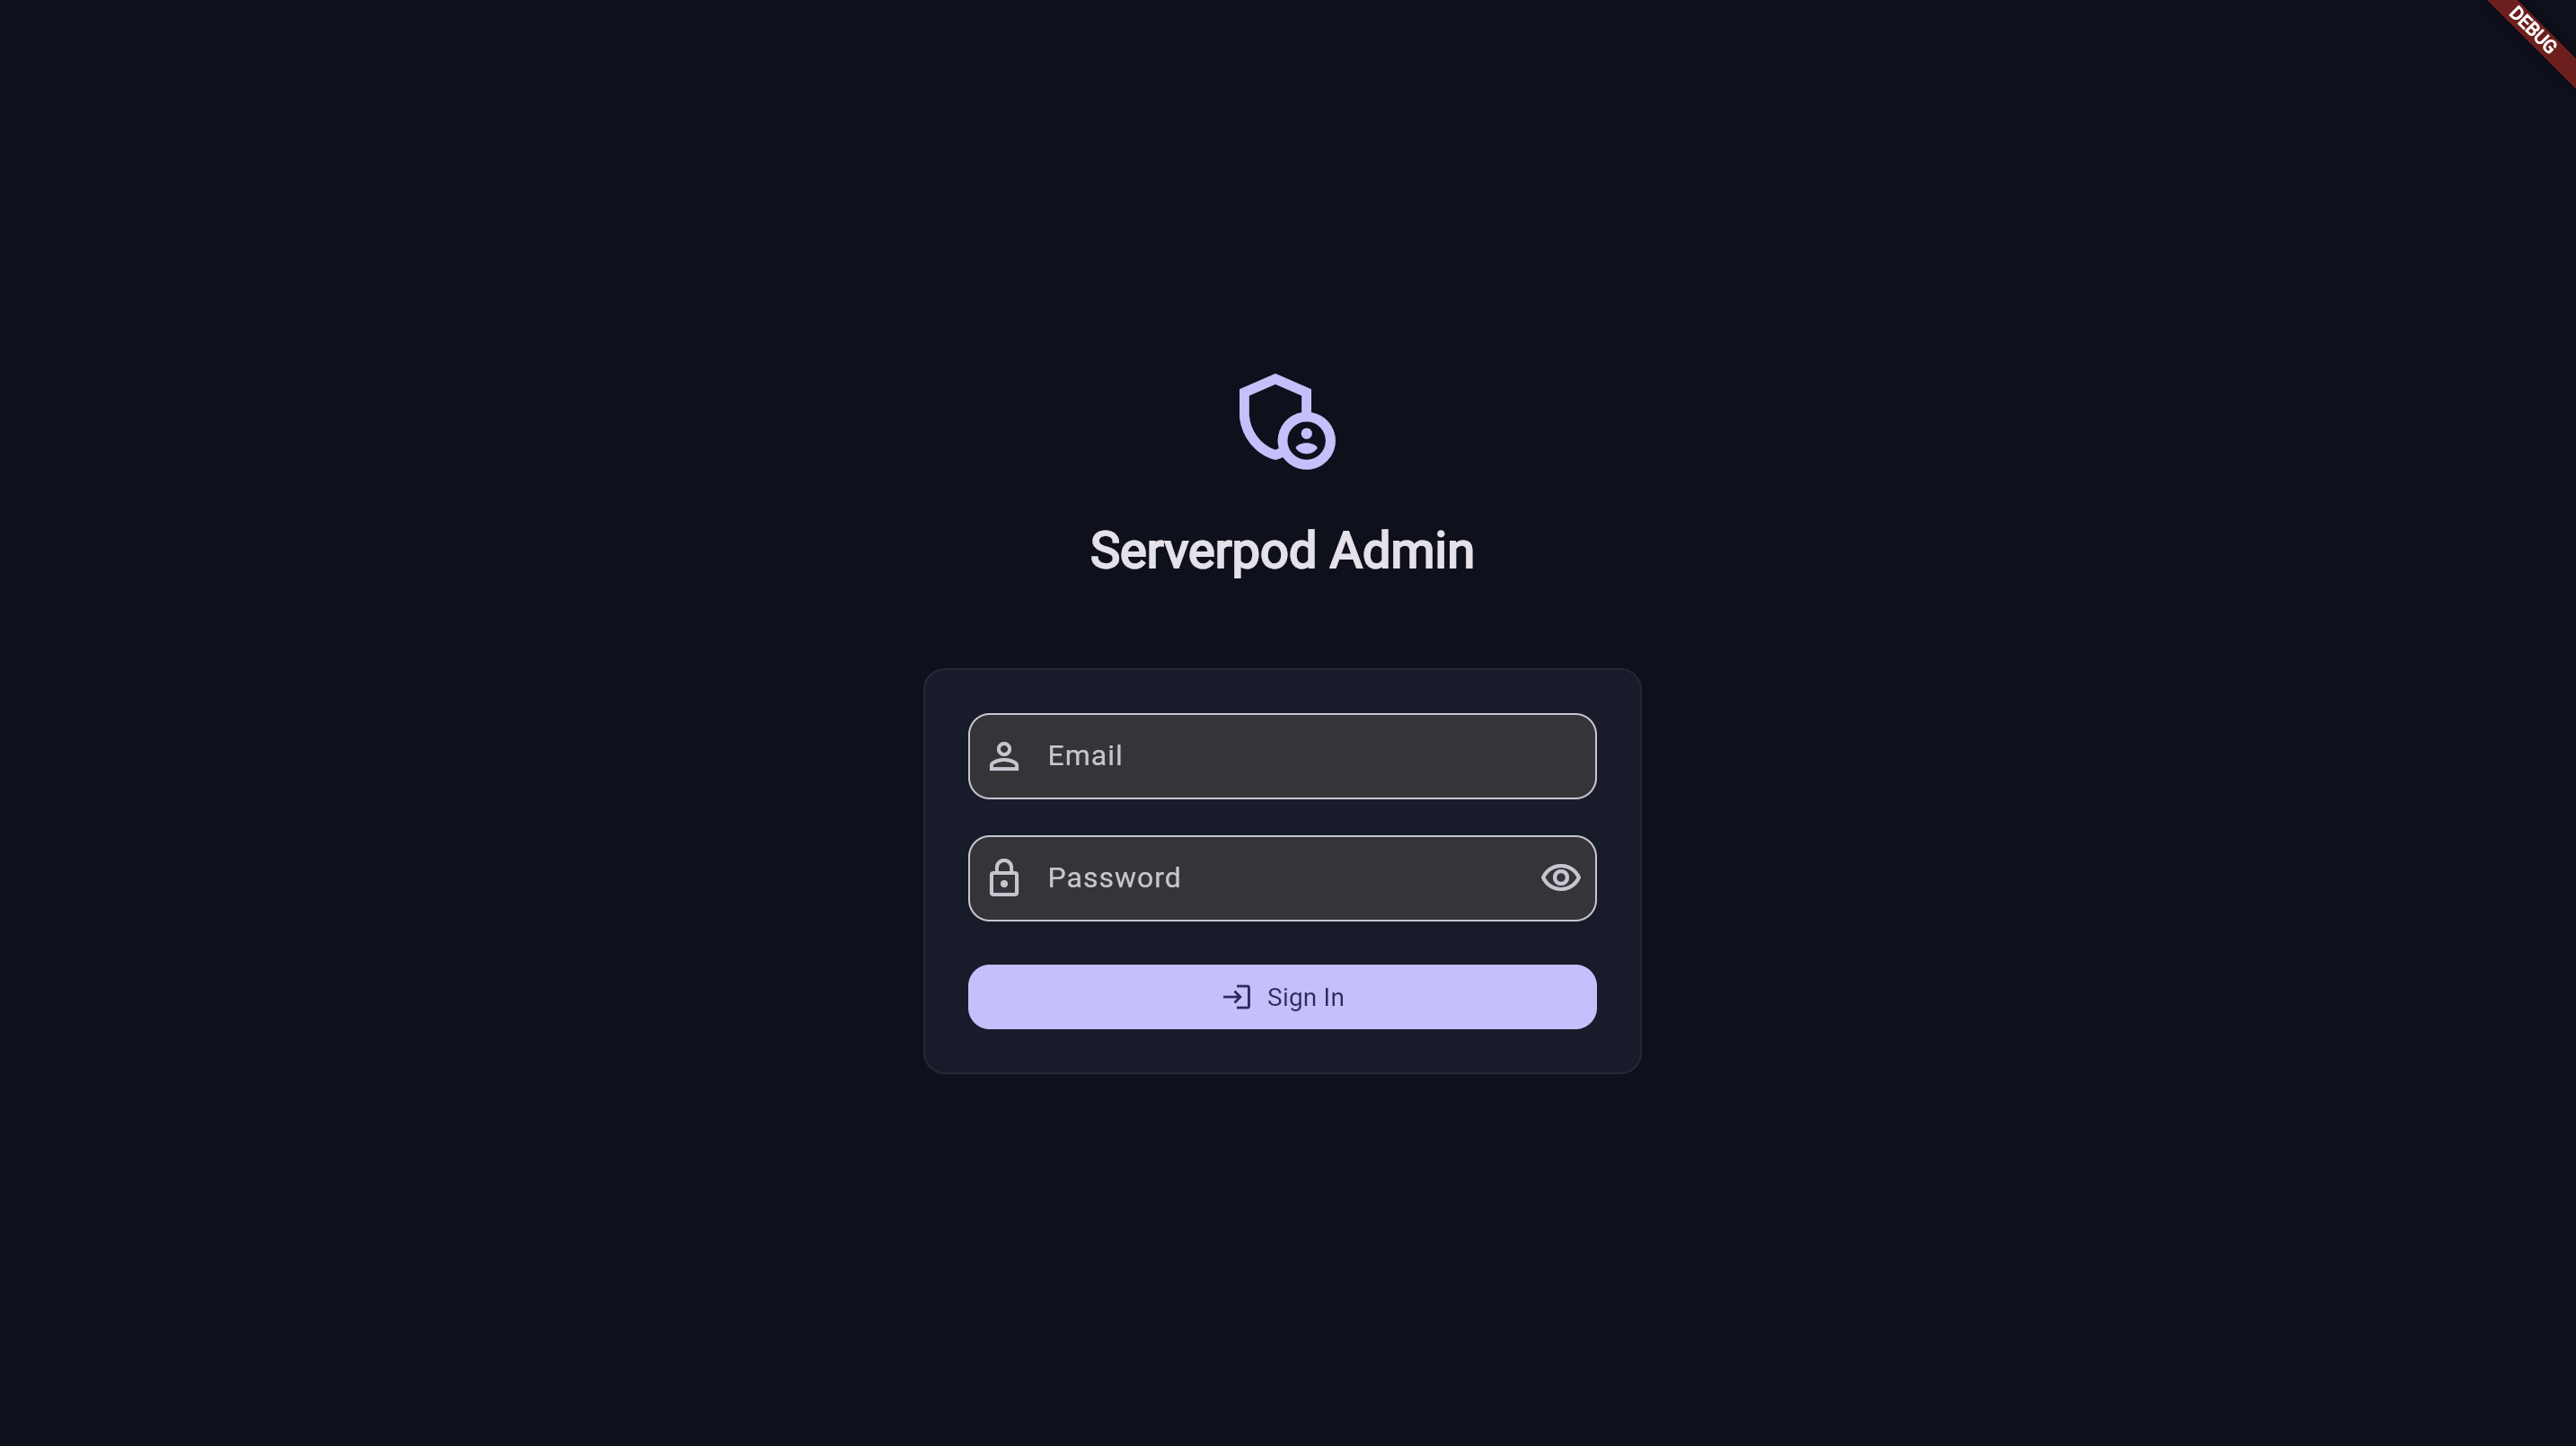
Browse and manage all your data with a beautiful, intuitive interface.
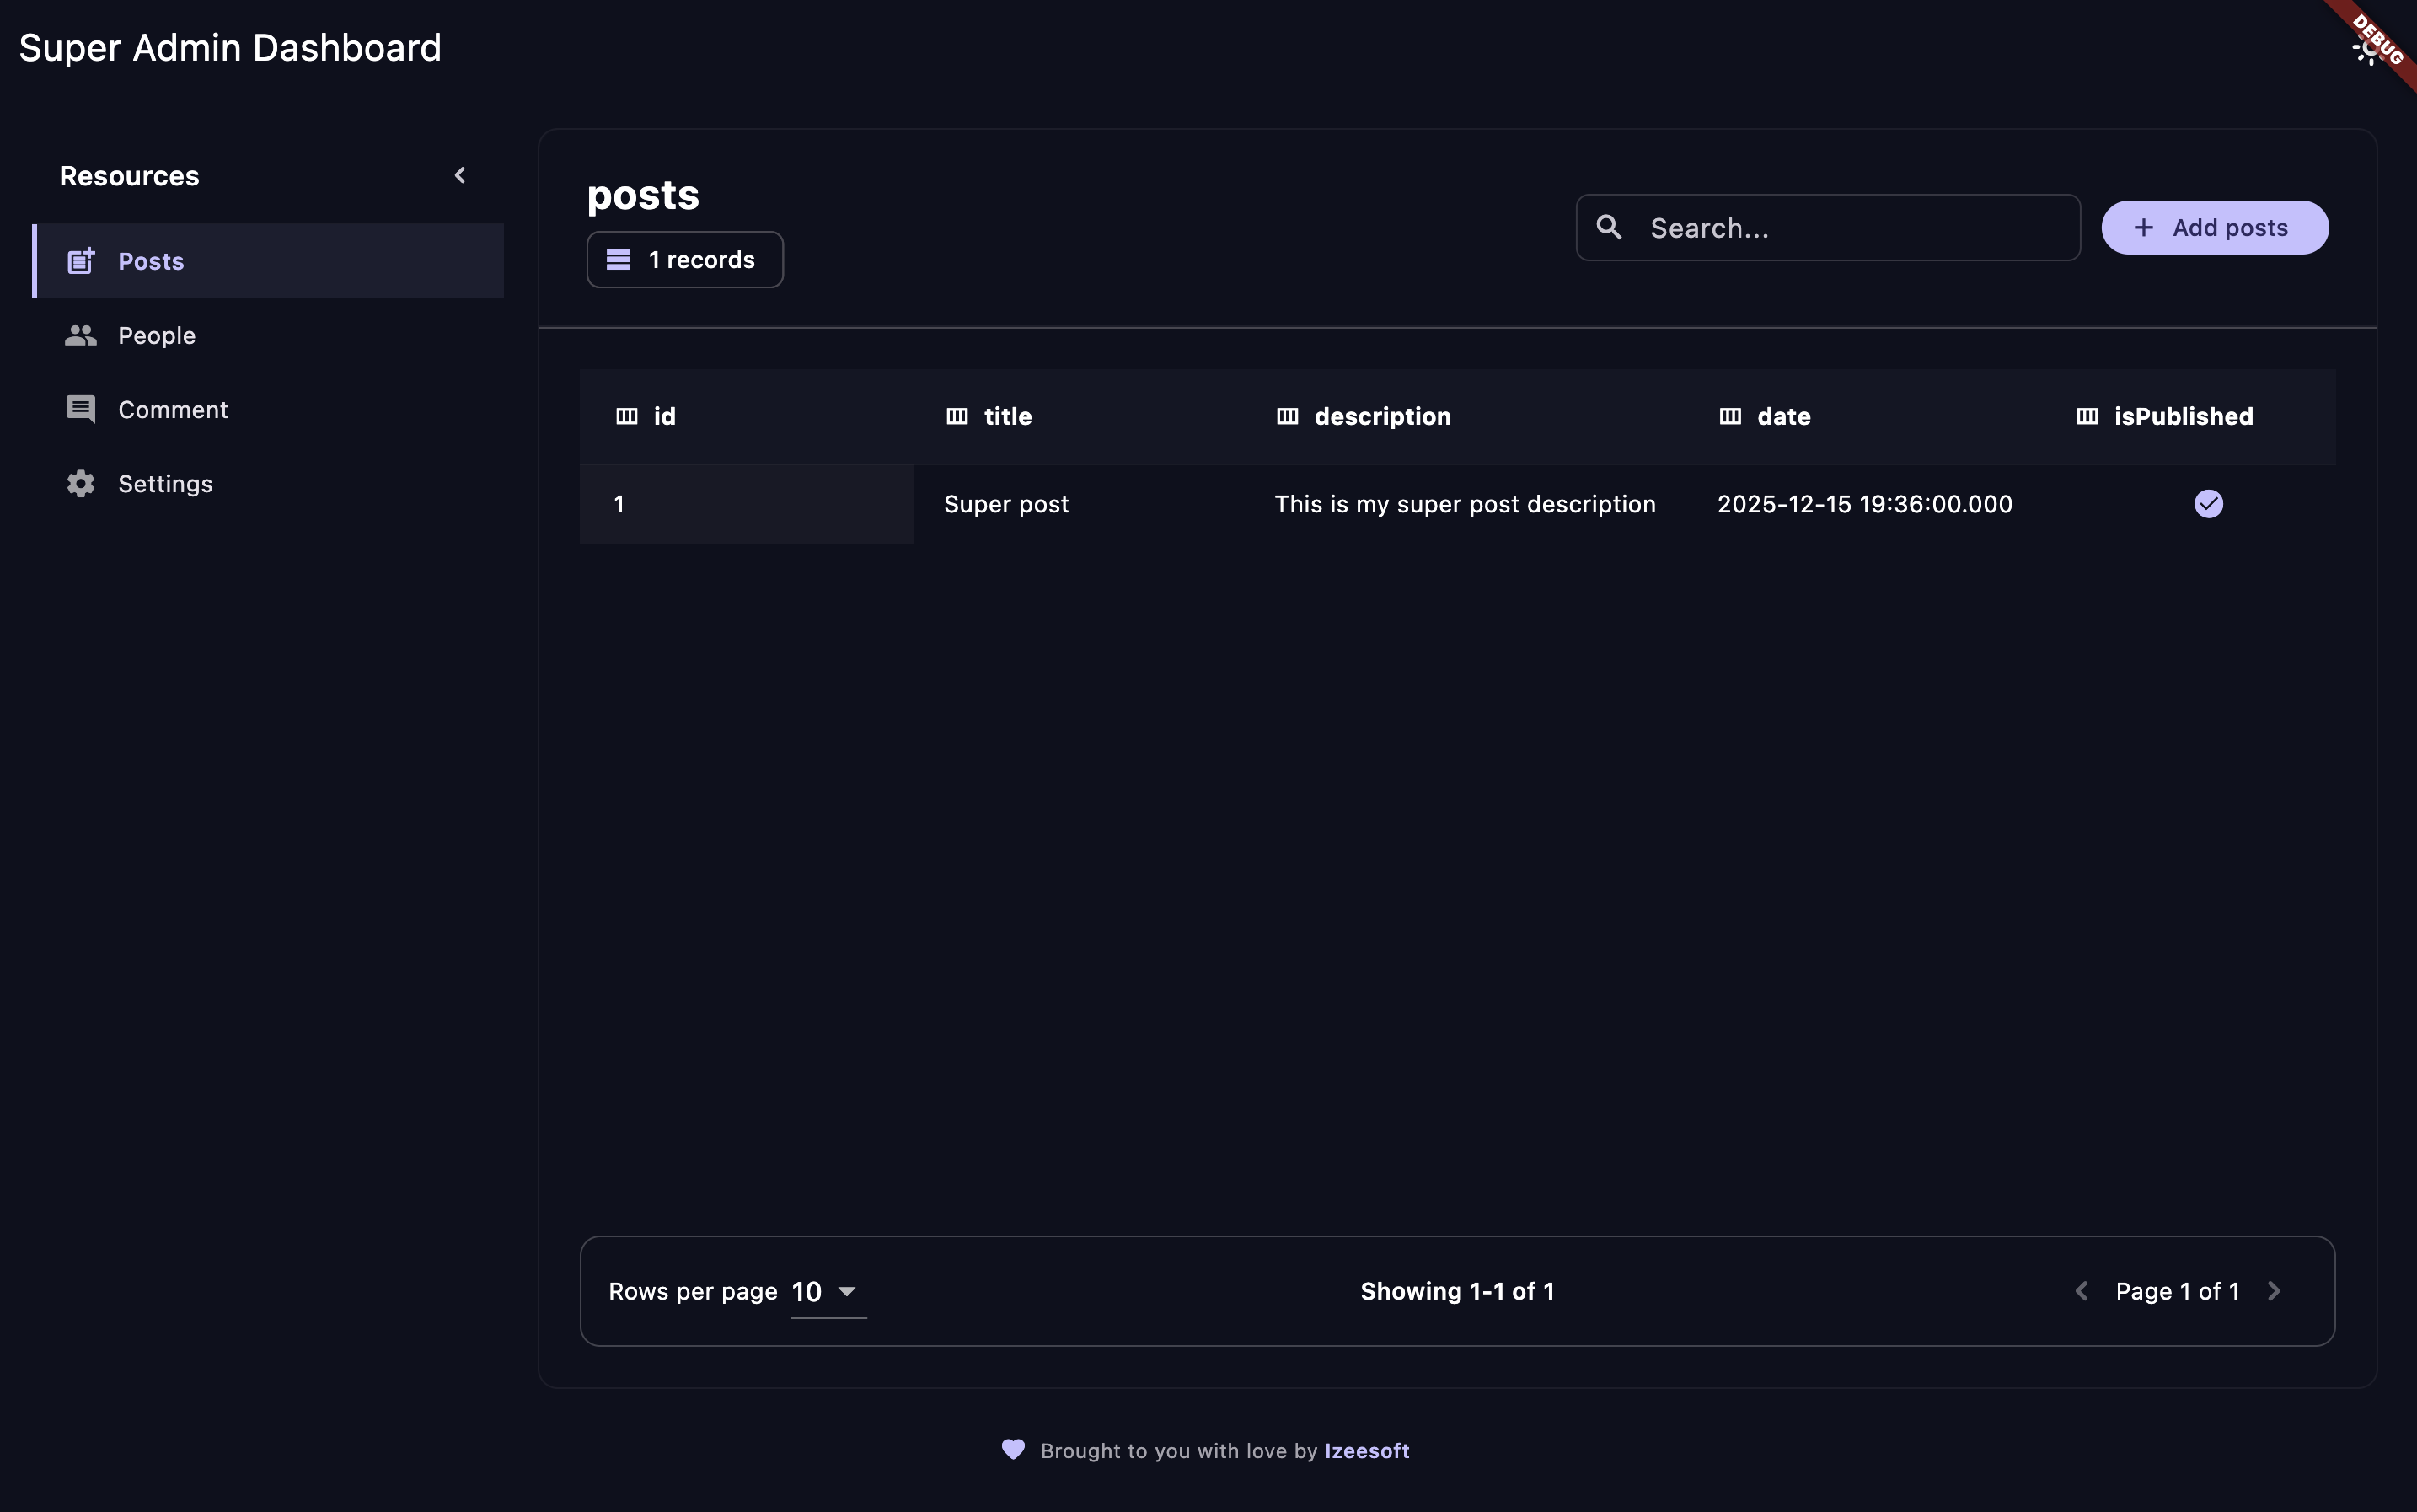
New record with a clean, user-friendly interface.
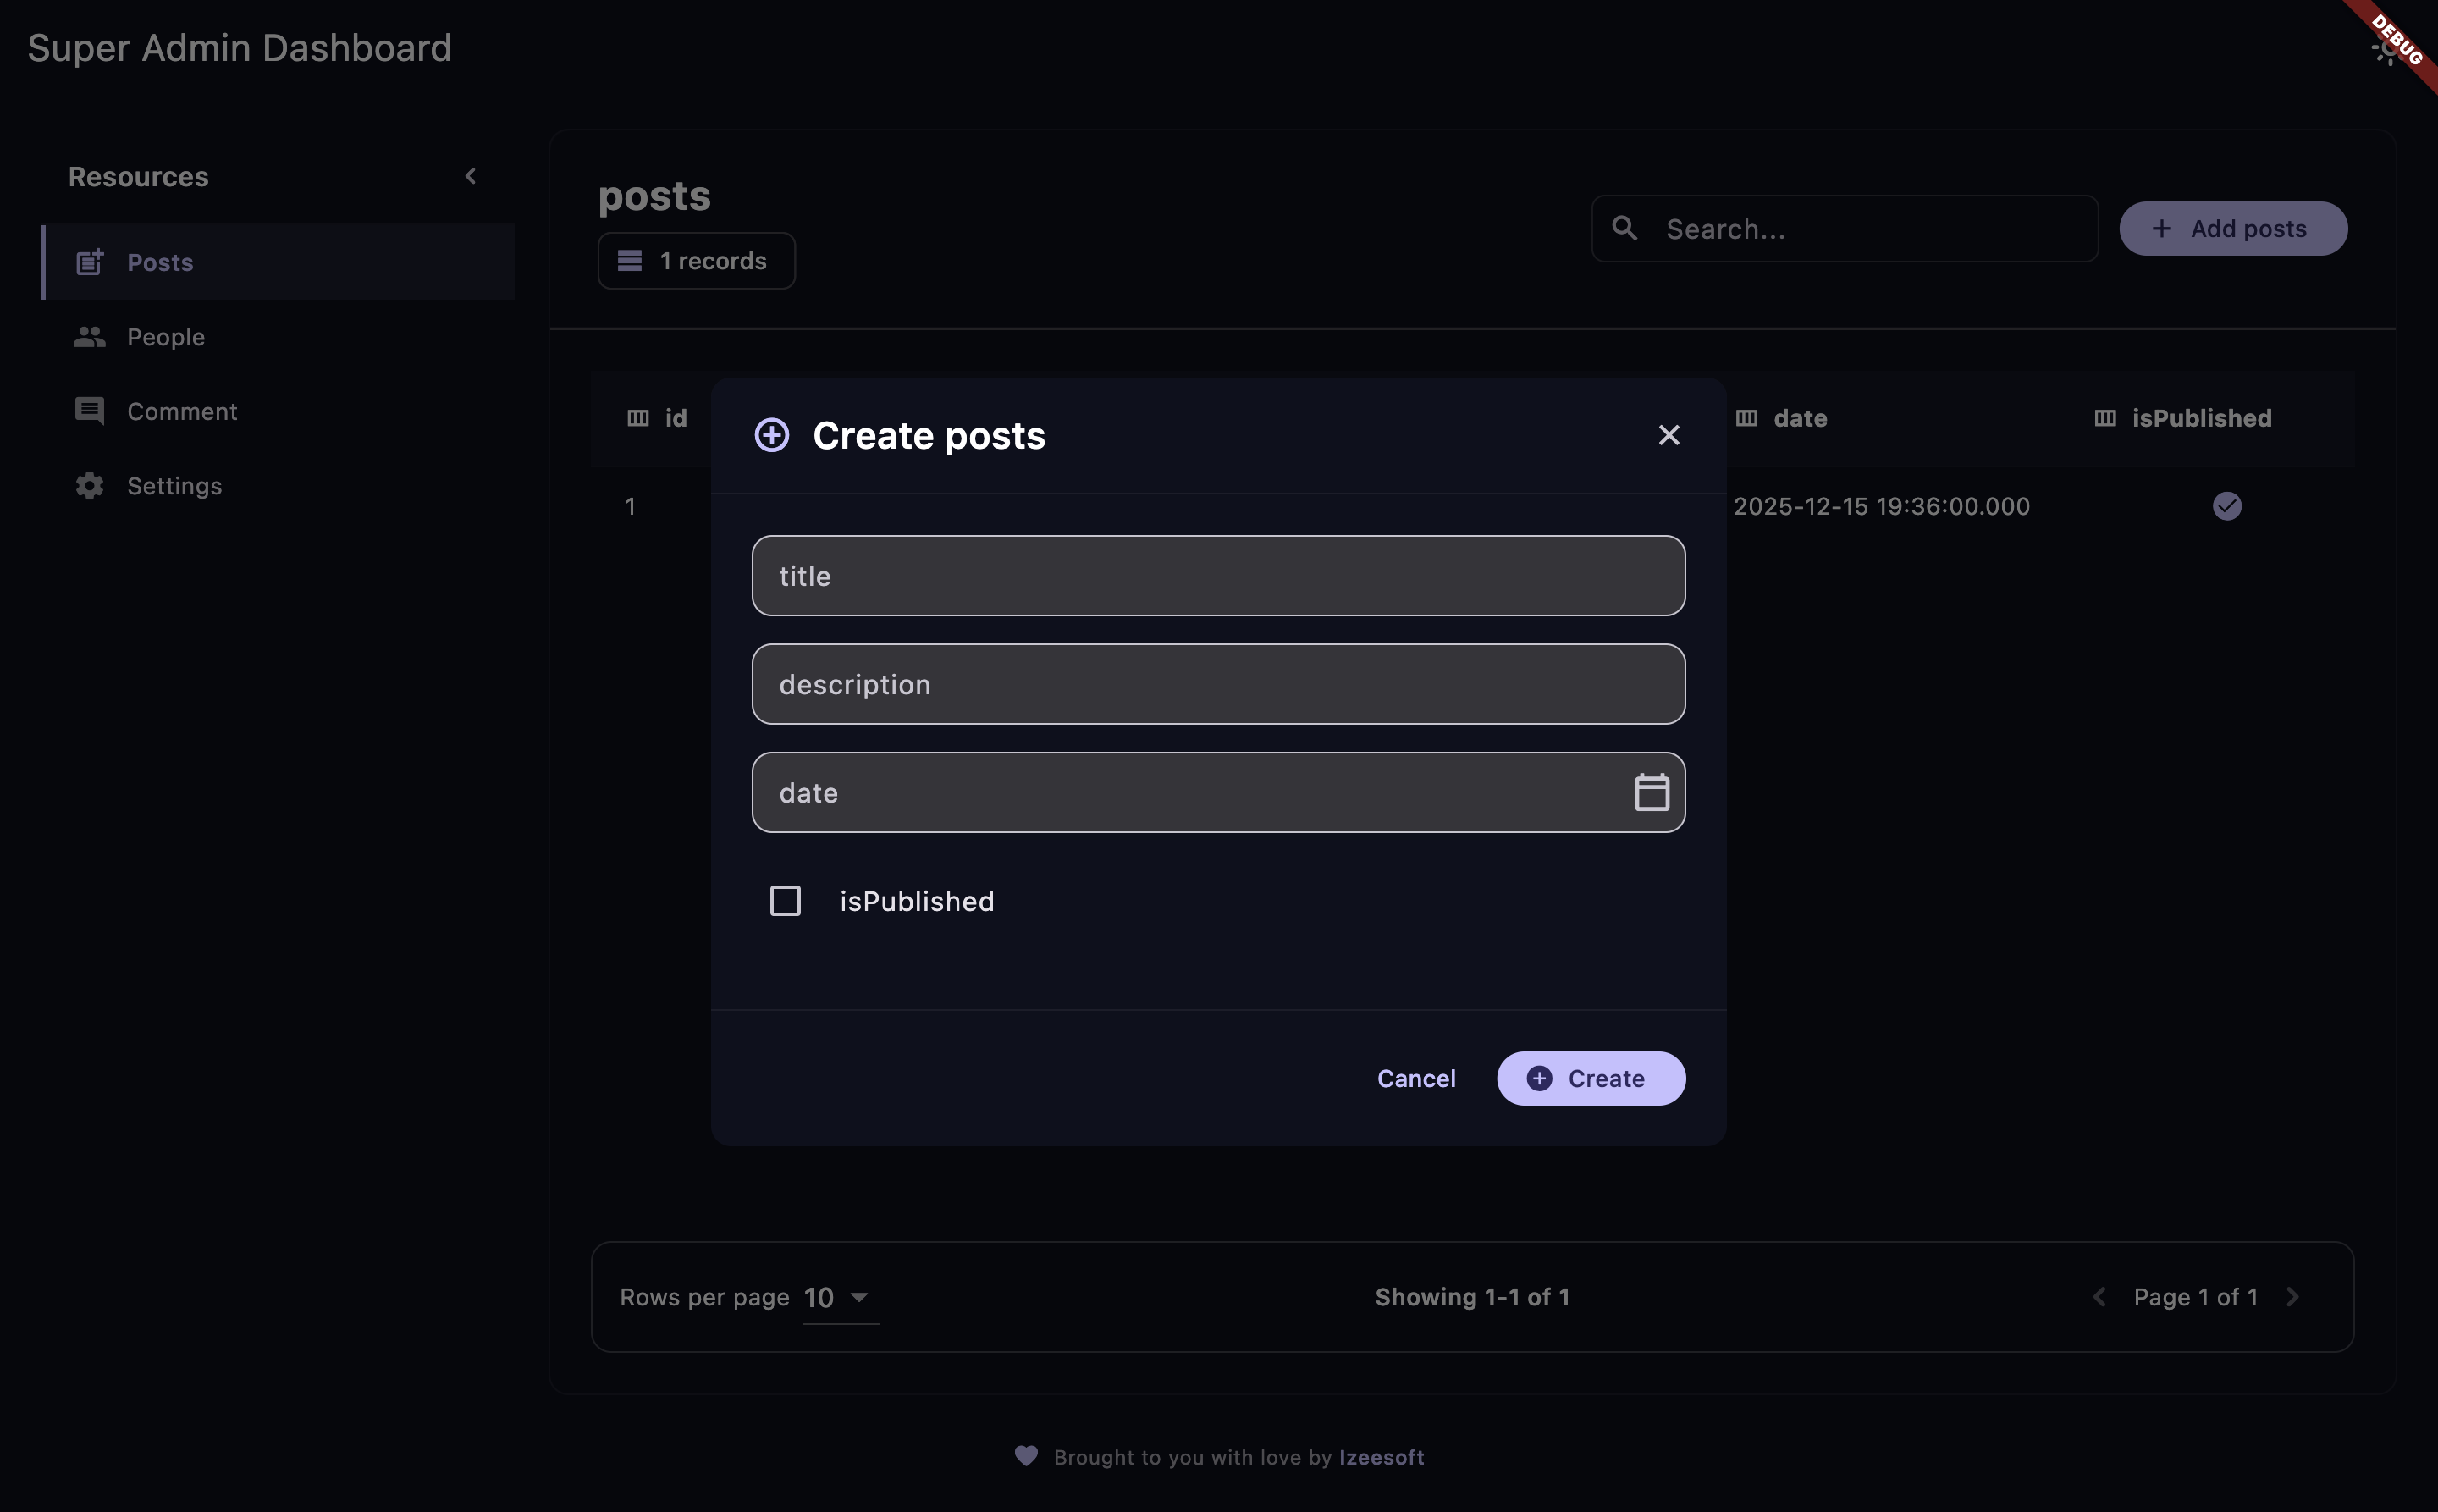
Powerful search and filtering capabilities to find exactly what you need.
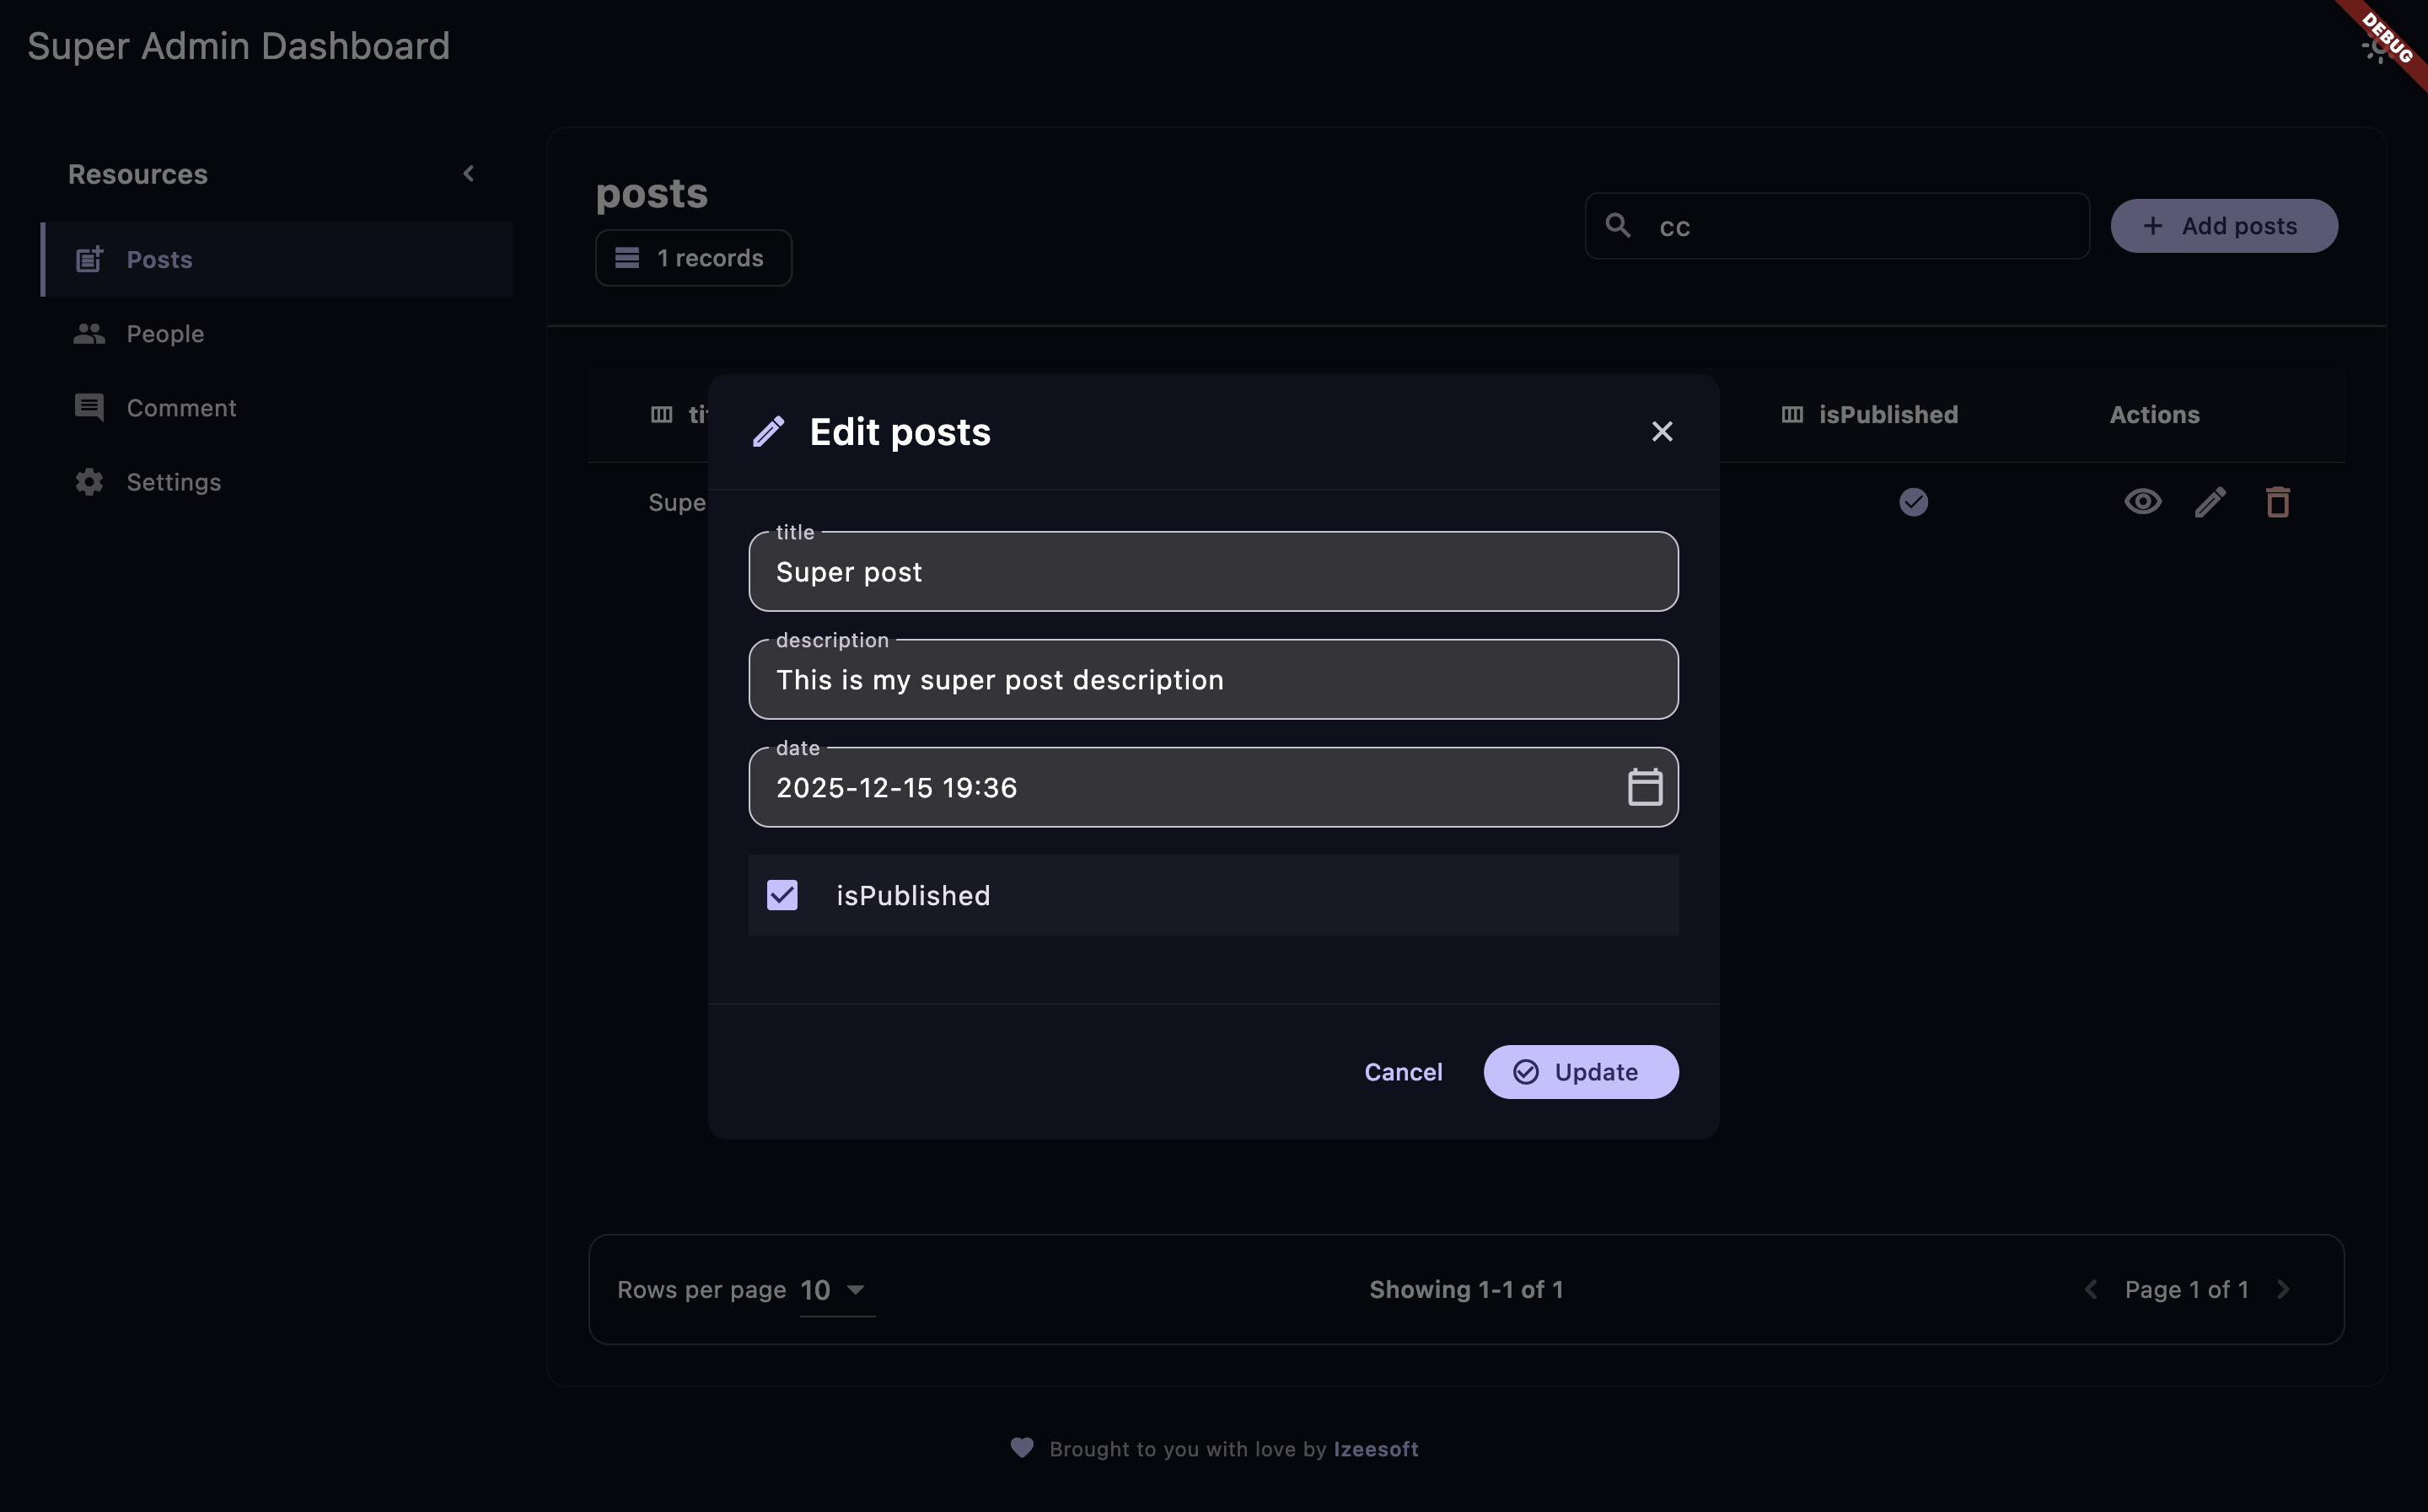
Edit record with a clean, user-friendly interface.
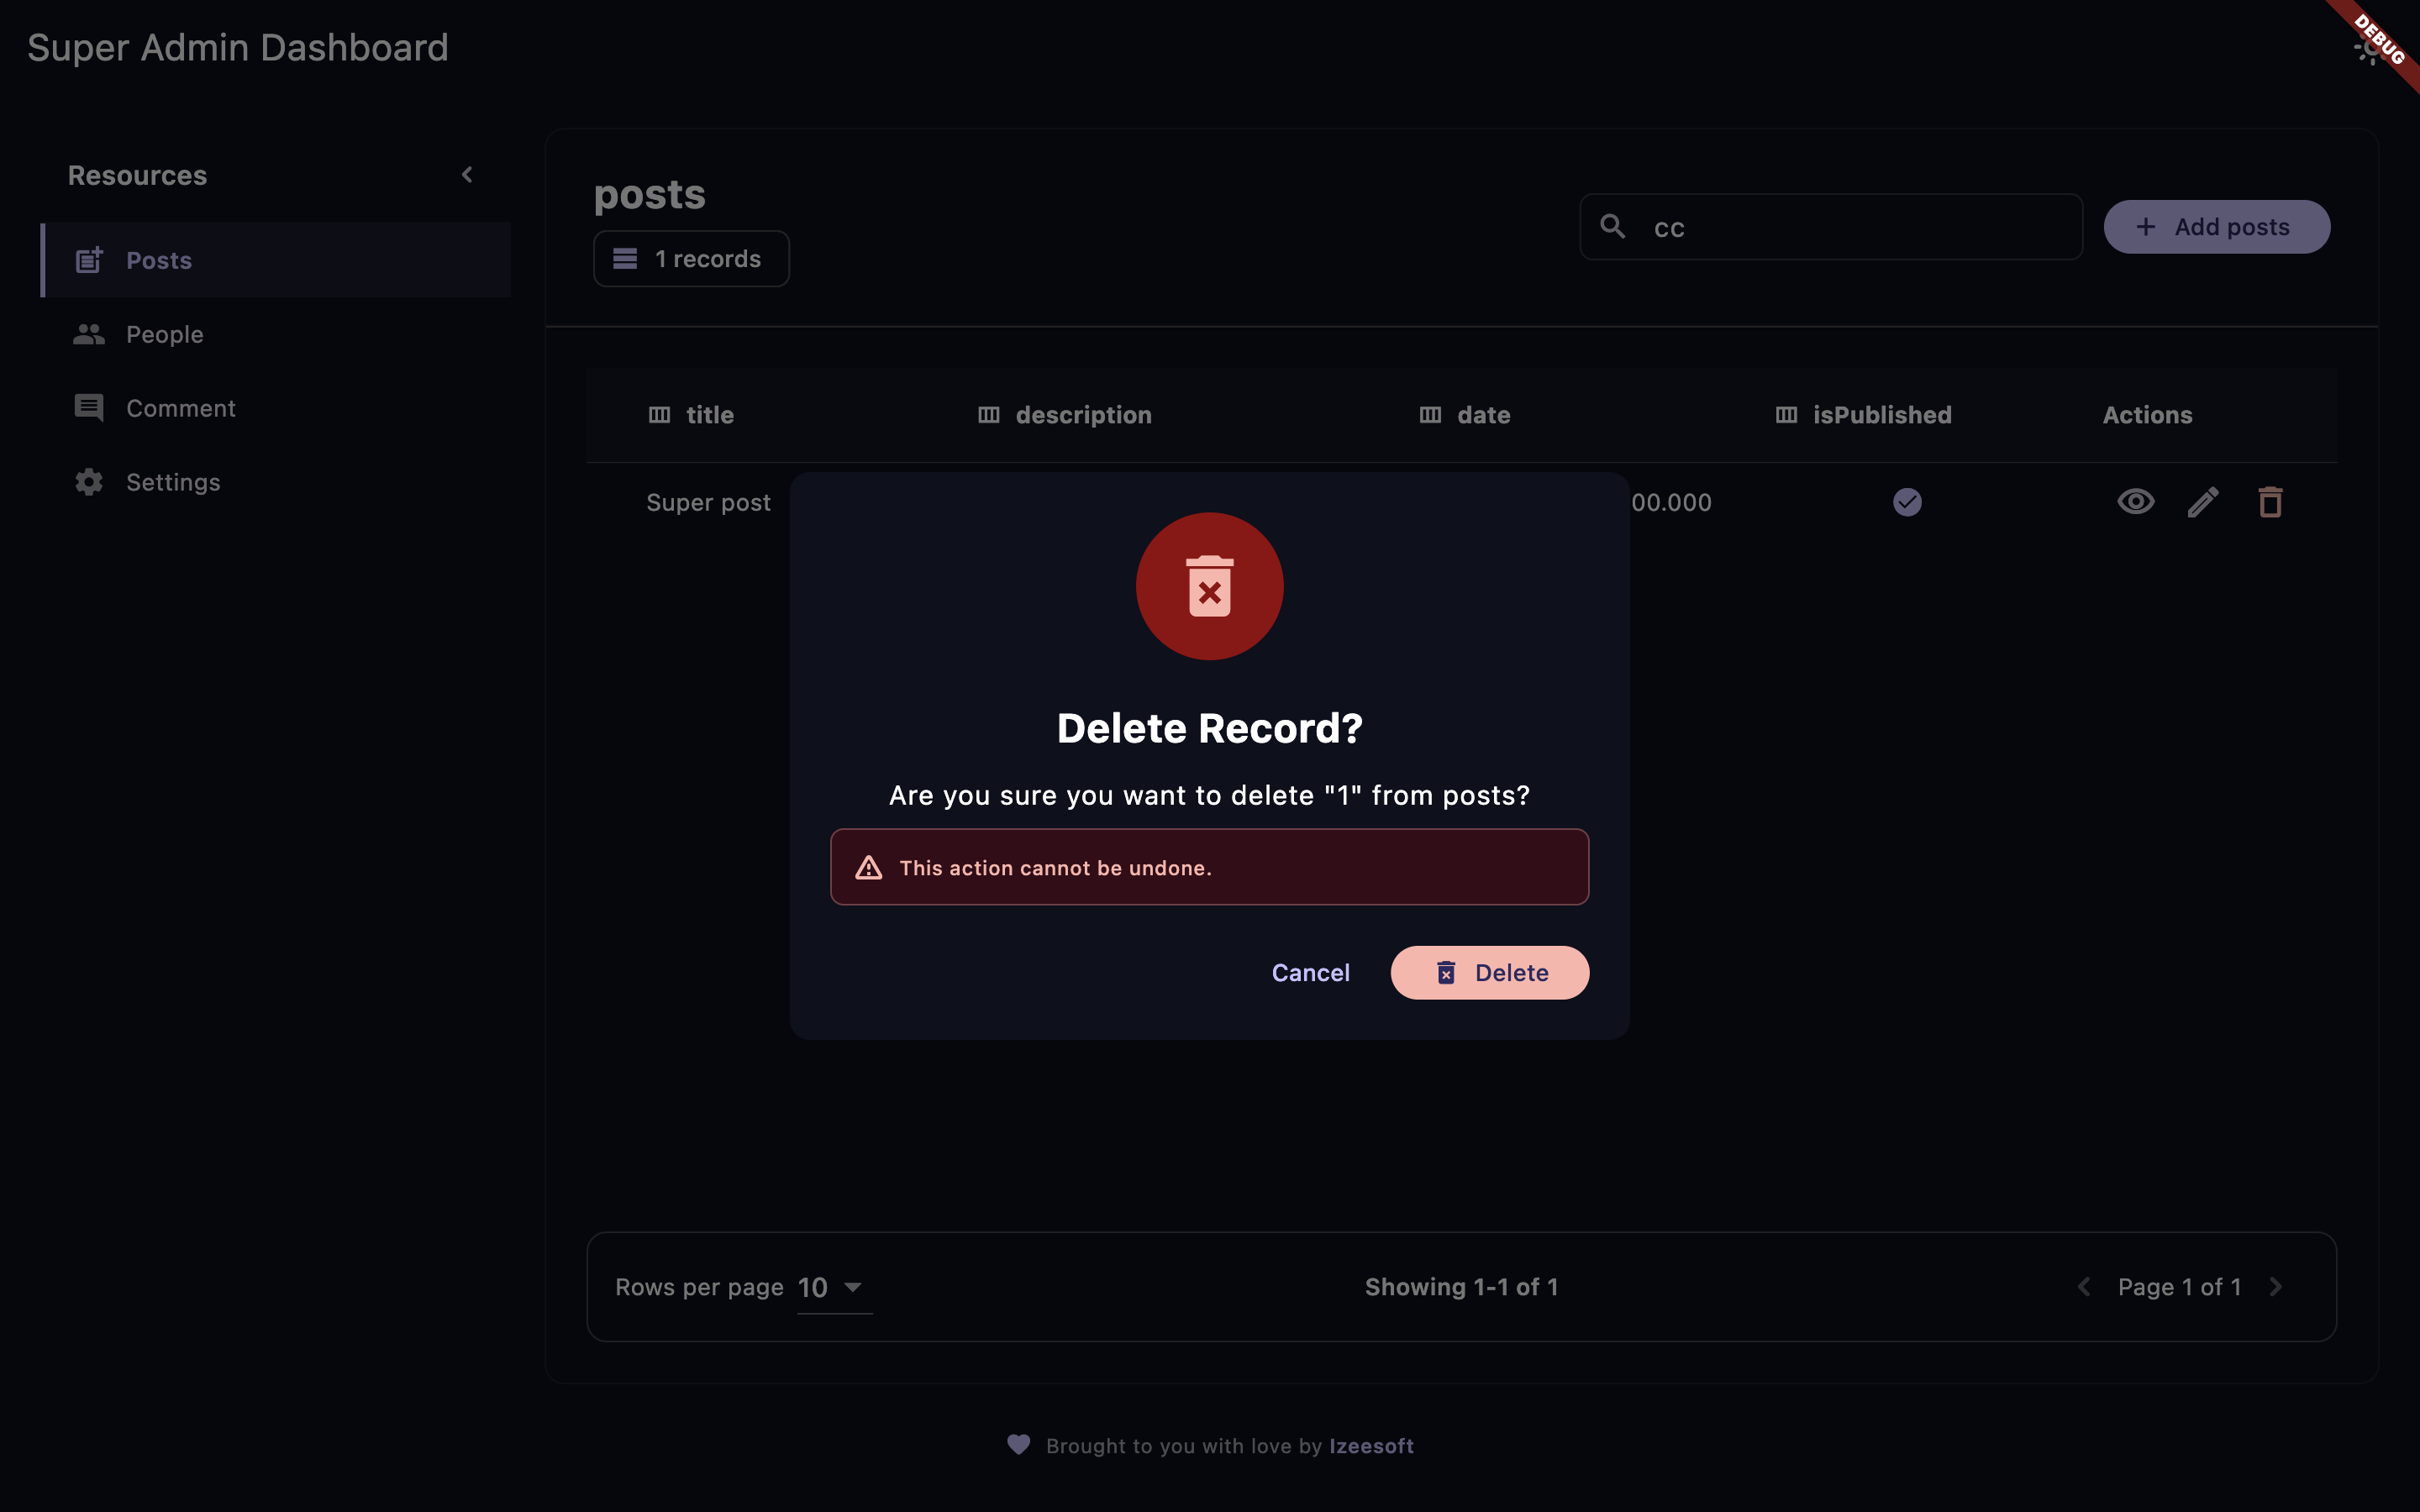
Delete record with a clean, user-friendly interface.
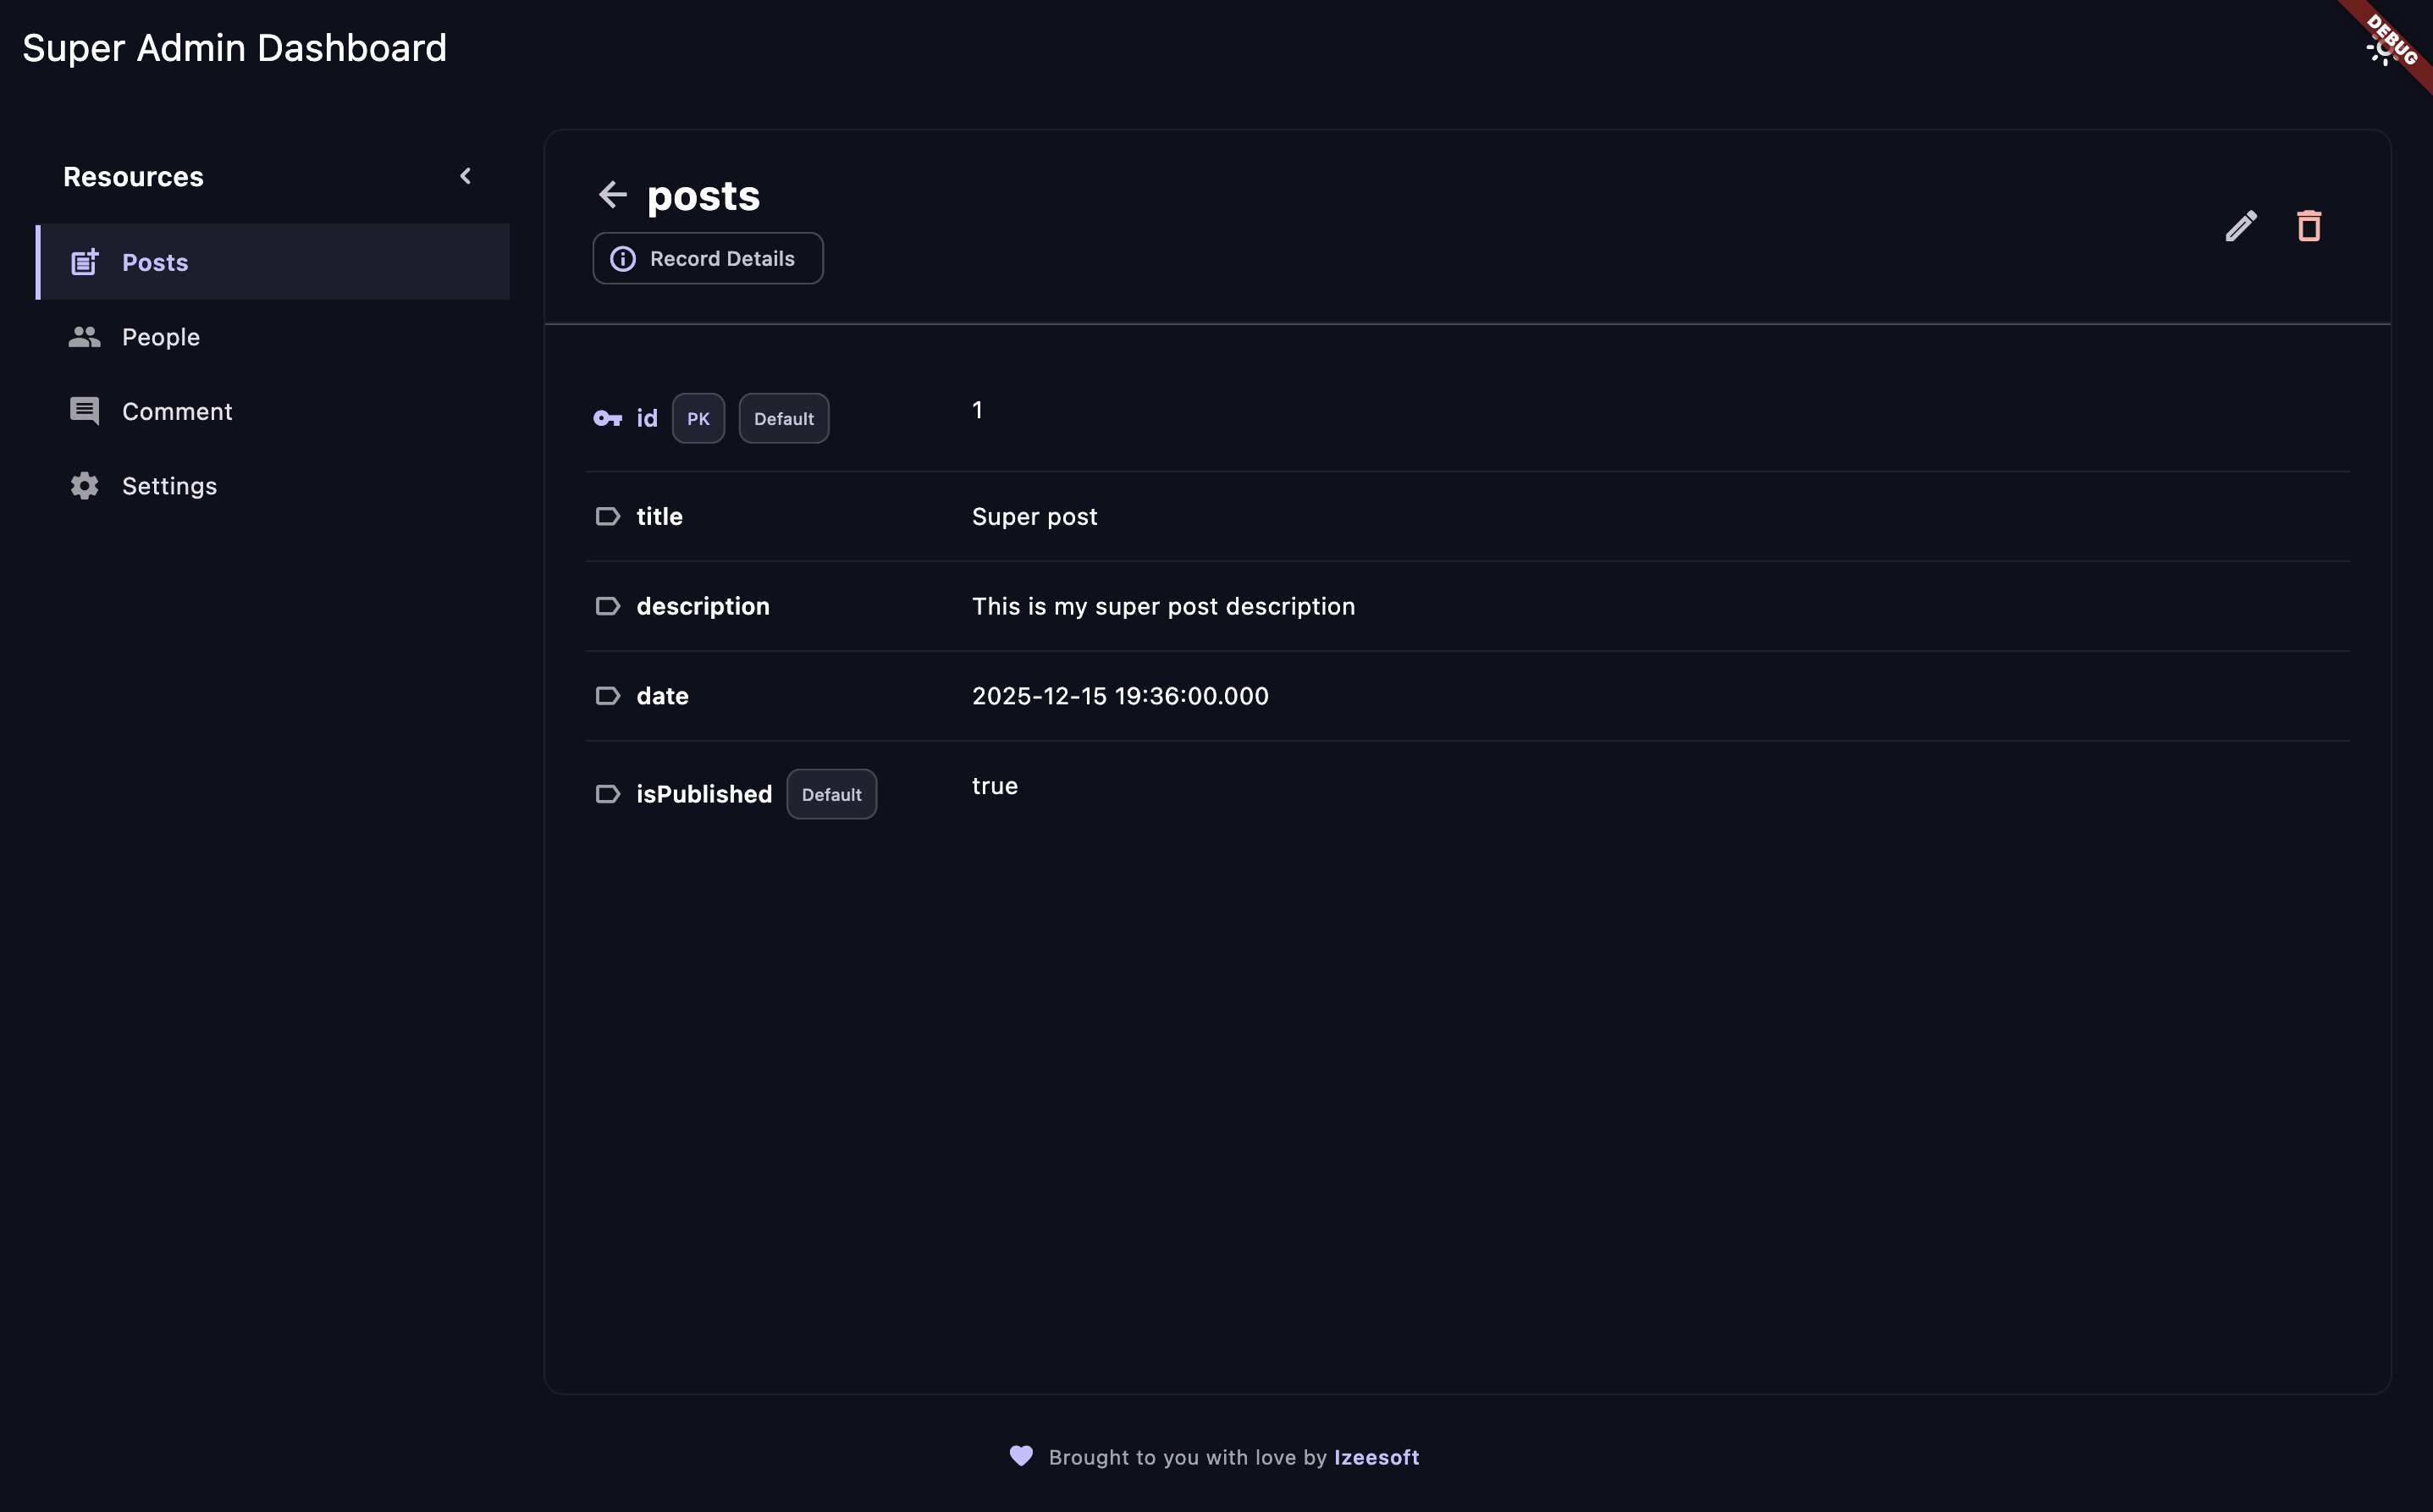
View detailed information about any record.
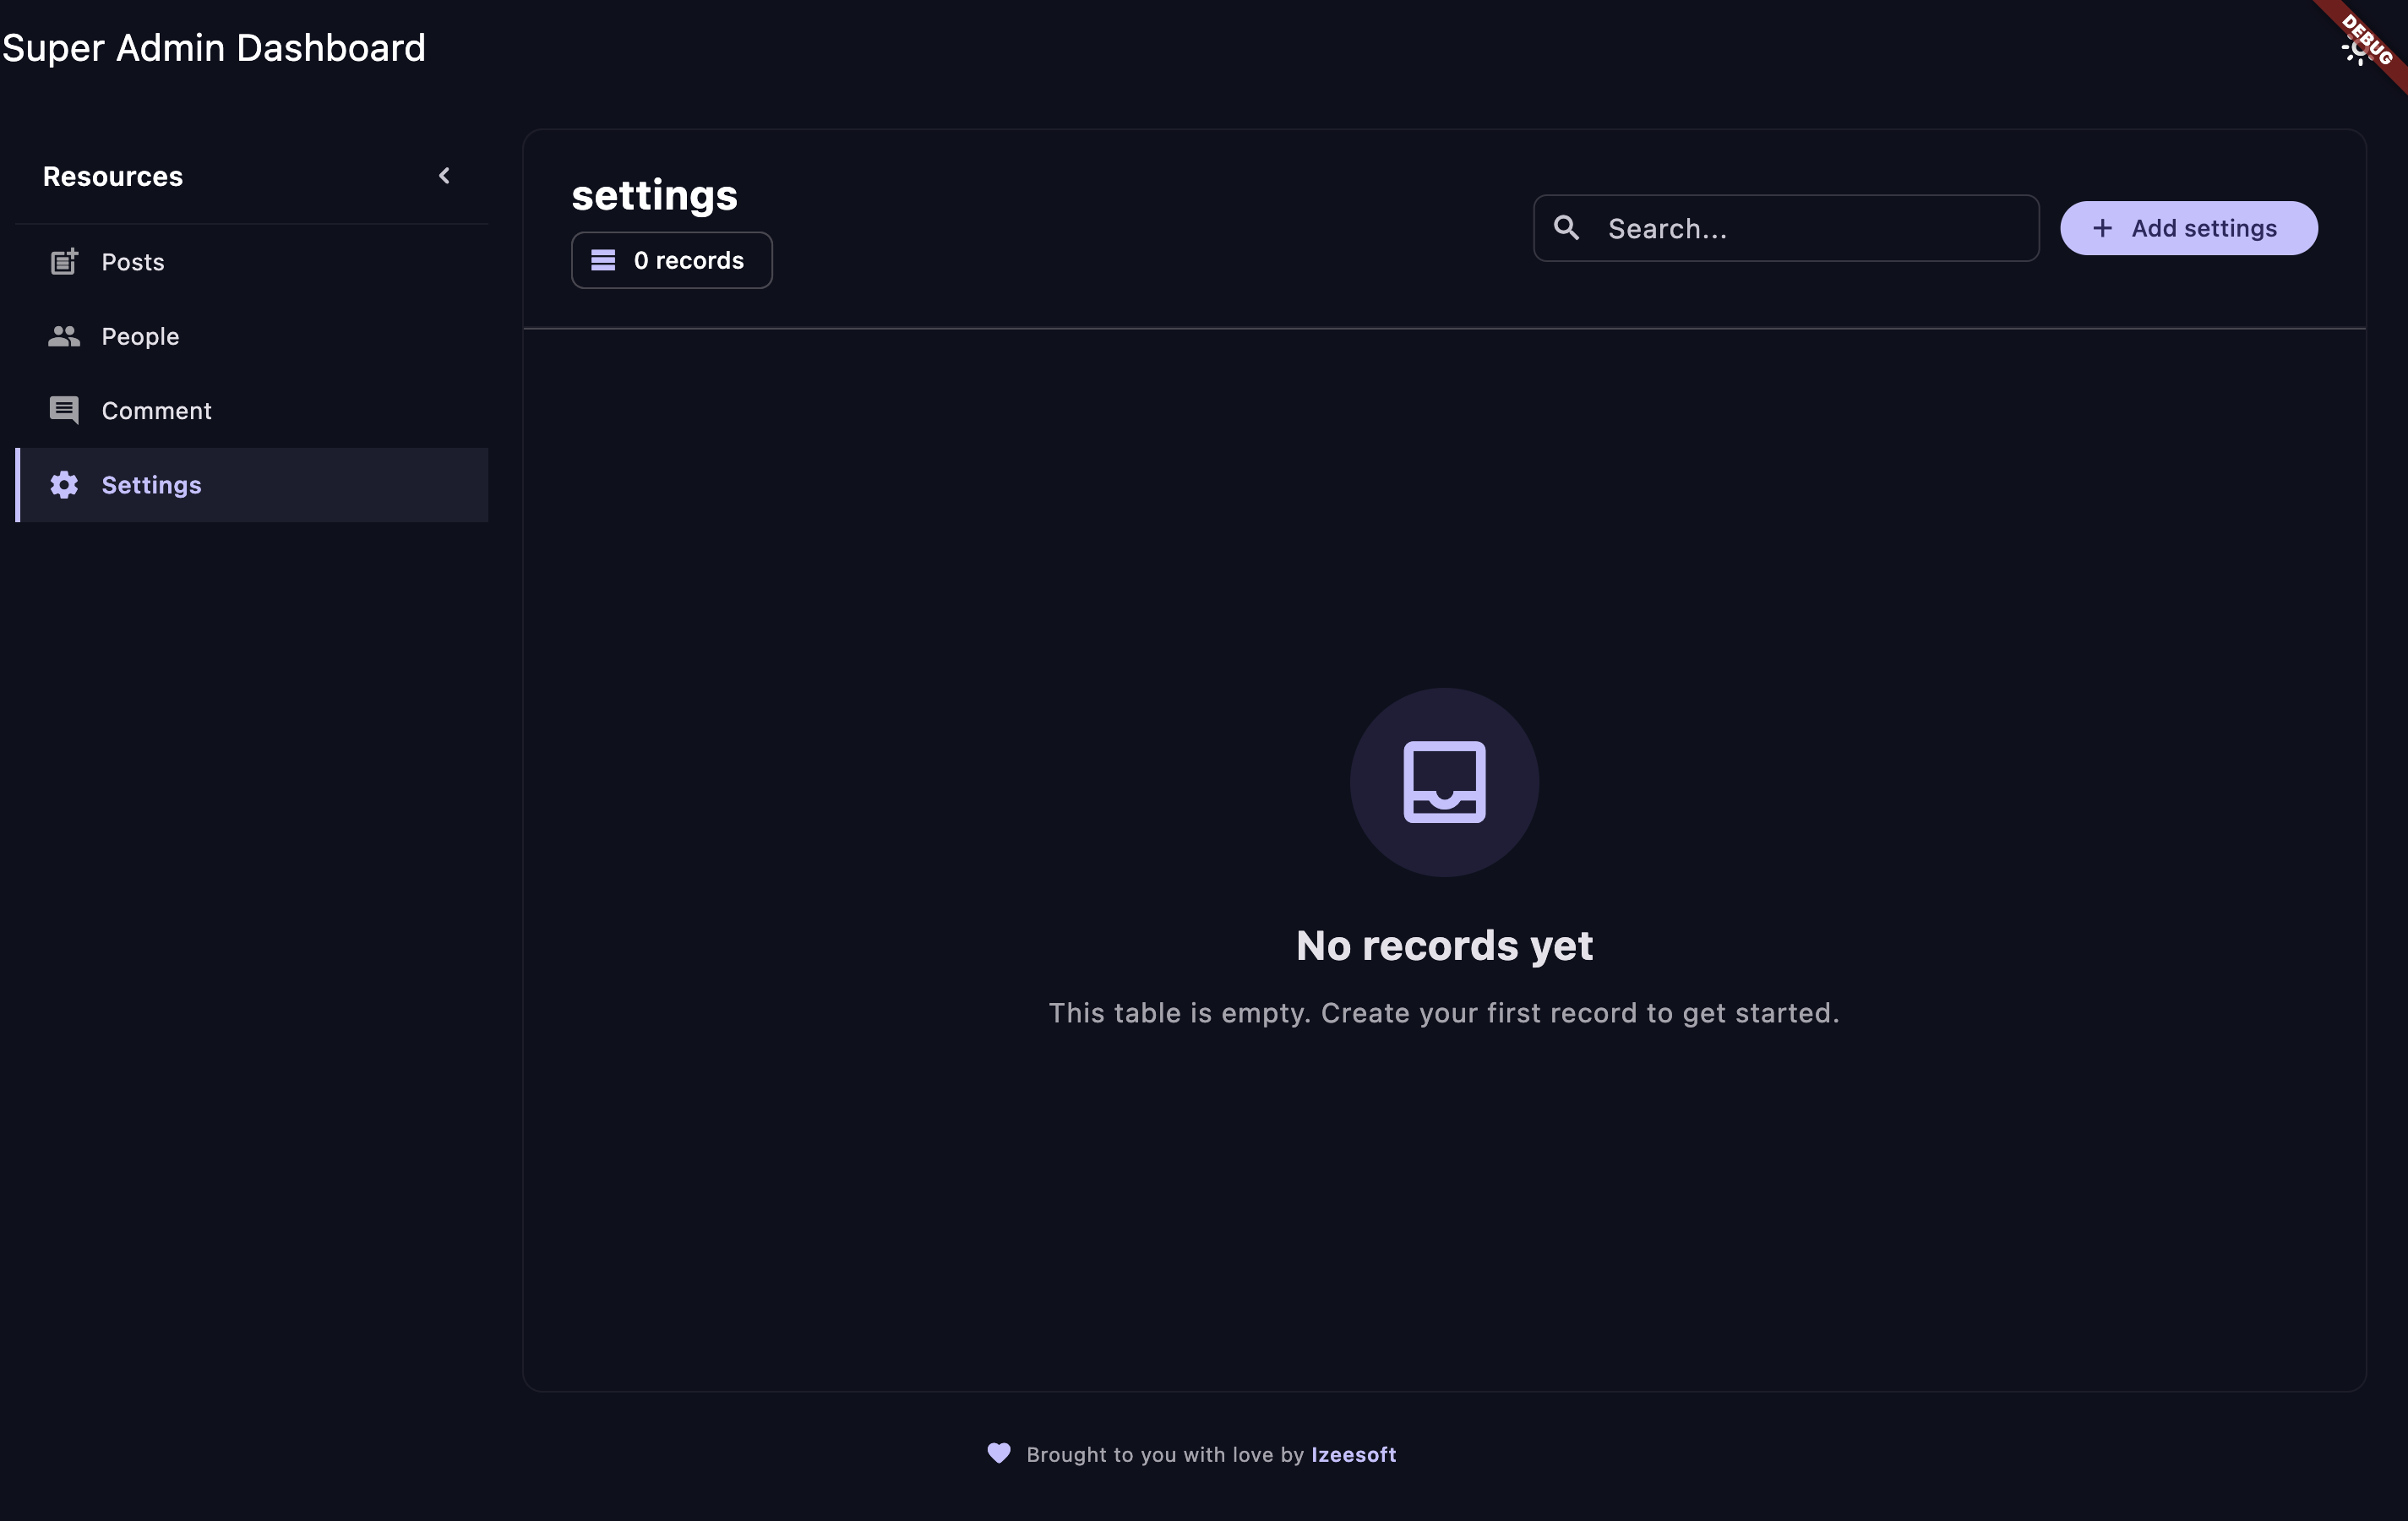
Beautiful empty states when no records are found.
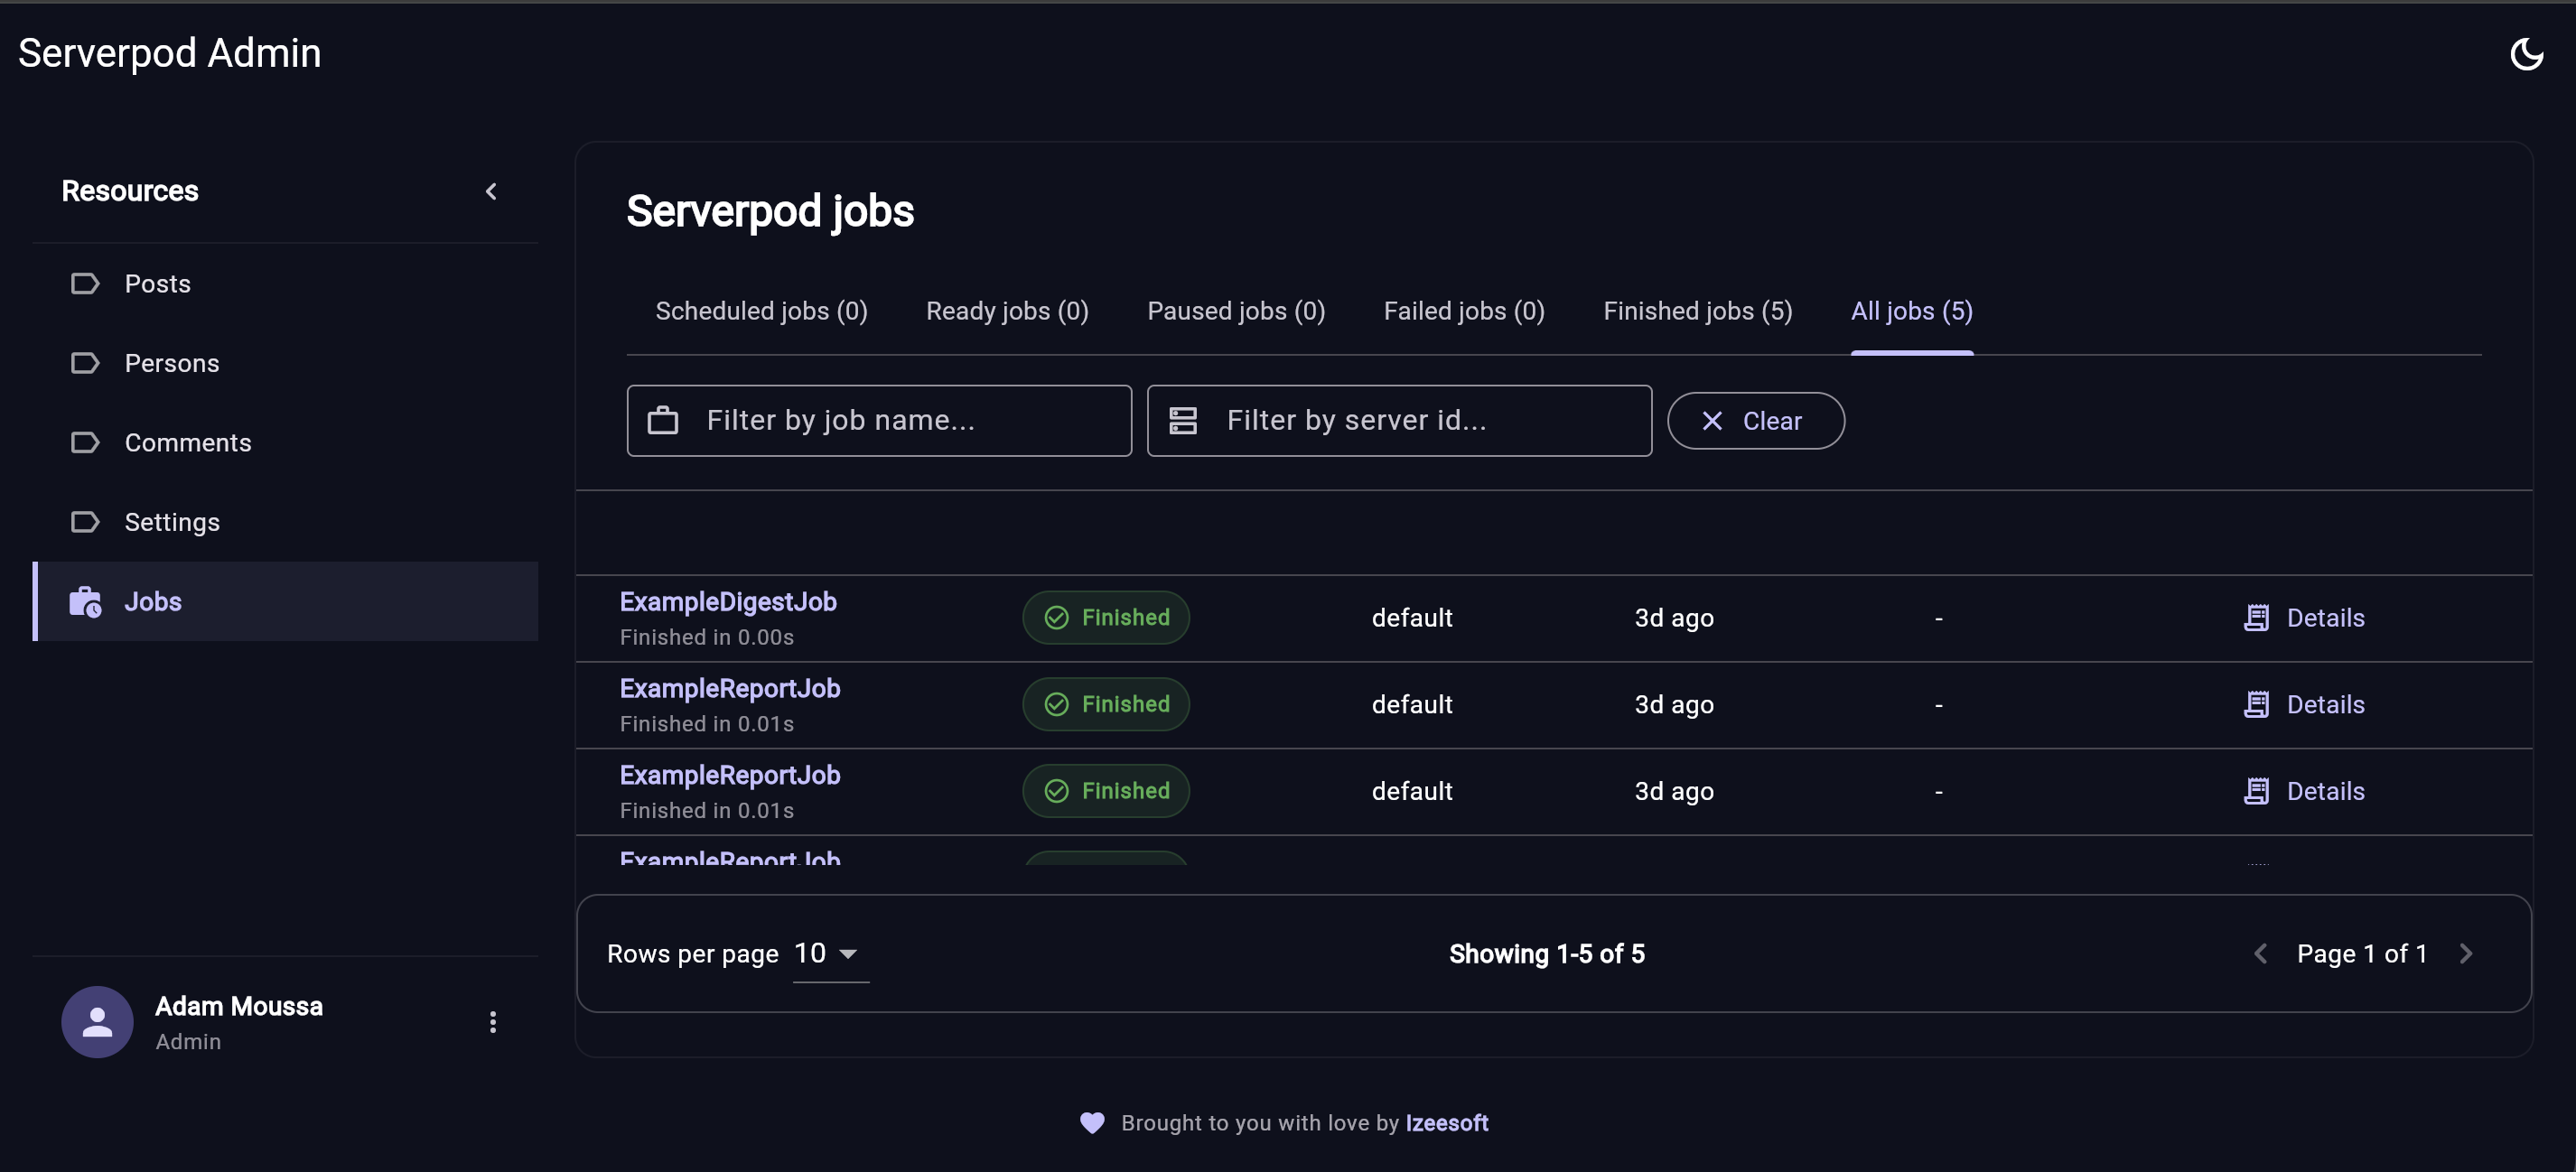
Monitor scheduled, ready, paused, failed, finished, and historical Serverpod jobs from the same admin dashboard.
No more writing boilerplate CRUD endpoints. Register your models once, and instantly get a complete admin interface with:
- Browse & Search – Navigate through all your data with powerful filtering
- Create & Edit – Intuitive forms for managing records
- Delete – Safe deletion with proper validation
- Pagination – Handle large datasets effortlessly
- CSV/XLSX Import & Export – Move admin data in and out of your app without custom scripts
- Profile Management – Admin users can update their profile from the dashboard
- Password Updates – Admin users can securely change their password
- Job Monitoring UI – A full Serverpod jobs dashboard for scheduled, ready, paused, failed, finished, and historical jobs
Built with flexibility in mind. The serverpod_admin_server exposes a clean API that any frontend can consume. Start with Flutter today, switch to Jaspr tomorrow, or build your own custom admin UI—the choice is yours!
- Type-Safe – Leverages Serverpod's generated protocol classes
- Integrated – Works seamlessly with your existing Serverpod setup
- Job-Aware – Enable
admin.jobs = trueto monitor Serverpod future calls from the admin dashboard - Extensible – Designed to grow with your needs
Stop spending days building admin interfaces. Get back to building features that matter. With Serverpod Admin, you can have a production-ready admin panel in minutes, not weeks.
Serverpod Admin has two ways to use the UI:
- Non-Custom: use the prebuilt Flutter web dashboard served by your
Serverpod backend at
/admin. This is the fastest path and is recommended when you do not need to customize the dashboard UI. - Advanced Custom: use
serverpod_admin_dashboardinside your own Flutter app when you want to customize theme, sidebar items, dialogs, details views, record body, or the jobs dashboard.
Both paths use the same server package, authentication, model registry, import and export support, profile/password flows, and jobs monitoring endpoints.
From your Serverpod server package directory:
dart pub add serverpod_admin_serverServerpod Admin uses serverpod_auth_idp. Configure auth, register the models
you want to manage, and enable jobs if you want the Serverpod jobs dashboard.
import 'package:serverpod/serverpod.dart';
import 'package:serverpod_admin_server/serverpod_admin_server.dart' as admin;

import 'src/generated/endpoints.dart';
import 'src/generated/protocol.dart';

void run(List<String> args) async {
  final pod = Serverpod(args, Protocol(), Endpoints());

  pod.initializeAuthServices(
    tokenManagerBuilders: [
      JwtConfigFromPasswords(),
    ],
    identityProviderBuilders: [
      EmailIdpConfigFromPasswords(
        sendRegistrationVerificationCode: _sendRegistrationCode,
        sendPasswordResetVerificationCode: _sendPasswordResetCode,
      ),
    ],
  );

  admin.jobs = true;
  admin.configureAdminModule((registry) {
    registry.register<Post>();
    registry.register<Person>();
    registry.register<Comment>();
    registry.register<Setting>();
  });

  admin.serveAdminDashboard(pod); // /admin

  await pod.start();
}
admin.jobs = true shows Serverpod's persisted future-call jobs in the admin
dashboard, including scheduled, ready, paused, failed, finished, and historical
jobs.
From the same Serverpod server package directory:
dart run serverpod_admin_server:serverpod_admin installThe installer downloads the prebuilt Flutter web dashboard and places it in
web/admin. admin.serveAdminDashboard(pod) serves that folder at /admin.
To install to another folder:
dart run serverpod_admin_server:serverpod_admin install --target web/customadminpathTo serve another route:
admin.serveAdminDashboard(
  pod,
  path: '/customadminpath',
);Admin users must have the serverpod.admin scope. Use this as a development or
bootstrap helper, then remove it or guard it once your admin user exists.
import 'dart:io';

import 'package:serverpod_admin_server/serverpod_admin_server.dart';

Future<void> createAdminUser() async {
  final email = Platform.environment['SERVERPOD_ADMIN_EMAIL'];
  final password = Platform.environment['SERVERPOD_ADMIN_PASSWORD'];

  if (email == null || password == null) {
    throw StateError(
      'Set SERVERPOD_ADMIN_EMAIL and SERVERPOD_ADMIN_PASSWORD first.',
    );
  }

  await AdminUser.create(
    email: email,
    password: password,
  );
}http://localhost:8082/admin
The dashboard shows a login screen for unauthenticated users and only allows
users with the serverpod.admin scope.
The prebuilt app talks to your Serverpod API. In local development it maps
localhost:8082/admin to localhost:8080/ for API calls by default.
Use this path when you want to build your own Flutter admin app and customize
the UI. You still use serverpod_admin_server on the backend, but you do not
need to run the prebuilt dashboard installer.
From your Flutter app:
flutter pub add serverpod_admin_dashboardYour Flutter app also needs the generated client for your Serverpod project,
including the serverpod_admin module client.
import 'package:flutter/material.dart';
import 'package:serverpod_admin_dashboard/serverpod_admin_dashboard.dart';
import 'package:serverpod_auth_idp_flutter/serverpod_auth_idp_flutter.dart';
import 'package:serverpod_flutter/serverpod_flutter.dart';

import 'src/generated/client.dart';

late final Client client;

Future<void> main() async {
  WidgetsFlutterBinding.ensureInitialized();

  client = Client('http://localhost:8080/')
    ..connectivityMonitor = FlutterConnectivityMonitor()
    ..authSessionManager = FlutterAuthSessionManager();

  await client.auth.initialize();

  runApp(
    AdminDashboard(
      client: client,
      title: 'My Admin',
      sidebarItemCustomizations: const {
        serverpodJobsResourceKey: SidebarItemCustomization(
          label: 'Jobs',
          icon: Icons.work_history,
        ),
      },
    ),
  );
}The custom dashboard path lets you keep the default admin behavior while overriding the parts you care about:
- Sidebar labels and icons
- Theme
- Resource table/body
- Details screen
- Create, edit, and delete dialogs
- Jobs dashboard section
- Footer
The authentication behavior is the same as the non-custom path: unauthenticated
users see login, and only users with serverpod.admin can enter.
Serverpod Admin offers flexible customization options, from simple sidebar tweaks to complete UI replacement.
Customize individual sidebar items with custom labels and icons:
AdminDashboard(
  client: client,
  sidebarItemCustomizations: {
    'posts': SidebarItemCustomization(
      label: 'Posts',
      icon: Icons.post_add,
    ),
    'persons': SidebarItemCustomization(
      label: 'Person',
      icon: Icons.person,
    ),
    'comments': SidebarItemCustomization(
      label: 'Comment',
      icon: Icons.comment,
    ),
    'settings': SidebarItemCustomization(
      label: 'Setting',
      icon: Icons.settings,
    ),
  },
)
This allows you to:
- Customize labels – Change the display name for any resource
- Customize icons – Use your own icons for better visual identification
- Keep it simple – Only customize what you need, leave the rest default
For complete control over the admin interface, you can replace any component with your own custom widgets:
AdminDashboard(
  client: client,
  // Custom sidebar - completely replace the default sidebar
  customSidebarBuilder: (context, controller) {
    return CustomSidebar(controller: controller);
  },

  // Custom body/records pane - replace the default table view
  customBodyBuilder: (context, controller, operations) {
    return CustomBody(
      controller: controller,
      operations: operations,
    );
  },

  // Custom record details view
  customDetailsBuilder: (context, controller, operations, resource, record) {
    return CustomDetails(
      controller: controller,
      operations: operations,
      resource: resource,
      record: record,
    );
  },

  // Custom edit dialog
  customEditDialogBuilder: (context, controller, operations, resource,
      currentValues, onSubmit) {
    return CustomEditDialog(
      resource: resource,
      currentValues: currentValues,
      onSubmit: onSubmit,
    );
  },

  // Custom delete confirmation dialog
  customDeleteDialogBuilder: (context, controller, operations, resource,
      record, onConfirm) {
    return CustomDeleteDialog(
      resource: resource,
      record: record,
      onConfirm: onConfirm,
    );
  },

  // Custom create dialog
  customCreateDialogBuilder: (context, controller, operations, resource,
      onSubmit) {
    return CustomCreateDialog(
      resource: resource,
      onSubmit: onSubmit,
    );
  },

  // Custom footer (displayed above the default footer)
  customFooterBuilder: (context, controller) {
    return CustomFooter(controller: controller);
  },

  // Custom themes
  lightTheme: myLightTheme,
  darkTheme: myDarkTheme,
  initialThemeMode: ThemeMode.dark,
)| Builder | Purpose | Parameters |
|---|---|---|
customSidebarBuilder |
Replace the entire sidebar | (context, controller) |
customBodyBuilder |
Replace the records table view | (context, controller, operations) |
customDetailsBuilder |
Replace the record details view | (context, controller, operations, resource, record) |
customEditDialogBuilder |
Replace the edit dialog | (context, controller, operations, resource, currentValues, onSubmit) |
customDeleteDialogBuilder |
Replace the delete confirmation dialog | (context, controller, operations, resource, record, onConfirm) |
customCreateDialogBuilder |
Replace the create dialog | (context, controller, operations, resource, onSubmit) |
customFooterBuilder |
Add custom footer above default footer | (context, controller) |
When creating custom builders, you have access to:
-
AdminDashboardController– Provides access to:resources– List of all registered resourcesselectedResource– Currently selected resourceloading– Loading statesthemeMode– Current theme mode- Methods to load data, refresh, etc.
-
HomeOperations– Provides CRUD operations:list()– Get list of recordsfind()– Find a specific recordcreate()– Create a new recordupdate()– Update an existing recorddelete()– Delete a record
-
AdminResource– Information about the resource:key– Resource identifiertableName– Database table namecolumns– List of column definitions
Widget CustomSidebar(AdminDashboardController controller) {
  return Drawer(
    child: ListView(
      children: [
        const DrawerHeader(
          decoration: BoxDecoration(color: Colors.blue),
          child: Text('My Admin Panel'),
        ),
        ...controller.resources.map((resource) {
          final customization = controller.sidebarItemCustomizations?[resource.key];
          return ListTile(
            leading: Icon(customization?.icon ?? Icons.table_chart),
            title: Text(customization?.label ?? resource.tableName),
            selected: controller.selectedResource?.key == resource.key,
            onTap: () => controller.selectResource(resource),
          );
        }),
      ],
    ),
  );
}Widget CustomEditDialog({
required AdminResource resource,
required Map<String, String> currentValues,
required Future<bool> Function(Map<String, String> payload) onSubmit,
}) {
final formKey = GlobalKey<FormState>();
final controllers = currentValues.map(
(key, value) => MapEntry(key, TextEditingController(text: value)),
);
return AlertDialog(
title: Text('Edit ${resource.tableName}'),
content: Form(
key: formKey,
child: SingleChildScrollView(
child: Column(
children: resource.columns.map((column) {
return TextFormField(
controller: controllers[column.name],
decoration: InputDecoration(labelText: column.name),
enabled: !column.isId, // Disable editing ID fields
);
}).toList(),
),
),
),
actions: [
TextButton(
onPressed: () => Navigator.pop(context),
child: const Text('Cancel'),
),
TextButton(
onPressed: () async {
if (formKey.currentState!.validate()) {
final payload = controllers.map(
(key, controller) => MapEntry(key, controller.text),
);
final success = await onSubmit(payload);
if (success && context.mounted) {
Navigator.pop(context);
}
}
},
child: const Text('Save'),
),
],
);
}Serverpod Admin implements strict role-based access control:
- ✅ Admin-Only Access – By default, all access requires the
serverpod.adminscope - ✅ Secure by Default – Without admin privileges, users cannot access any part of the admin panel
- ✅ Authentication Required – The dashboard automatically shows a login screen for unauthenticated users
- ✅ Scope Validation – Users must have the
serverpod.adminscope to access any admin functionality
Important: Without the serverpod.admin scope, users will see an error message and cannot access the admin panel, even if they successfully authenticate with email/password.
- User enters email and password on the login screen
- Authentication is handled via
serverpod_auth_idp(EmailAuthController) - Upon successful authentication, the system checks for the
serverpod.adminscope - If the user has admin scope, they're granted access to the dashboard
- If the user lacks admin scope, they see an error: "User does not have admin privileges"
Serverpod Admin fills the gap that every Serverpod developer has felt. No more custom admin code. No more database dives. Just a beautiful, powerful admin panel that works out of the box.
Welcome to the future of Serverpod administration. 🎉