Admin Panel
The Admin Panel is your command center for managing the Cloudflare Auth Service. It provides a comprehensive interface for projects, users, security settings, and monitoring.
The main landing page after login is the Projects overview. Here you can see all your configured authentication projects at a glance.
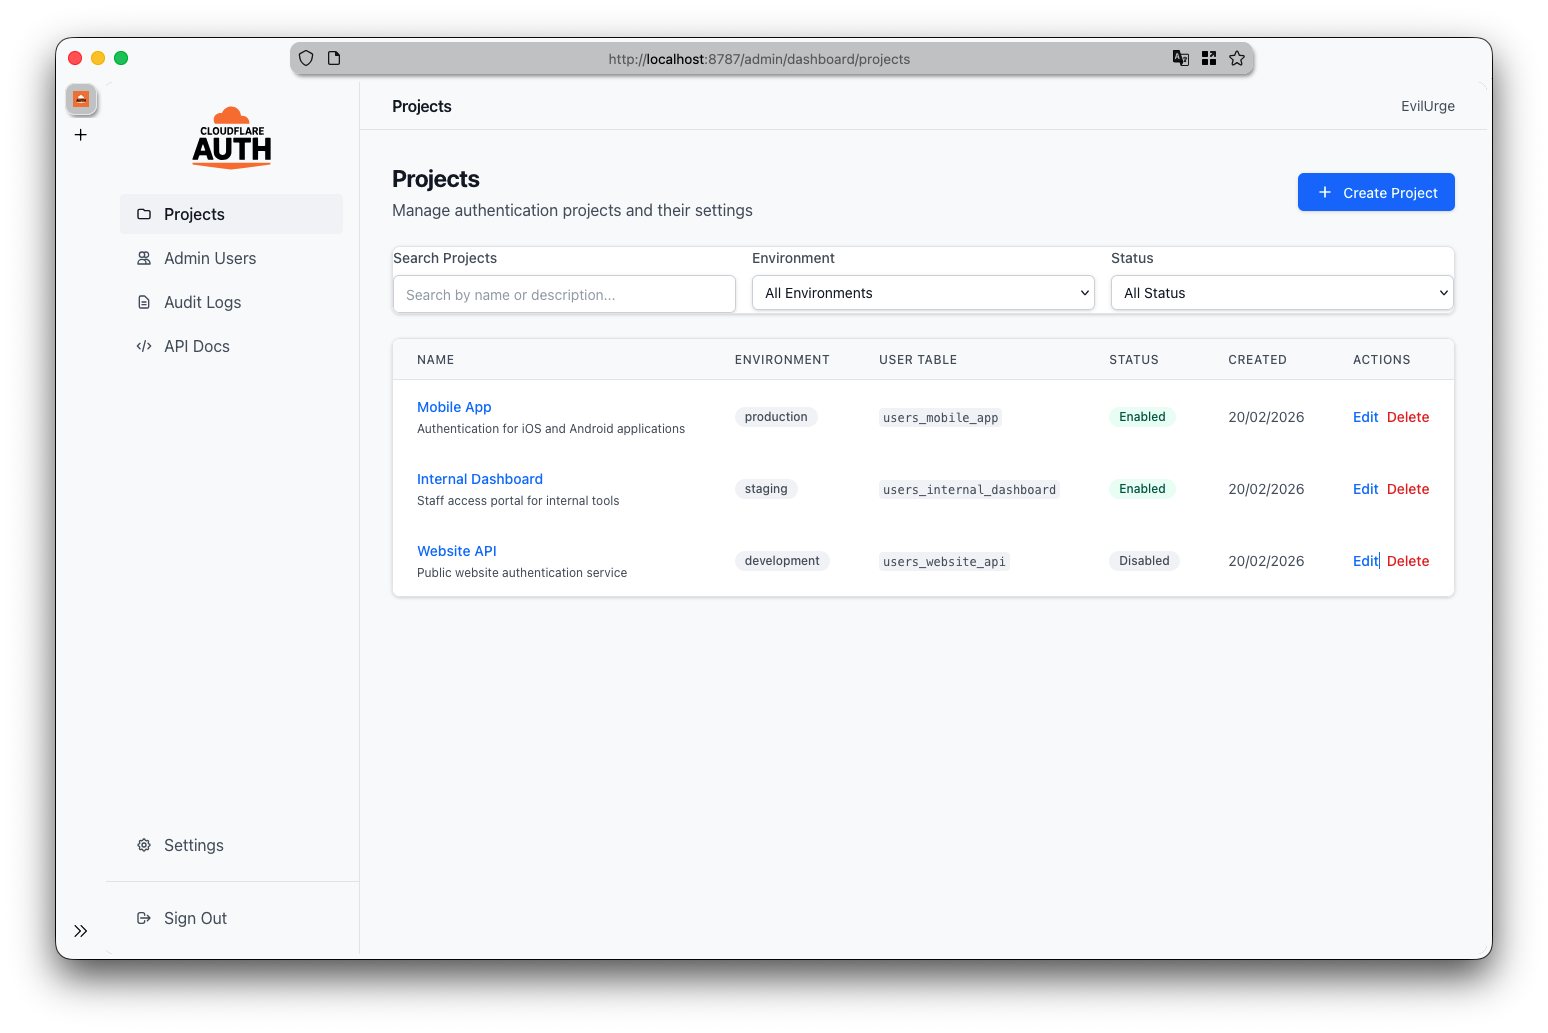
Click the Create Project button to add a new application. You will need to provide:
- Name: A unique name for your project (e.g., "Mobile App").
-
Environment: Choose between
development,staging, orproduction. - Description: Optional details about the project.
Once created, the system automatically generates:
- A unique Project ID (e.g.,
mobile_app). - A dedicated User Table (
users_mobile_app). - Default Rate Limit Rules (to protect against abuse).
- A secure JWT Secret for token signing.
Clicking on a project takes you to its detailed configuration page.
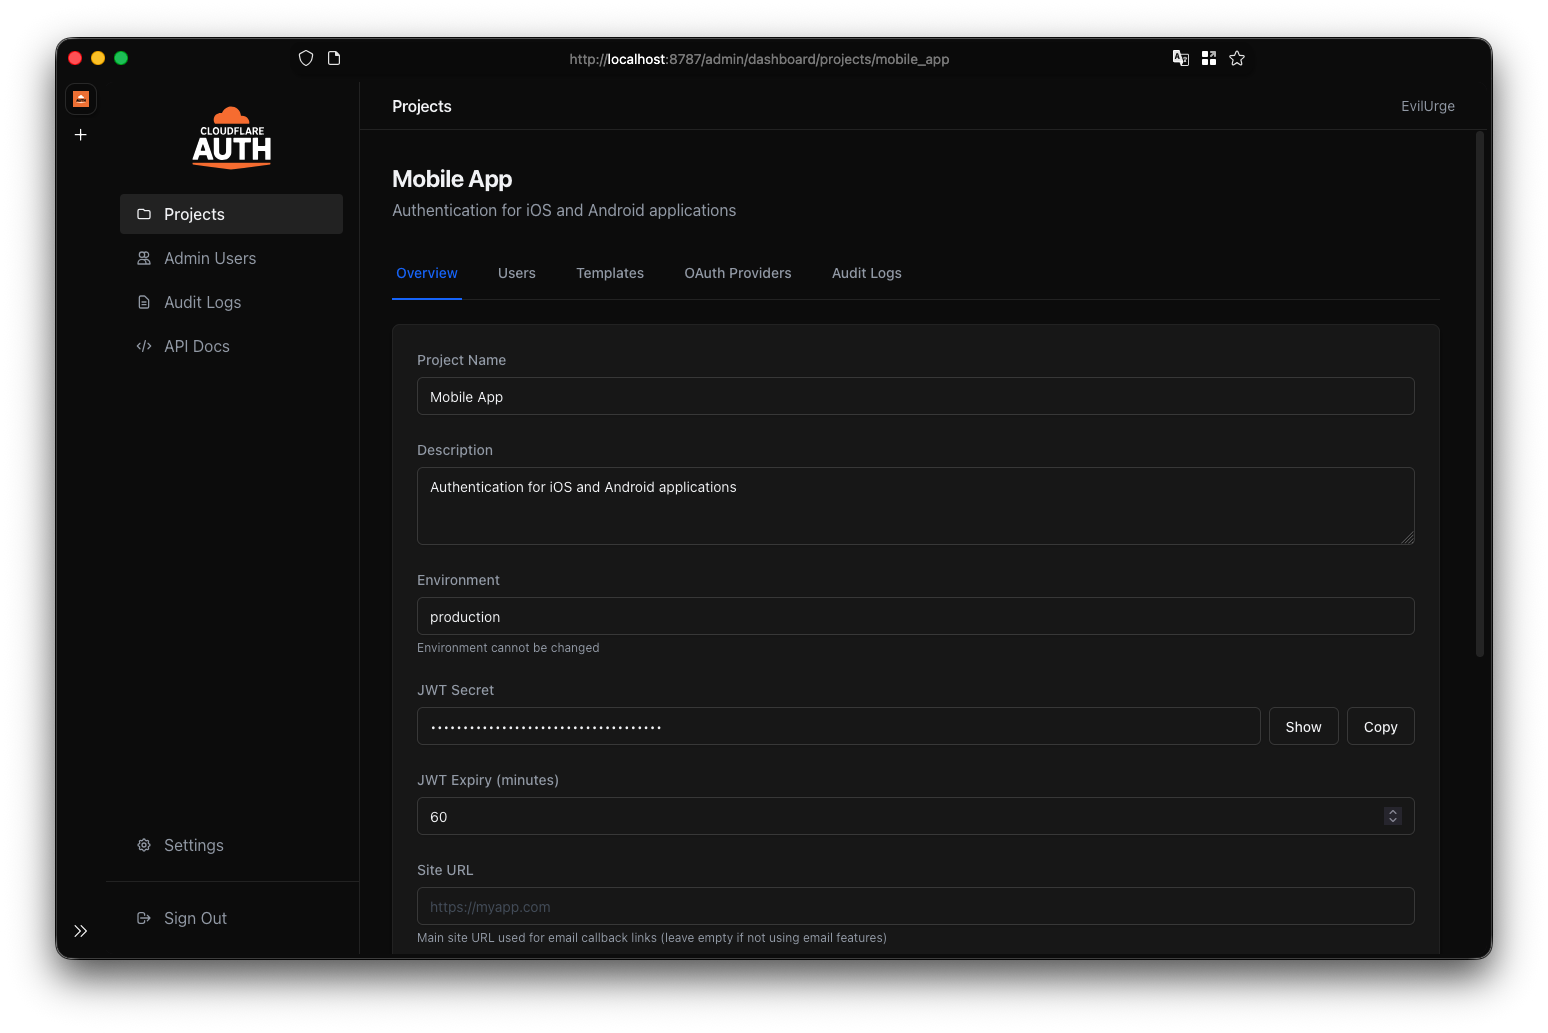
- General: Update project name, description, and status (Enabled/Disabled).
-
Authentication:
- JWT Secret: View or rotate the secret key used to sign user tokens.
- Token Expiry: Configure access token (short-lived) and refresh token (long-lived) durations.
- OAuth Providers: Configure social login (Google, GitHub, etc.) with Client IDs and Secrets.
- Email Templates: Customize the emails sent to users (Welcome, Password Reset, etc.).
- User Table: View the database table name where user data is stored.
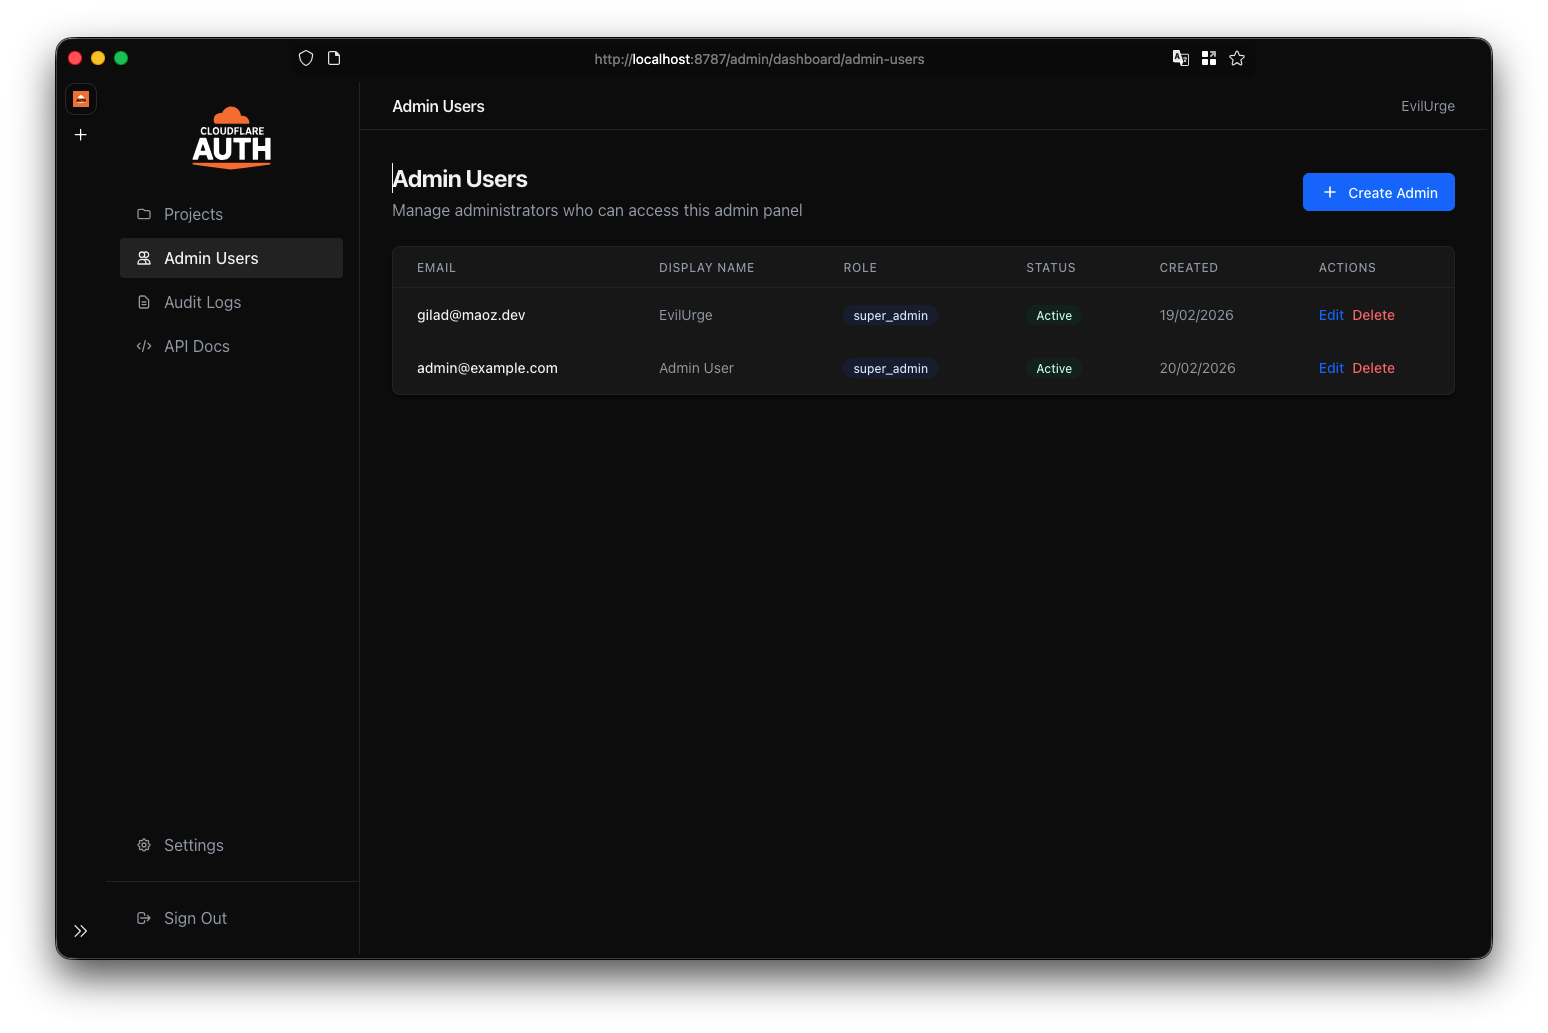
Each project has its own isolated user base. Navigate to the Users tab within a project or use the global Admin Users section to manage platform administrators.
- Search & Filter: Find users by email or name.
- Create/Edit: Add new users manually or update existing profiles.
- Password Reset: Trigger password reset emails or manually set a temporary password.
- Status Control: Suspend or delete users instantly.
The Audit Logs section provides a complete history of all actions taken within the system. This is crucial for security compliance and troubleshooting.
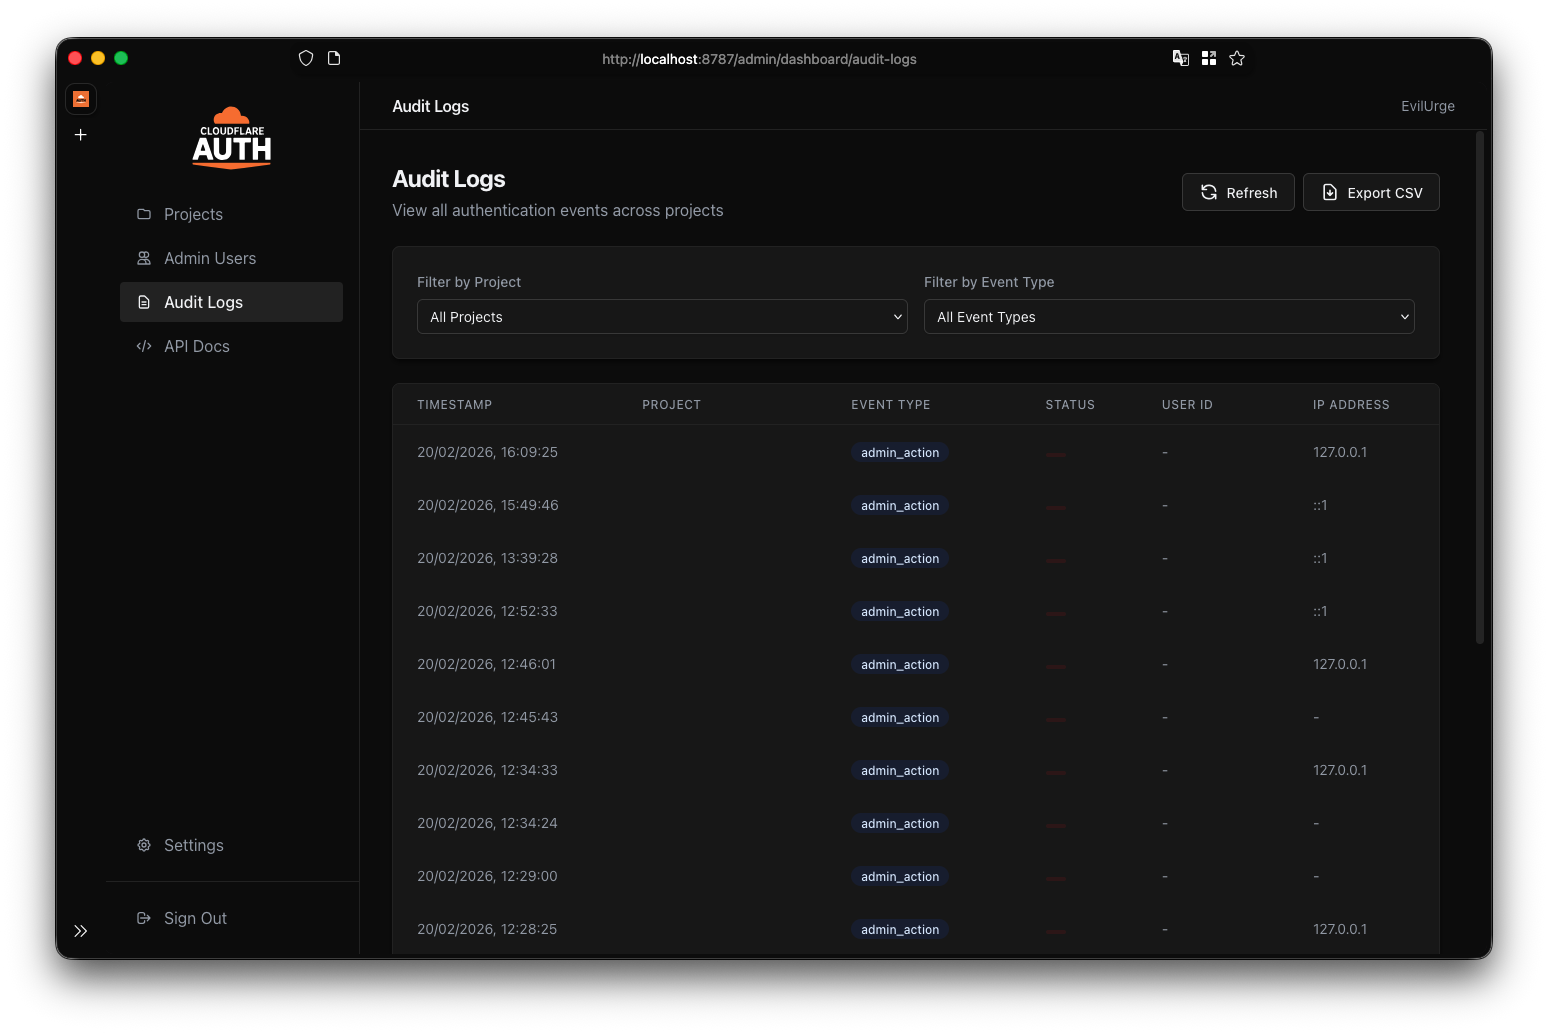
- User Logins: Successful and failed attempts.
- Admin Actions: Project creation, updates, and deletions.
- Security Events: Rate limit triggers, password changes.
- System Errors: Configuration failures or API issues.
You can filter logs by Project, Event Type, Status, or User ID.
The Settings page allows you to configure global parameters for the auth service.
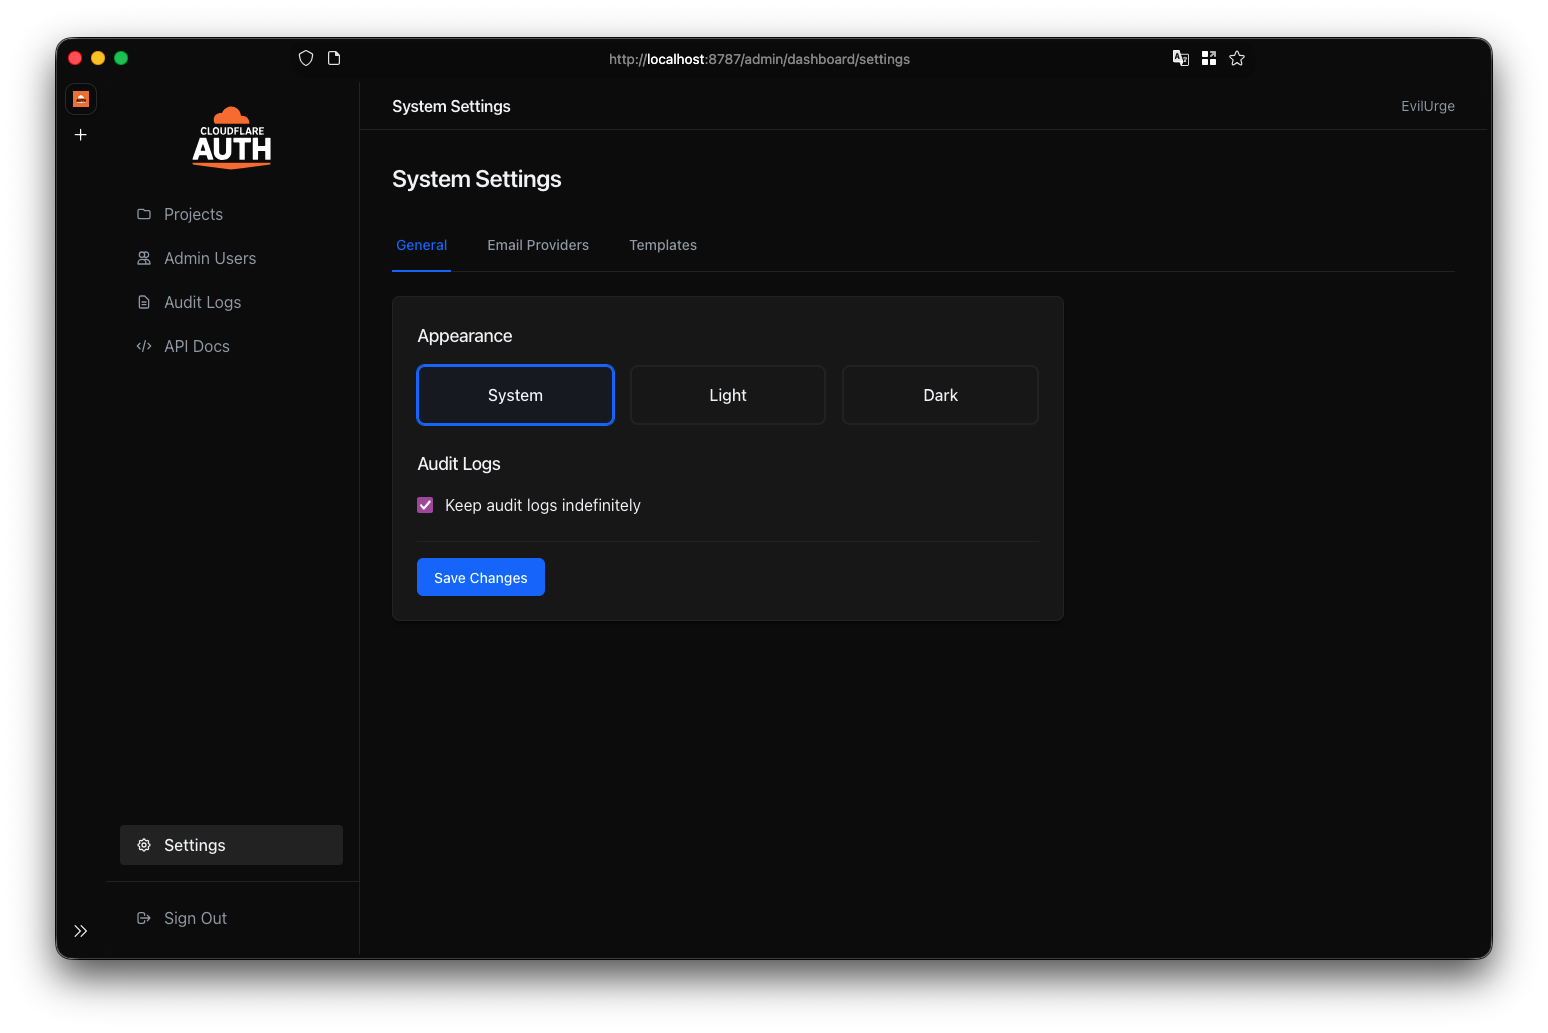
- Email Provider: Set up your transactional email service (SendGrid, Mailgun, etc.).
- Rate Limiting Defaults: Define the default protection rules for new projects.
- Admin Session: Configure session timeouts and security policies.
- Theme: Toggle between System, Light, and Dark modes for the Admin UI.
The Admin Panel includes a built-in API Explorer (powered by Swagger UI) to help you integrate your applications.
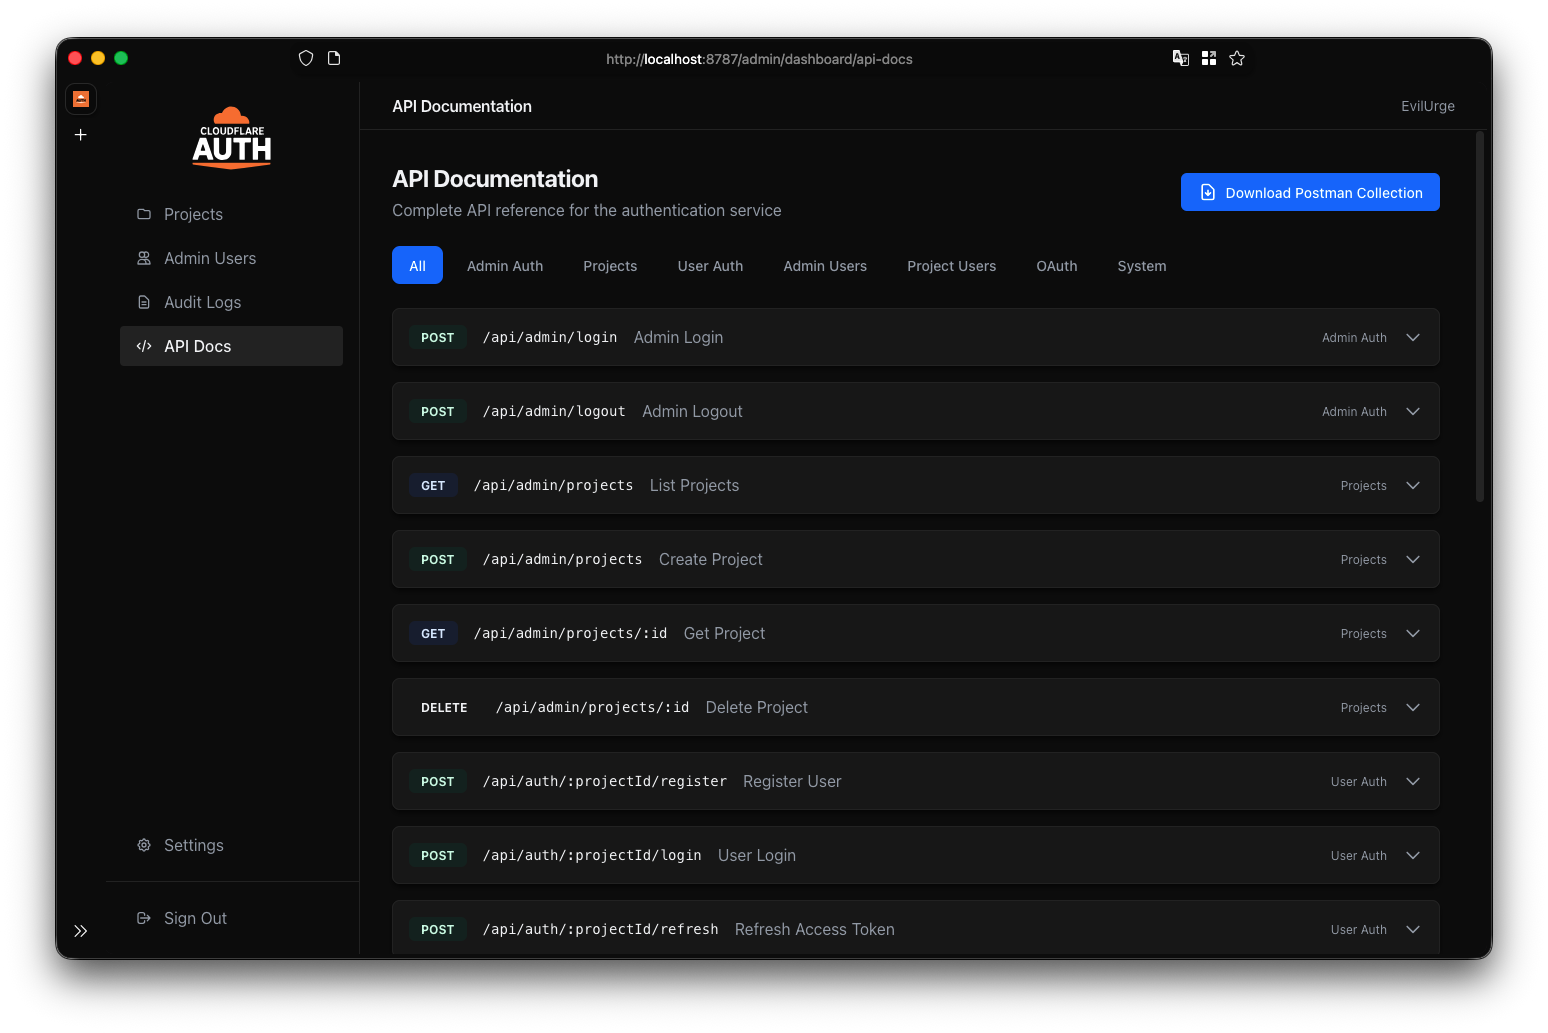
Here you can:
- Test Endpoints: Try out authentication flows directly from the browser.
- View Schemas: See request/response models for all API routes.
- Get Examples: Copy code snippets for your frontend integration.